Understanding Reflective Photoelectric Sensors
A reflective photoelectric sensor is a critical component in industrial automation, used for detecting the presence, absence, or distance of objects without physical contact. It operates by emitting a beam of light, typically from an LED, towards a reflective surface. The sensor's receiver then detects the light reflected back. The key to its functionality lies in the precise adjustment of its optical and electronic parameters to ensure reliable detection under varying environmental and operational conditions. Proper adjustment minimizes false triggers, maximizes detection range, and ensures system stability. This process involves several interdependent steps, from initial mounting to fine-tuning sensitivity and response time, all tailored to the specific application, whether it's object counting, edge detection, or positioning on a conveyor line.
Initial Setup and Mounting Considerations
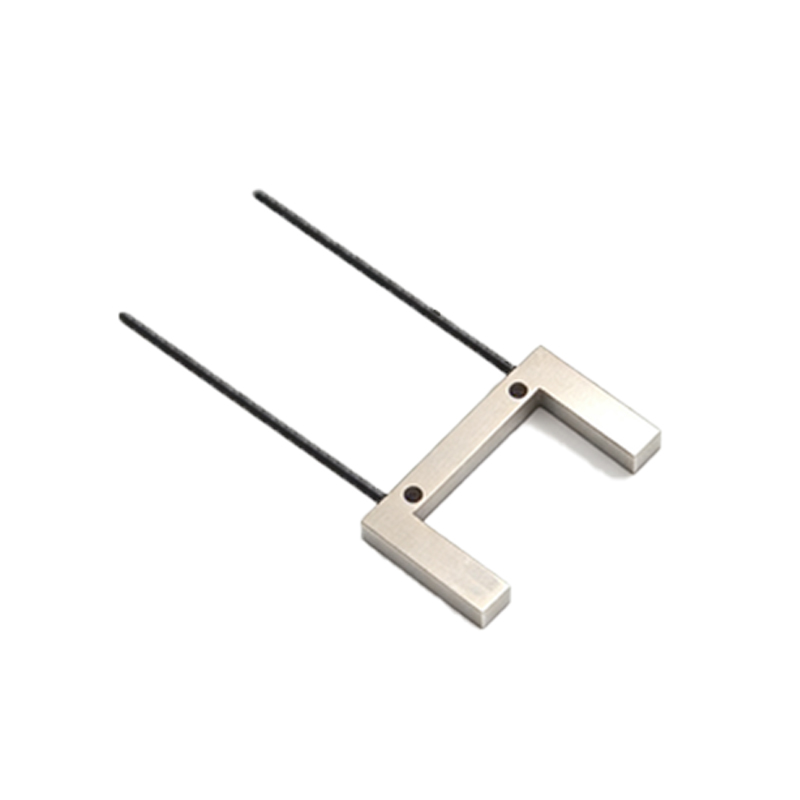
Before any electronic adjustment, correct physical installation is paramount. Mount the sensor securely on a stable surface to prevent vibration-induced misalignment. Ensure the sensing face is perpendicular to the target's reflective surface for optimal light return. The detection distance should be within the sensor's specified range, typically found in the datasheet. Consider environmental factors: avoid mounting near strong ambient light sources, such as direct sunlight or high-intensity lamps, which can interfere with the sensor's emitted light. If unavoidable, use a sensor with a modulated light source or install a physical shield. Also, ensure the target object has a consistent and sufficiently reflective surface; dark or matte finishes may require a sensor with higher output power or a specialized model.
Adjusting Sensitivity and Threshold
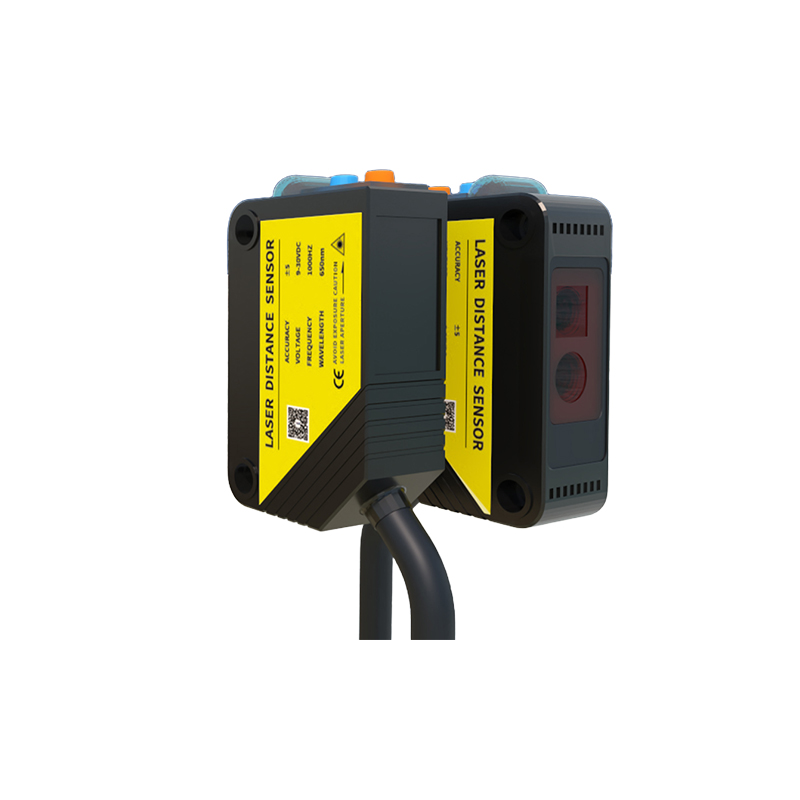
The sensitivity adjustment, often via a potentiometer or digital interface, is the core of calibrating a reflective photoelectric sensor. This setting controls the receiver's threshold for recognizing the reflected light as a valid signal. Begin by placing the standard target object at the desired detection distance. Turn the sensitivity potentiometer clockwise to increase sensitivity (for detecting weaker reflections) or counterclockwise to decrease it (to ignore background reflections or smaller objects). The goal is to find a setting where the sensor reliably detects the target but does not trigger on unwanted reflections or background surfaces. Many modern sensors feature a teach-in function or push-button calibration, which automatically sets the threshold based on the current reflected signal, simplifying this process significantly.
Setting the Response Time and Hysteresis
Response time adjustment determines how quickly the sensor reacts to a change in the detected signal. A faster response is needed for high-speed applications but can make the sensor prone to noise. A slower response filters out noise but may miss rapid events. Adjust this parameter based on the speed of your target objects. Hysteresis is another crucial setting; it creates a difference between the turn-on and turn-off points. For instance, a sensor might trigger when the reflected light exceeds 70% of its maximum but only turn off when it falls below 50%. This prevents chattering or rapid on/off switching when the target is near the detection edge, ensuring a stable output signal, especially in environments with vibration or slight target position variations.
Dealing with Challenging Surfaces and Backgrounds
Adjusting for highly reflective (e.g., mirror-like) or very dark targets requires special attention. For shiny surfaces, the strong reflection can saturate the receiver. Reduce the sensor's sensitivity and ensure it is mounted at a slight angle (not perfectly perpendicular) to avoid direct specular reflection back into the receiver. For dark, low-reflectance targets, increase the sensitivity to its maximum. If detection remains unreliable, consider using a sensor with a focused, high-intensity beam or a background suppression model. Background suppression sensors use triangulation to measure distance, allowing them to ignore objects beyond a set point, which is invaluable when the target must be distinguished from a similarly colored or reflective background surface.
Verification and Long-Term Stability
After adjustment, thorough testing is essential. Run the target object through the detection zone multiple times at normal operating speed to verify consistent triggering. Introduce potential interferences, such as varying ambient light or passing non-target objects, to ensure the sensor does not false-trigger. Monitor the sensor's output LED indicator or connect it to a PLC to log its state. For long-term stability, periodically re-check the calibration, as factors like lens contamination, LED aging, or mechanical drift can affect performance. Implementing routine maintenance, such as cleaning the lens with a soft cloth and checking mounting stability, will prolong reliable operation. Documenting the final sensitivity and response settings aids in quick recalibration if needed.