Understanding the Photoelectric Sensor Bracket
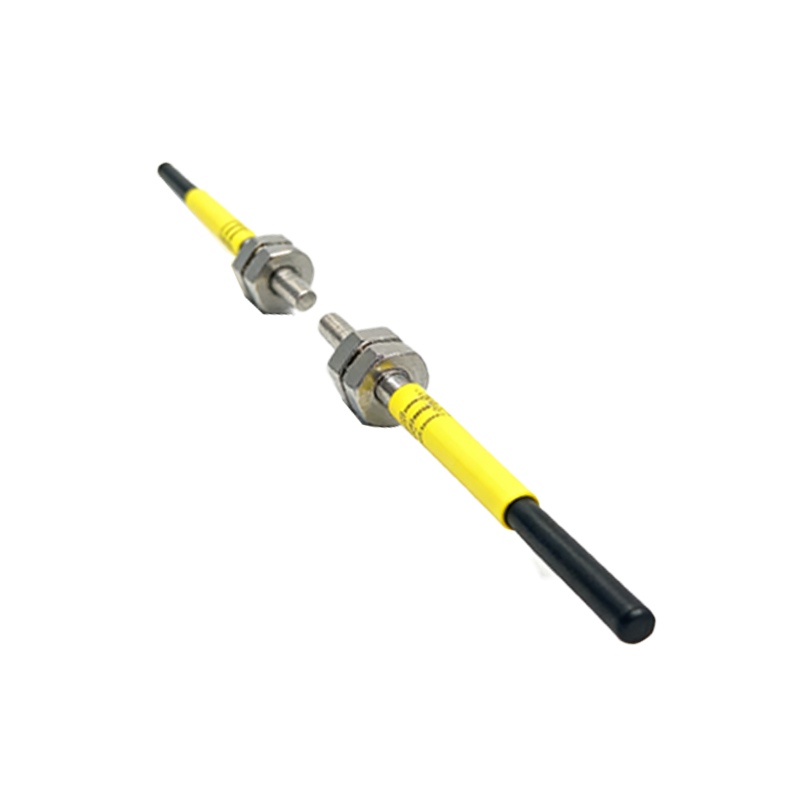
A photoelectric sensor bracket is a critical mounting component designed to securely position and align a photoelectric sensor in an industrial environment. Its primary function is to ensure the sensor's optical axis is precisely oriented towards the target or reflector, guaranteeing reliable and consistent detection. Brackets come in various designs, including fixed-angle, adjustable, swivel, and slide types, to accommodate different sensing modes (through-beam, retro-reflective, diffuse) and installation challenges. Selecting the correct bracket is the first step toward a successful installation, as it directly impacts the sensor's performance, longevity, and immunity to vibration or accidental impact.
Pre-Installation Planning and Safety
Before handling any tools, thorough planning is essential. Begin by reviewing the sensor and bracket manufacturer's documentation for specific torque values, material specifications, and any warnings. Identify the optimal mounting location considering the target's path, environmental factors like dust, moisture, and ambient light, and the required sensing range. Ensure the power to the machinery or control panel is locked out and tagged out (LOTO) to prevent accidental energization. Gather all necessary tools, including the correct size wrenches, screwdrivers, a level, and measuring tape. Personal protective equipment (PPE) such as safety glasses and gloves should be worn throughout the process.
Mounting the Bracket to the Structure
The first physical step is securing the bracket base to a stable surface, such as a machine frame, DIN rail, or panel. Use the provided holes in the bracket base as a template to mark drilling locations on the mounting surface. For metallic surfaces, drill and tap holes to the specified thread size. For other materials, use appropriate anchors. Ensure the mounting surface is clean and flat. Insert the mounting screws or bolts through the bracket and into the holes, but do not fully tighten them initially. This allows for minor adjustments in the bracket's orientation in the next steps. The bracket must be mounted rigidly to prevent any movement that could misalign the sensor.
Installing and Securing the Sensor
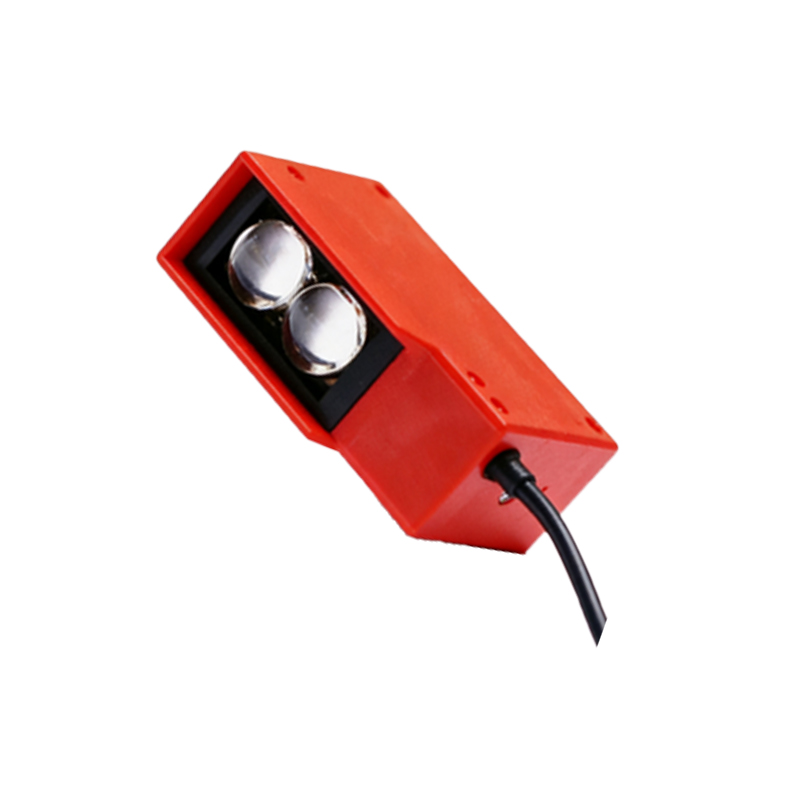
With the bracket loosely attached to the structure, proceed to mount the sensor itself. Most sensors slide or snap into the bracket's cradle or clamping mechanism. Carefully insert the sensor, ensuring any alignment keys or grooves are properly engaged. Pay close attention to the sensor's orientation; the lens window must face the intended detection area. Once the sensor is seated correctly in the bracket, hand-tighten the sensor's locking screws or the bracket's clamping mechanism. At this stage, the sensor should be held firmly but still allow for rotational or positional fine-tuning. Connect the electrical wiring to the sensor's terminals according to the wiring diagram, ensuring proper strain relief is used to prevent tension on the connections.
Precise Alignment and Fine-Tuning
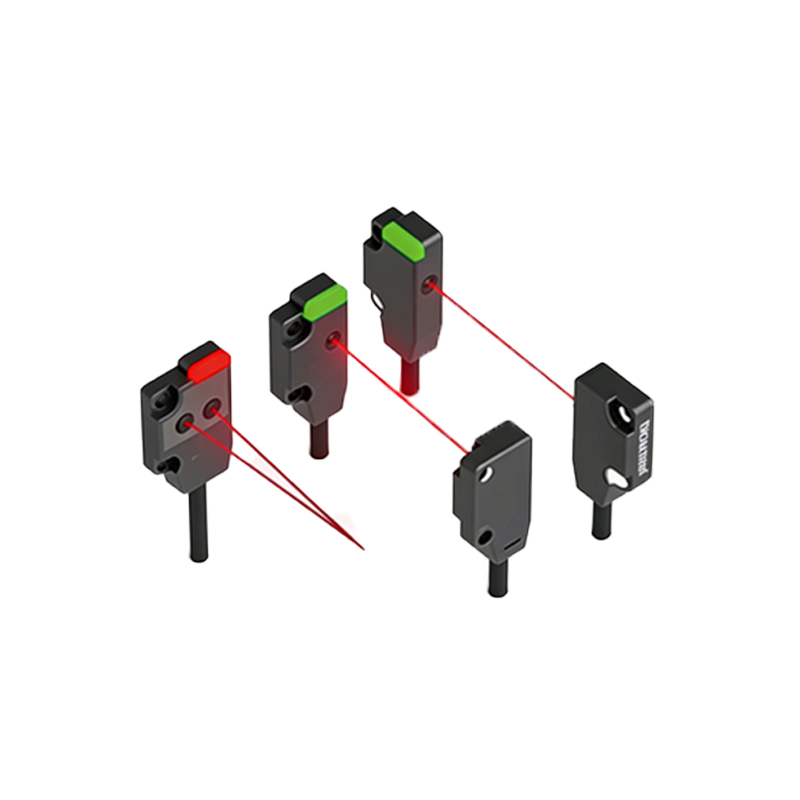
Alignment is the most crucial phase for ensuring operational reliability. For through-beam sensors, roughly align the emitter and receiver brackets so they face each other. Many sensors have a built-in alignment indicator (often an LED). Power the sensor temporarily (following safety procedures) and observe this indicator. Slowly adjust the bracket's position—using its adjustment screws, swivel joints, or slides—until the alignment indicator shows optimal signal strength (e.g., a stable green light). For retro-reflective or diffuse sensors, aim the sensor at the target or reflector and adjust until the indicator confirms stable detection. Use a level for applications requiring horizontal or vertical precision. Make small, incremental adjustments for best results.
Final Tightening and Stress Relief
After achieving perfect alignment, it is time to lock everything in place. Following a specific sequence is important to prevent shifting. First, securely tighten the sensor's own locking mechanism within the bracket to the manufacturer's specified torque. Next, tighten the bracket's main adjustment locking screws or nuts. Finally, fully tighten the bolts or screws that secure the bracket base to the mounting structure. Always use a torque wrench if a value is specified to avoid damaging threads or stripping screws. Re-check the alignment indicator after each tightening step to ensure no drift has occurred. Secure the sensor's cable using cable ties or clamps, providing adequate stress relief a few inches from the sensor housing to protect the electrical connections from pull or vibration.
Verification and Functional Testing
Do not assume the installation is complete after tightening. Conduct comprehensive functional testing. Power the system and observe the sensor's output status with and without the target present. Test the detection reliability by repeatedly introducing and removing the target at different speeds and positions within the sensing window. Verify that the sensor consistently triggers the intended control action (e.g., stopping a conveyor, counting an item). Test under normal operating conditions, including typical lighting and vibration. Document the installation, noting the bracket type, sensor model, alignment settings, and any environmental shields used for future maintenance reference.
Maintenance and Troubleshooting Tips
Regular inspection is key to long-term performance. Periodically check the bracket and sensor for loose fasteners, accumulated dirt or debris on the lens, and signs of physical damage or corrosion. Re-verify alignment during routine machine maintenance, as vibration can cause gradual loosening. If a sensor fails, before replacing it, check the bracket's integrity and alignment. A common issue is misalignment due to a bumped bracket, not a faulty sensor. Keep the lens clean using only approved cleaners and soft cloths. By maintaining a secure and precise bracket installation, you maximize sensor uptime and reduce false triggers in your automation system.