Introduction to Photoelectric Sensor Production
The manufacturing of photoelectric sensors is a sophisticated process that integrates precision optics, advanced electronics, and robust mechanical design. These devices, essential for object detection, positioning, and counting in automation, begin their journey as conceptual designs driven by specific application requirements. Engineers define critical parameters such as sensing range, response time, light source type (e.g., infrared, red LED, laser), output configuration (PNP/NPN, analog, IO-Link), and environmental protection ratings (IP67, IP69K). This initial phase involves extensive simulation and modeling to ensure the sensor will perform reliably under expected industrial conditions, including exposure to dust, moisture, vibration, and electromagnetic interference.
Sourcing and Preparation of Core Components
The production line starts with the procurement and preparation of key components. The heart of the sensor is its optoelectronic pair: the light emitter and the receiver. High-quality LED or laser diodes are sourced and tested for wavelength consistency and output power. Phototransistors or photodiodes are selected for the receiver based on required sensitivity. Simultaneously, precision-molded plastic or metal housings are manufactured. These housings are designed to precisely align the optical components and incorporate lens features. Circuit boards are fabricated, populated with microcontrollers, amplifiers, signal conditioners, and output transistors using Surface Mount Technology (SMT) lines. Each component undergoes incoming quality control (IQC) to reject any substandard parts before assembly.
The Assembly Process: From PCB to Housing
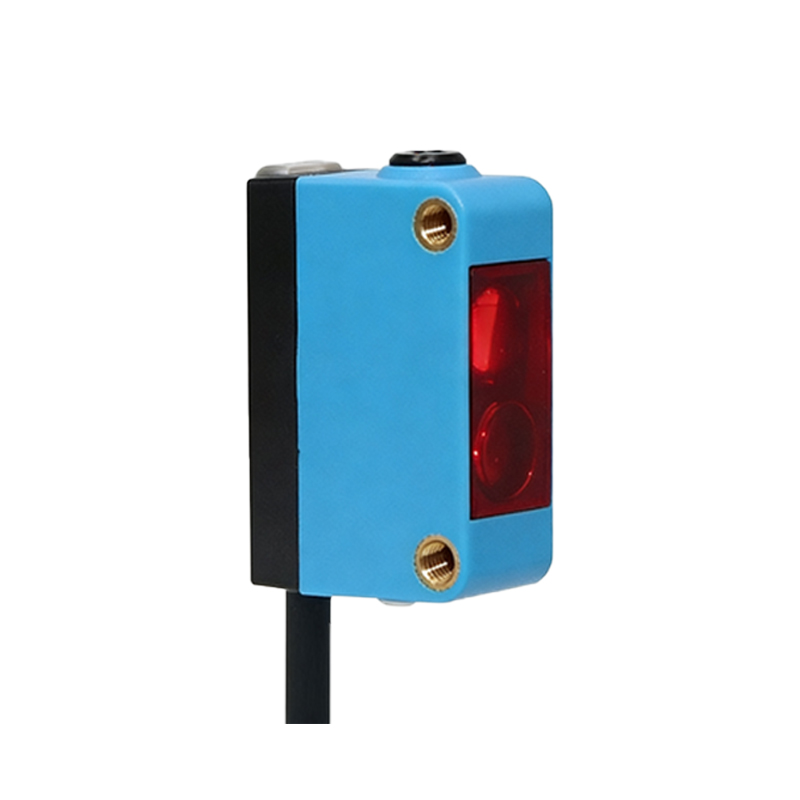
The core assembly is a multi-stage, often automated process. First, the emitter and receiver are soldered onto the printed circuit board (PCB) at designated locations. This step requires high precision to maintain optical alignment. The populated PCB is then fitted into the lower half of the sensor housing. Next, any optical elements—such as focusing lenses, filters, or apertures—are carefully inserted into predefined slots in the housing. These elements shape and direct the light beam. For through-beam sensors, the emitter and receiver are assembled into separate housings. For retro-reflective or diffuse sensors, they reside in a single unit. Connectors, cable glands, or pre-wired cables are then attached and sealed to the housing.
Potting and Sealing for Environmental Protection
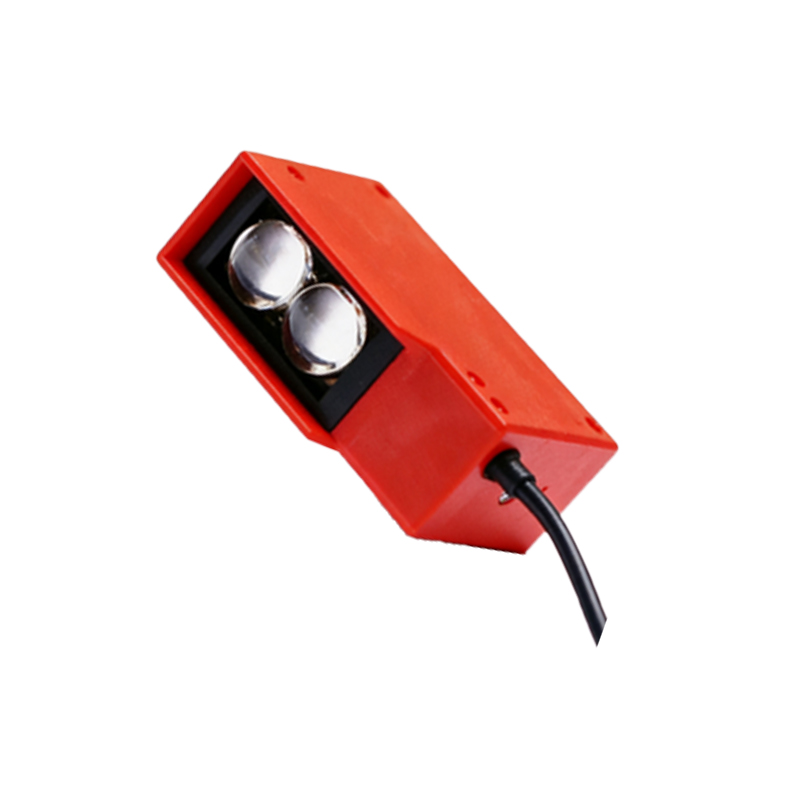
A critical step for industrial-grade sensors is potting and sealing. To protect the delicate electronic components from humidity, condensation, chemical splashes, and physical shock, the internal cavity of the housing is often filled with a transparent epoxy or silicone potting compound. This compound is carefully dispensed to encase the PCB and internal wiring completely, without bubbles or voids that could compromise protection or optical clarity. The potting process also enhances heat dissipation and provides significant mechanical stability. Following this, the housing halves are ultrasonically welded, screwed, or sealed with gaskets to achieve the specified Ingress Protection (IP) rating, ensuring long-term reliability in harsh environments.
Calibration and Functional Testing
No sensor leaves the factory without rigorous calibration and testing. Each unit is powered on and subjected to a series of automated tests. Calibration involves setting the sensing threshold and adjusting the amplifier gain to ensure consistent performance across the entire production batch. Functional tests verify key parameters: the actual sensing range, response speed, output signal accuracy, and background light immunity. Sensors are tested with standardized targets at minimum and maximum distances. Specialized chambers may simulate extreme temperatures, high humidity, or strong ambient light to validate performance under stress. Any unit failing to meet the stringent specifications is rejected for rework or recycling.
Final Quality Assurance and Packaging
After passing all functional tests, sensors undergo a final quality assurance audit. This includes visual inspection for cosmetic defects, verification of labeling and marking (model number, serial number, electrical symbols), and a final check of the sealing integrity. Approved sensors are then packaged according to customer and logistical requirements. Packaging is designed to prevent damage during shipping and often includes desiccant packets to control moisture. Technical datasheets, mounting brackets, and adjustment tools may be included in the box. The finished products are palletized and shipped to distribution centers or directly to OEMs for integration into larger machinery and automated systems.