Understanding Proximity Sensor Playback Modes
Proximity sensors are fundamental components in modern automation, detecting the presence or absence of objects without physical contact. The term "playback mode" in this context refers to the sensor's configurable output behavior or response pattern when a target is detected. This is not about audio playback, but rather how the sensor "plays back" or delivers its signal to the control system. Different applications demand different response characteristics. For instance, a high-speed packaging line requires a fast, pulsed output, while a safety interlock might need a sustained, latching signal. Understanding the available modes—such as momentary, latching, timed delay, or window mode—is the first critical step. Engineers must consult the specific sensor's datasheet, as terminology and capabilities vary between manufacturers like Omron, Sick, or Pepperl+Fuchs. The playback mode directly impacts system timing, logic, and reliability.
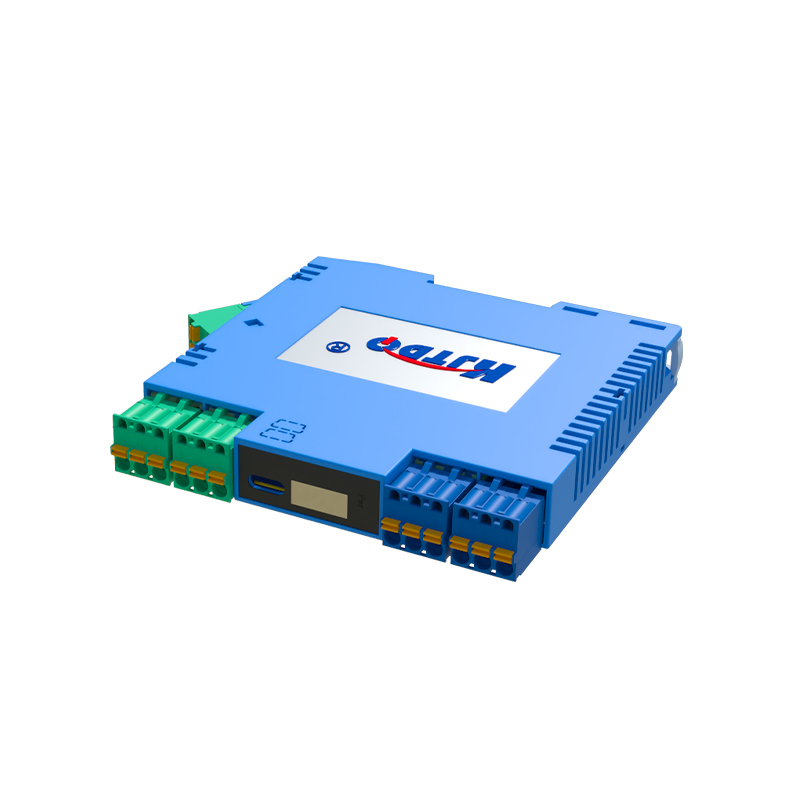
Pre-Adjustment Preparation and Safety
Before initiating any adjustments, thorough preparation is essential to ensure safety and accuracy. First, de-energize the electrical circuit following proper lockout-tagout (LOTO) procedures. Visually inspect the sensor for any physical damage or contamination. Verify the power supply specifications (e.g., 10-30V DC) match the sensor's requirements. Have the manufacturer's manual and wiring diagram readily available. Identify the sensor's adjustment interface, which could be physical pushbuttons, potentiometers, DIP switches, or a software-based tool. For programmable sensors, ensure the configuration software is installed and a compatible programming cable is on hand. Document the current settings if the sensor is already in operation. This preparatory phase prevents misconfiguration, equipment damage, and potential safety hazards during the debugging process.
Configuring Output Type and Logic
The core of setting the playback mode involves defining the output type and its logic. Most proximity sensors offer a choice between Normally Open (NO) and Normally Closed (NC) output configurations. This defines the idle state signal. Next, select the operational logic. A momentary or one-shot mode provides a brief output pulse upon detection, ideal for counting applications. A latching mode maintains its output state even after the target moves away, until a reset condition is met. Some sensors feature timing functions: an ON-delay holds the output off for a set period after detection, while an OFF-delay keeps the output on for a set time after the target leaves. Use a small screwdriver for potentiometer adjustments or navigate the menu on digital displays. For networked sensors, use the configuration software to select the desired function block from a list.
Setting Sensitivity and Hysteresis
Adjusting sensitivity and hysteresis is crucial for stable playback operation, preventing false triggering or signal chatter. Sensitivity, often adjusted via a potentiometer or software parameter, sets the detection range. Increase sensitivity for detecting smaller or more distant targets; decrease it to avoid interference from background objects. Hysteresis is the difference between the switch-on and switch-off points. A larger hysteresis provides noise immunity and stable switching, critical in environments with vibration or slowly moving targets. For example, in a liquid level control application, proper hysteresis prevents the pump from rapidly cycling on and off. Test these settings by moving a standard target toward and away from the sensor at the required operating distance, observing the output LED and using a multimeter or oscilloscope to verify signal cleanliness.
Implementing Timing and Delay Functions
Advanced playback modes incorporate precise timing controls. If your application requires a delayed response, locate the timing adjustment parameters. For an ON-delay, set the time (e.g., 0.1 to 10 seconds) the sensor waits after detection before activating its output. For an OFF-delay, set how long the output remains active after the target is no longer detected. A pulse stretcher function converts a brief detection into a longer, standardized output pulse. Conversely, a pulse generator can create a fixed-duration pulse regardless of how long the target is present. These functions are invaluable for synchronizing processes or debouncing signals. Always verify timing with a stopwatch or the oscilloscope's time measurement function to ensure it meets the process cycle time specifications.
Verification and Functional Testing
After configuration, rigorous testing is mandatory. Re-energize the circuit safely. Perform a static test by placing the target at the specified sensing distance and confirming the output activates (or deactivates, depending on logic). Use an output indicator, PLC input, or meter to verify. Next, conduct dynamic tests that simulate real operation. Move the target through