Adjusting the focus of a laser sensor is a critical procedure for ensuring accurate measurements and reliable performance in applications ranging from industrial automation to scientific research. A poorly focused laser can lead to erroneous data, reduced measurement precision, and even potential damage to the sensor or target. This guide provides a clear, step-by-step methodology for achieving optimal focus, applicable to common types of laser displacement, triangulation, and profile sensors.
The first step is preparation and safety. Always consult the manufacturer's specific manual for your sensor model, as procedures can vary. Ensure the work area is clean, stable, and free from ambient light interference or vibrations that could affect the process. Most importantly, adhere to laser safety protocols. Never look directly into the laser beam or its reflections, and use appropriate laser safety glasses rated for your sensor's wavelength and power. Power down the sensor during initial mechanical adjustments if possible.
Begin with mechanical pre-adjustment. Many laser sensors feature a lens assembly with a locking ring or set screw. Loosen this mechanism to allow the lens to move. Manually rotate the lens housing or adjustment ring to bring it to a mid-range position. This provides a good starting point for fine-tuning. Securely mount the sensor at the required working distance, as specified in its datasheet. This distance is typically measured from the sensor's front housing to the target surface.
The core of the process is the live adjustment using the sensor's output. Power on the sensor and connect it to its controller or evaluation unit to monitor the signal in real-time. A common method involves observing the peak intensity or signal strength indicator. Position a representative target material at the exact working distance. Slowly and carefully rotate the adjustment ring while watching the signal display. The goal is to find the point where the received signal is at its maximum peak value. This peak corresponds to the smallest, most intense laser spot on the target, indicating perfect focus. Avoid moving the sensor or the target during this adjustment; only rotate the focus ring.
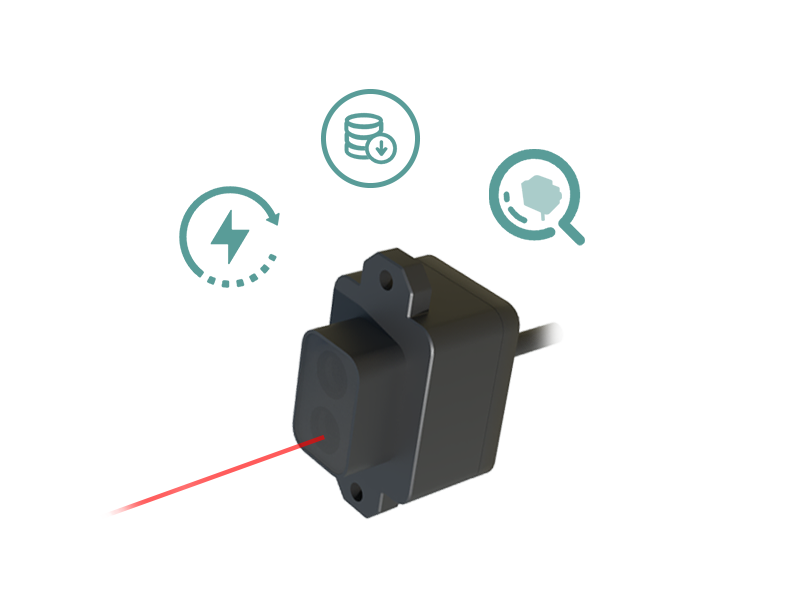
For sensors with digital interfaces or dedicated software, the process can be more precise. Use the software to plot the laser line profile or signal amplitude. A well-focused sensor will show a sharp, narrow peak in the profile. Some advanced software includes auto-focus routines or provides numerical values for signal quality, aiding in finding the absolute maximum.
After identifying the peak signal position, slightly rotate the ring in both directions to confirm you have found the true maximum, not a local peak. Once confirmed, carefully tighten the locking ring or set screw while holding the adjustment ring firmly in place to prevent any shift. Re-check the signal after locking to ensure no degradation occurred.
Finally, perform validation tests. Measure a known reference object or a calibrated step height. Check the repeatability of measurements at different points on the target. The sensor should deliver stable, accurate readings across its entire measurement range when correctly focused. Document the settings and the position of the adjustment ring for future reference.
Common pitfalls include adjusting the focus for the wrong working distance, failing to lock the mechanism properly leading to drift, or using an unrepresentative target surface. Remember that focus is optimal for a specific working distance; changing this distance significantly will require re-adjustment. For applications requiring a sharp laser line (e.g., profile sensors), ensure the line is thin and crisp along its entire length.
Regular maintenance checks are advisable, as mechanical shocks or temperature variations can sometimes affect focus. By following this systematic approach, you can ensure your laser sensor operates at its highest potential, providing the precision and reliability essential for demanding technical applications.