Laser sensors are critical components in modern automation, industrial measurement, and safety systems. Their precision and reliability depend heavily on proper calibration and systematic troubleshooting. This guide outlines a practical, step-by-step methodology for technicians and engineers to ensure laser sensors operate at peak accuracy and longevity, avoiding common pitfalls that lead to measurement drift or failure.
The initial phase involves pre-calibration checks. Before adjusting any parameters, inspect the sensor's physical installation. Verify that the mounting is secure and free from vibration, as even minor movement can cause significant error. Ensure the optical lens is clean; use only approved lens cleaning solutions and microfiber cloths to avoid scratches. Check the alignment between the sensor and the target. The laser beam should strike the target surface perpendicularly for most reflective and time-of-flight sensors. For diffuse reflection sensors, the target surface color and texture can dramatically affect the received signal strength. It is advisable to test with a representative sample of the actual target material.
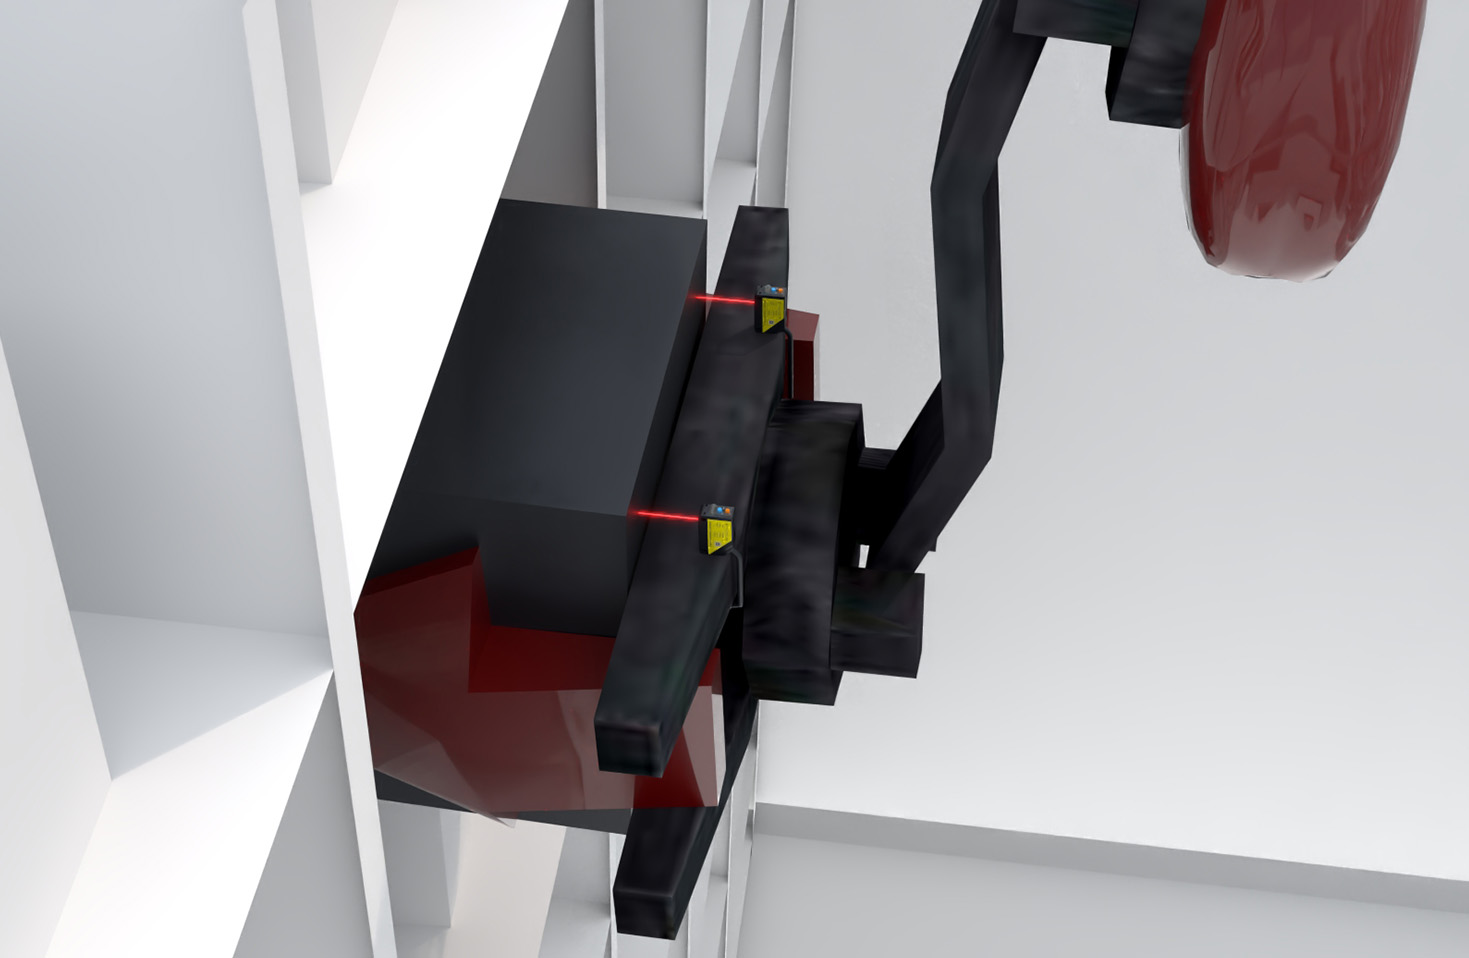
Power up the system and connect to the sensor's interface, which may be via dedicated software, a handheld programmer, or integrated I/O. Begin by resetting the sensor to its factory default settings to establish a known baseline. The core calibration process typically involves teaching the sensor the "near" and "far" limits of its measurement or detection window. For a distance-measuring sensor, place the target at the closest operational point and command the sensor to set this as the minimum reference. Repeat the process with the target at the maximum distance. This procedure scales the sensor's internal output accordingly. For a simple presence/absence sensor, adjust the sensitivity threshold so that the sensor reliably detects the target at the required distance without being triggered by background objects or ambient light.
Environmental interference is a major challenge. Ambient light, particularly from industrial LED lighting or sunlight, can saturate a sensor's receiver. Always assess the operating environment. If strong ambient light is unavoidable, select sensors with modulated laser light or specialized filters. Electrical noise from motors, drives, or welding equipment can also disrupt signal integrity. Use shielded cables, ensure proper grounding, and route sensor wiring away from high-power lines. In dusty or humid environments, select sensors with adequate IP ratings and consider using protective air purges for the lens.
When a laser sensor malfunctions, a logical troubleshooting sequence is essential. First, confirm basic operation: Is the power supply within the specified voltage range? Are the output indicators (LEDs) behaving as expected? A simple test is to interrupt the beam path with a standard, high-reflectivity target. If the sensor responds, the issue may lie with the properties of the actual target. If it does not, proceed to check connections and cabling for damage.
Next, analyze the symptom. Is the output unstable (flickering), consistently false, or completely dead? An unstable output often points to electrical noise, a vibrating target, or a marginal sensitivity setting. Increase the sensor's response time or damping filter to smooth the signal. Consistently false readings (e.g., detecting when nothing is present) suggest incorrect threshold settings, background reflections, or a dirty lens. A dead output could indicate wiring faults, a failed output circuit, or internal sensor damage.
Utilize built-in diagnostics if available. Many modern laser sensors provide real-time signal strength or distance values via their software. Monitoring this "teach" or "analog" value is invaluable. Observe how this value changes as you introduce the target. A weak or erratic signal strength indicates poor alignment, an unsuitable target surface, or insufficient power. A stable but incorrect value suggests a calibration error.
Finally, document all calibration settings and environmental conditions. Regular preventive maintenance, including periodic re-calibration against a master standard and lens cleaning, is far more cost-effective than dealing with unplanned downtime. Keep spare sensors calibrated and on hand for critical applications to facilitate swift replacement. By adhering to a disciplined approach of proper installation, calibrated setup, environmental mitigation, and systematic fault isolation, the performance and service life of laser sensor systems can be maximized, ensuring continuous and accurate operation in demanding applications.