In today's world, where convenience and energy efficiency are paramount, installing a proximity sensor switch is a smart upgrade for any home or office. These devices, which automatically turn lights on when motion is detected and off when an area is vacant, offer hands-free operation, enhanced security, and significant energy savings. Unlike traditional switches, they provide a seamless, modern touch to your living or working environment. If you're considering this upgrade, the installation process is straightforward for anyone with basic DIY skills and a focus on safety. This guide will walk you through the entire process, from preparation to testing.
Before you begin, gathering the right tools and materials is crucial for a smooth installation. You will need a new proximity sensor switch (also commonly called a motion sensor switch or occupancy sensor), a flat-head and a Phillips screwdriver, wire strippers, needle-nose pliers, voltage tester, wire connectors (often called wire nuts), and electrical tape. Most importantly, ensure you have turned off the power at the main circuit breaker. Use the voltage tester on the existing switch wires to double-check that the power is completely off before touching any wires. This step cannot be overstated; working on live electrical circuits is extremely dangerous.
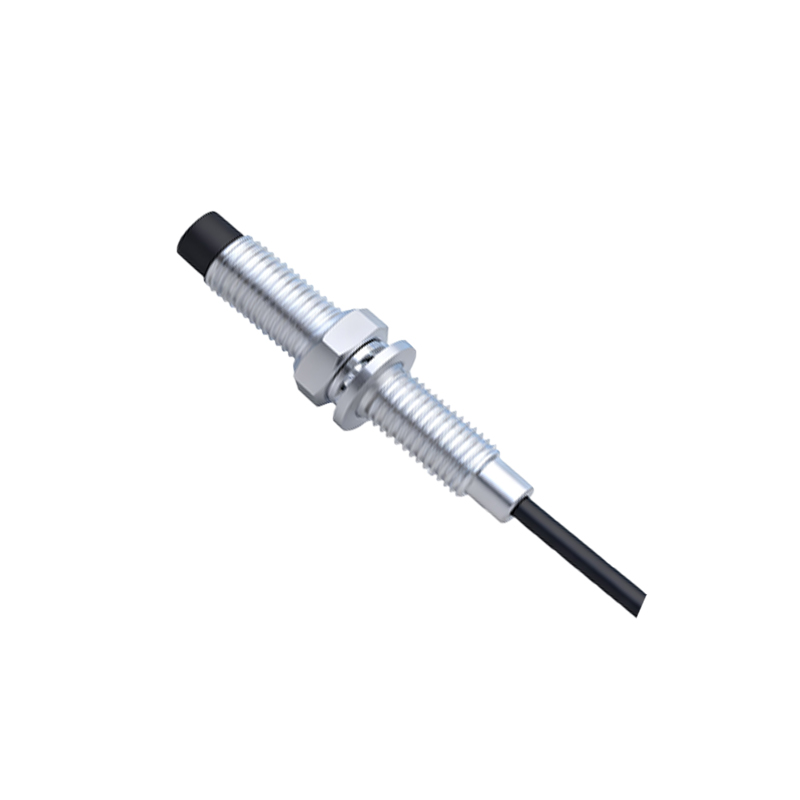
Once safety is confirmed, remove the existing light switch cover plate and the switch itself from the wall box. Carefully disconnect the wires. You will typically find a black (hot/live) wire, a white (neutral) wire, and a bare copper or green (ground) wire. Some setups might have additional wires. Your new proximity sensor switch will have corresponding terminals: usually labeled "Line" (or "Hot In"), "Load" (or "Hot Out to Light"), "Neutral," and "Ground." It is vital to follow the manufacturer's wiring diagram precisely, as configurations can vary.
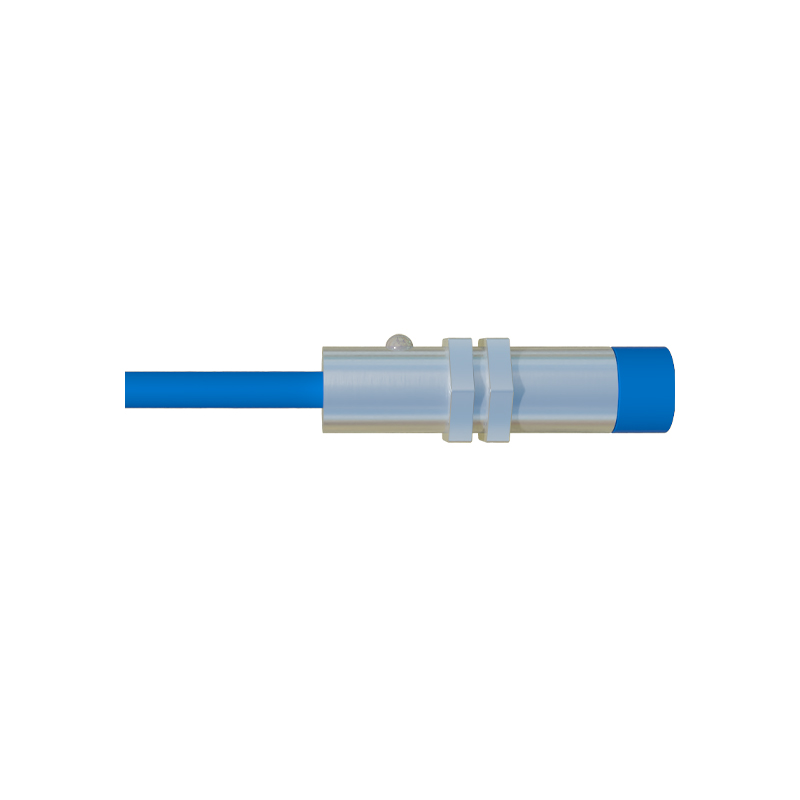
Connect the wires step by step. First, connect the ground wire from the wall to the green screw or ground wire on the sensor switch. Next, connect the white neutral wire from the wall to the white neutral wire on the switch. Then, identify the wall's black hot wire and connect it to the switch's black "Line" wire. Finally, connect the wire that goes to the light fixture (often another black or red wire) to the switch's red or black "Load" wire. Secure all connections tightly with wire nuts and wrap them with electrical tape for added safety. Neatly tuck the connected wires back into the wall box.
Now, attach the sensor switch to the wall box using the provided screws and secure the faceplate. Do not turn the power back on just yet. Most proximity sensor switches have customizable settings. Locate the adjustment dials or switches on the device. You can typically set the "Time Delay," which determines how long the light stays on after motion ceases (e.g., 30 seconds to 30 minutes). You can also adjust the "Sensitivity," which controls the range and detection of motion, and the "Ambient Light Level" or "Lux Setting," which prevents the light from turning on during daylight hours if desired. Set these according to your room's needs.
Finally, restore power at the circuit breaker. The sensor may take a minute to initialize. Test the installation by walking into the sensor's field of view. The light should turn on automatically. Wait for the time delay to expire and ensure it turns off. Fine-tune the sensitivity and time settings as needed. For optimal performance, install the switch in a location with a clear, unobstructed view of the area you want to monitor, typically 6 to 8 feet above the floor. Avoid placing it near air vents, heaters, or fans, as moving air can trigger false activations.
A properly installed proximity sensor switch in a hallway, closet, bathroom, garage, or office not only adds a layer of modern automation but also contributes to a reduction in electricity bills by eliminating wasted energy from lights left on. It’s a practical project that enhances safety, as you never have to fumble for a switch in the dark, and improves security by deterring intruders with unexpected light. With careful planning and adherence to safety protocols, you can successfully integrate this smart technology into your space, enjoying its benefits for years to come.