Proximity sensors are critical components in modern smartphones, responsible for detecting the presence of nearby objects—most commonly, a user's face during a call—to automatically turn off the display and prevent accidental touch inputs. As an electrical engineer specializing in mobile device hardware validation, I will outline systematic testing methodologies for these sensors, complete with practical illustrations to ensure accurate performance evaluation.
Understanding the Proximity Sensor Mechanism
Typically, a proximity sensor consists of an infrared (IR) LED emitter and an IR photodiode receiver. When an object approaches the phone, the emitted IR light reflects off the object and is captured by the receiver. The sensor's IC then processes this signal to determine proximity. Common issues include calibration drift, IR window contamination, or component failure, leading to malfunctions like the screen not turning off during calls.
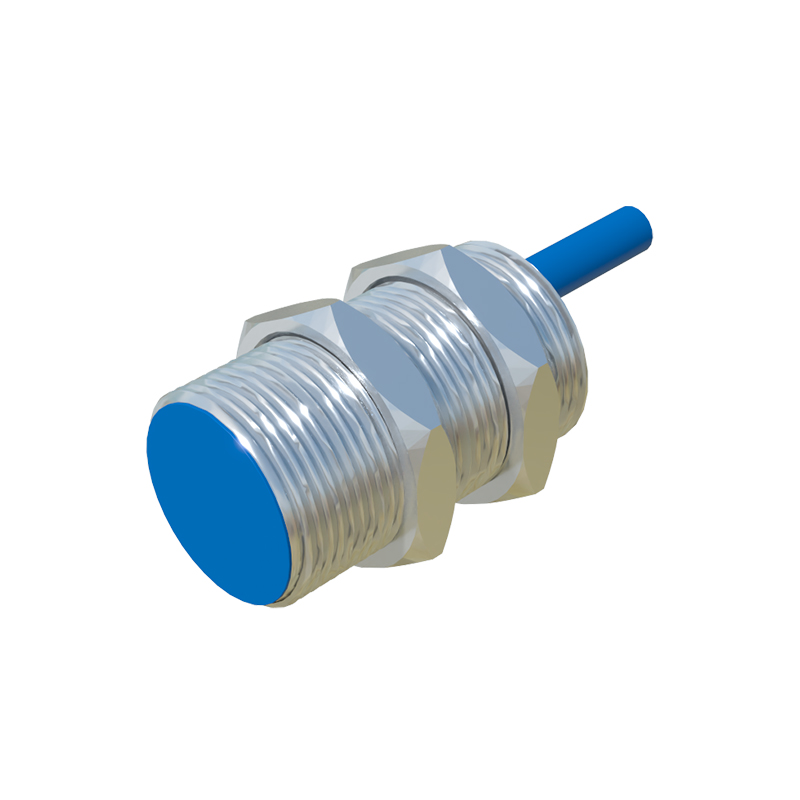
Essential Tools for Testing
Before beginning tests, gather the following:
1. A digital multimeter (DMM) for voltage and continuity checks.
2. An oscilloscope to analyze signal waveforms.
3. An IR reflectance standard or a calibrated test object (e.g., a white card with specified reflectivity).
4. A dark testing environment to eliminate ambient light interference.
5. Manufacturer-specific software or diagnostic tools (e.g., engineering mode apps) for sensor data reading.
Step 1: Visual Inspection and Basic Continuity Check
Start with a physical examination under magnification. Look for cracks in the IR window (usually located near the earpiece) or misalignment of the sensor module. Using the DMM, check continuity between the sensor's connector pins and the mainboard pads to identify open circuits or shorts. Refer to the device's schematic for pin definitions—typical connections include VCC (power), GND, I2C data lines, and interrupt pins.
Step 2: Power Supply Verification
Power the device and use the DMM to measure voltage at the sensor's VCC pin. Most smartphone proximity sensors operate at 1.8V or 3.3V. Ensure the voltage is stable within ±5% tolerance. Fluctuations may indicate power rail issues. Next, verify the I2C bus functionality by probing SCL (clock) and SDA (data) lines with an oscilloscope; you should observe periodic pulses when the sensor is active.
Step 3: Functional Testing with Diagnostic Software
Enter the device's engineering mode (often by dialing a specific code like ##4636## on Android) to access hardware testing menus. Select "Proximity Sensor Test" and observe the real-time output values. A working sensor will show varying proximity readings—typically in millimeters or arbitrary units—as you move your hand closer to or farther from the IR window. Note: values may be labeled "near" (object detected) or "far" (no object).
Step 4: Calibration and Response Accuracy Test
Calibration is crucial for consistent performance. Using a standardized test object, place it at known distances (e.g., 2mm, 5mm, 10mm) from the sensor. Record the sensor's output at each distance. Compare results with the manufacturer's specification sheet; deviations beyond ±10% may require recalibration via software tools or hardware adjustment. For illustration, see Diagram A below, which shows a typical test setup with distance markers.
Diagram A: Test Setup Illustration
(Imagine a diagram here showing a smartphone with an IR emitter/receiver labeled. A test object is positioned at varying distances (2mm, 5mm, 10mm) on a ruler scale. Signal waveforms on an oscilloscope screen are displayed alongside, depicting clean IR pulses.)
Step 5: Environmental and Interference Testing
Test the sensor under different lighting conditions (dark room vs. bright sunlight) to ensure ambient light rejection. Additionally, check for electromagnetic interference (EMI) by operating the device near other electronics. Use the oscilloscope to monitor signal noise on the sensor's output line; excessive noise can cause false triggers.
Step 6: Failure Analysis and Troubleshooting
If the sensor fails any test, systematic isolation is key. Possible faults include:
- Weak IR Emission: Measure the IR LED's forward voltage and current with the DMM. Replace the emitter if values are out of spec.
- Receiver Saturation: Clean the IR window to remove dirt or adhesive residue that may block or scatter light.
- Software Glitches: Update firmware or reset calibration data using manufacturer tools.
Conclusion
Regular testing of proximity sensors ensures optimal device functionality and user experience. By following this illustrated guide—combining hardware checks, software diagnostics, and