As an experienced electrical engineer specializing in automotive systems, I often encounter inquiries about optimizing the user interface in modern electric vehicles. One key component that enhances the user experience in NIO models is the proximity sensor integrated into the central control screen. This sensor plays a crucial role in detecting the presence of a hand or object near the screen, enabling features like automatic wake-up, dimming, or context-sensitive menus. Proper configuration ensures seamless interaction, reduces power consumption, and minimizes accidental touches. Below, I’ll guide you through the setup process, technical considerations, and best practices for adjusting this sensor in NIO vehicles.
First, understand the sensor’s purpose. The proximity sensor in NIO’s central control screen typically uses infrared (IR) or capacitive technology to sense nearby objects. It’s designed to improve usability by responding to user gestures without physical contact. For instance, when your hand approaches the screen, it might activate a quick menu or adjust brightness. To configure it, start by accessing the vehicle’s settings menu. Turn on the NIO vehicle and ensure the central control screen is active. Navigate to the “Settings” icon, usually represented by a gear symbol, and select “Display” or “Screen Options.” Within this submenu, look for “Proximity Sensor” or “Gesture Controls.” If it’s not immediately visible, check under “Advanced Settings” or “System Preferences,” as placement can vary by NIO model and software version.
Once you locate the proximity sensor settings, you’ll see options to enable or disable the sensor. I recommend keeping it enabled for optimal functionality. Next, adjust the sensitivity level. Most NIO models offer a slider or preset modes (e.g., Low, Medium, High). Sensitivity determines how close an object must be to trigger a response. For daily use, a medium setting works well, balancing responsiveness and avoiding false triggers from distant movements. If you notice the screen reacting too often or not at all, tweak the sensitivity accordingly. High sensitivity is useful if you prefer subtle gestures, while low sensitivity reduces interference in crowded spaces.
Calibration is another critical step. Some NIO systems include an automatic calibration feature, which you can initiate by selecting “Calibrate Sensor” in the menu. Follow on-screen instructions, which may involve moving your hand near the screen at specified distances. If manual calibration is available, ensure the vehicle is parked in a well-lit area without direct sunlight, as extreme light can affect IR sensors. Avoid obstacles near the screen during calibration to prevent inaccurate readings. After calibration, test the sensor by waving your hand close to the screen; it should respond promptly with visual or haptic feedback.
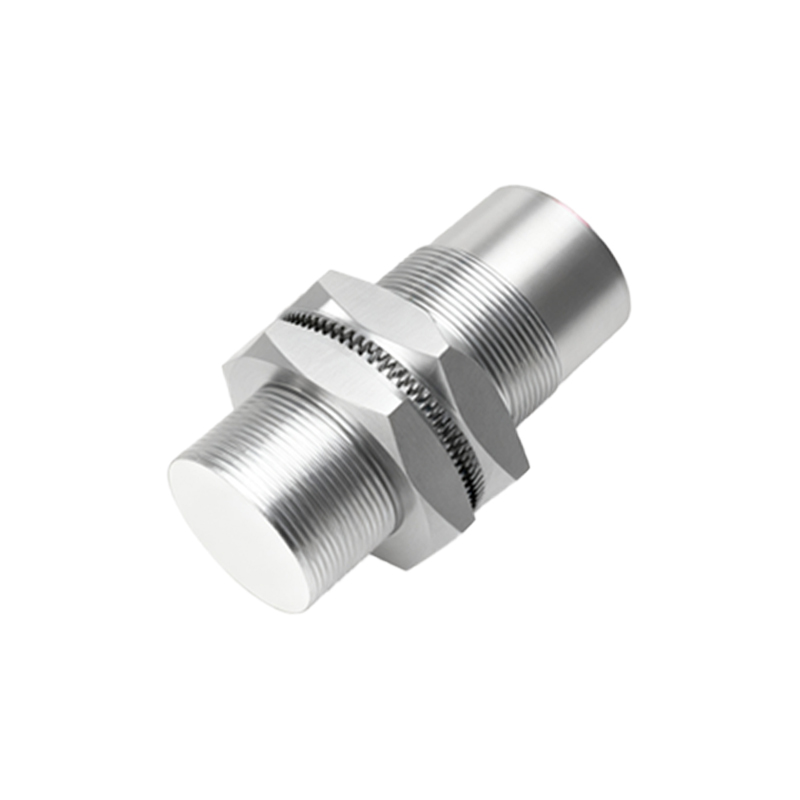
Consider environmental factors that impact sensor performance. Proximity sensors can be influenced by temperature, humidity, or obstructions like screen protectors. If you’ve installed an aftermarket screen protector, ensure it’s compatible with NIO’s sensor technology—thick or metallic protectors might hinder detection. In such cases, re-calibrate the sensor post-installation. Additionally, keep the screen clean from dust and smudges, as debris can interfere with capacitive sensors. NIO’s software updates may also enhance sensor algorithms, so regularly check for system updates via the vehicle’s infotainment menu to maintain peak performance.
For advanced users, delve into integration with other systems. In NIO vehicles, the proximity sensor often works in tandem with ambient light sensors and driver monitoring systems. You can customize settings for specific scenarios, such as linking sensor activation to interior lighting schemes or voice commands. Explore the “Smart Features” section to set up automations—for example, having the screen dim when no hand is detected for a prolonged period to save energy. Remember, these configurations should align with your driving habits; over-customization might lead to complexity.
Troubleshooting common issues is part of the setup process. If the sensor fails to respond, first reboot the central control system by holding the power button or performing a soft reset through the settings menu. Check for physical obstructions or damage to the screen edges where sensors are housed. Consult NIO’s official documentation or contact customer support if problems persist, as hardware faults might require professional servicing. From an engineering perspective, always prioritize safety: avoid modifying sensor firmware or hardware beyond manufacturer guidelines, as this could void warranties or compromise vehicle systems.
In summary, configuring the proximity sensor on NIO’s central control screen involves accessing settings, adjusting sensitivity, calibrating, and considering environmental factors. This process enhances the interactive experience while ensuring efficiency. As electric vehicles evolve, such sensors represent a blend of hardware and software innovation, demanding careful setup for optimal performance. By following these steps, you can tailor the sensor to your preferences, making your NIO driving experience more