Disassembling a proximity switch sensor cylinder is a common maintenance task in industrial automation and pneumatic systems. This procedure requires precision, an understanding of the components, and adherence to safety protocols. Whether for troubleshooting, repair, or replacement, following a systematic approach ensures the integrity of the sensor and cylinder. Below is a detailed guide tailored for electrical engineers and maintenance professionals.
Before starting, gather the necessary tools: appropriate screwdrivers, wrenches, a clean workspace, anti-static precautions if needed, and the manufacturer’s manual for reference. Always de-energize the electrical supply and depressurize the pneumatic system to prevent accidents. Lockout-tagout (LOTO) procedures must be strictly followed to isolate energy sources.
Step 1: Identify the Cylinder and Sensor Type
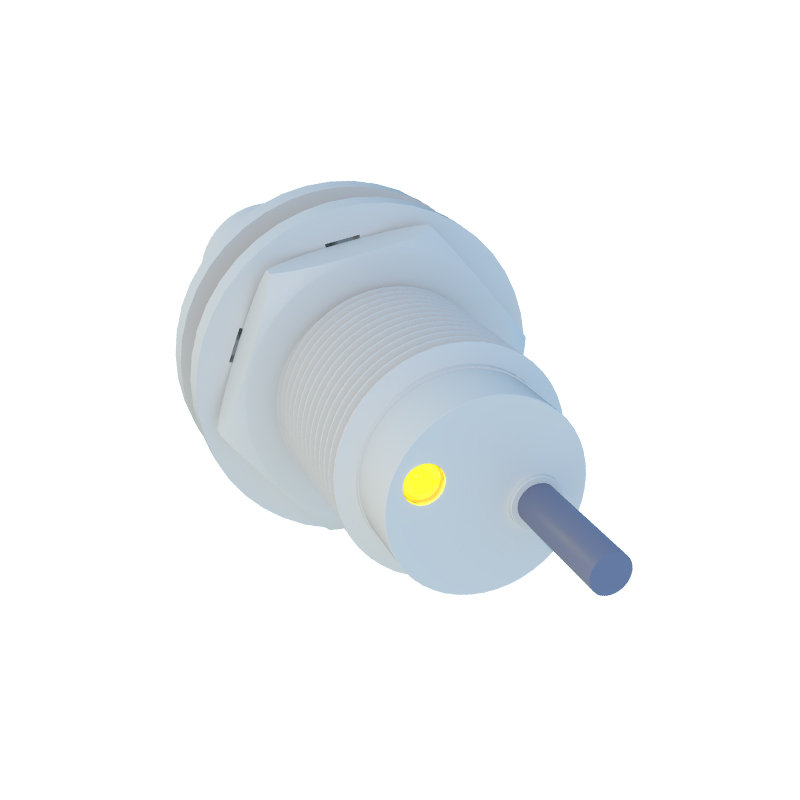
Proximity switch sensors on cylinders can be inductive, capacitive, or magnetic, often mounted externally or integrated into cylinder bodies. Determine the mounting style—bracket, slot, or threaded—and the connection type (e.g., M12 connector, cable outlet). This identification helps in planning the disassembly sequence without damaging sensitive parts.
Step 2: Disconnect Electrical and Pneumatic Lines
Carefully disconnect the sensor’s electrical cables, noting the wiring configuration or labeling wires if necessary. For pneumatic cylinders, disconnect the air supply lines and bleed any residual pressure. Use a container to catch any hydraulic fluid if present. Ensure the cylinder is in a retracted or extended position as per manual guidelines to ease disassembly.
Step 3: Remove the Sensor from the Cylinder
Most proximity sensors are secured with set screws, bolts, or clamping mechanisms. Loosen these fasteners gently using the correct tool size to avoid stripping. If the sensor is embedded in a cylinder slot, slide it out evenly without applying excessive force. For magnetic sensors, note the orientation relative to the piston position, as this affects sensing accuracy during reassembly.
Step 4: Separate the Cylinder Components
With the sensor removed, proceed to disassemble the cylinder if needed. Start by detaching end caps or mounting brackets. Remove piston rods by unscrewing tie rods or end bolts, keeping track of seals and bearings. Internal components like pistons, rods, and seals should be laid out in order to facilitate inspection and reassembly. Avoid contaminating internal surfaces with dirt or debris.
Step 5: Inspect and Document Findings
During disassembly, inspect the sensor for wear, corrosion, or damage. Check cylinder bores, seals, and rods for scratches or leaks. Document any issues, such as misalignment or worn parts, as this aids in troubleshooting. Cleaning components with appropriate solvents may be necessary, but avoid harsh chemicals that could degrade materials.
Step 6: Reassembly Considerations
While reassembly is not covered in detail here, note that reversing the steps requires careful alignment. Ensure sensors are repositioned accurately according to manufacturer specifications, typically at the midpoint of cylinder stroke for optimal detection. Torque fasteners to recommended values and verify electrical connections are secure.
Safety and best practices include wearing protective gear, avoiding static discharge near electronic sensors, and testing the system after reassembly. Common pitfalls to avoid are forcing components, mixing parts from different cylinders, and neglecting calibration. Always refer to technical datasheets for torque settings, temperature ratings, and compatibility.
In summary, disassembling a proximity switch sensor cylinder demands methodical execution. By prioritizing safety, using proper tools, and maintaining component organization, engineers can efficiently perform maintenance, extend equipment lifespan, and minimize downtime in industrial operations.