Proximity sensors are critical components in modern sanitation vehicles, ensuring operational safety and efficiency by detecting the presence of objects or personnel near moving parts like compactors, lifters, or rear doors. Proper wiring is essential for reliable performance, preventing malfunctions that could lead to downtime or accidents. This guide provides a step-by-step approach to wiring proximity sensors on sanitation vehicles, adhering to industry standards and best practices.
First, identify the sensor type. Inductive proximity sensors are commonly used for metal detection in hydraulic systems, while capacitive sensors may be employed for non-metal targets like waste bags. Check the manufacturer’s datasheet for specifications such as voltage rating (typically 10-30V DC or 20-250V AC), output type (PNP or NPN), and sensing range. Ensure the sensor is compatible with the vehicle’s electrical system—most sanitation vehicles use 12V or 24V DC circuits.
Begin by disconnecting the vehicle’s battery to prevent electrical shocks or short circuits. Locate the mounting position for the sensor, often near hazardous zones like the compactor chamber or tailgate. Mount the sensor securely using brackets, ensuring it is aligned correctly with the target area. Avoid placing it near high-temperature components or areas prone to moisture and debris accumulation, as these can affect sensitivity.

Wiring involves three main connections: power supply, ground, and output. For a standard three-wire DC sensor:
1. Connect the brown wire (or red, depending on the brand) to the positive terminal of the power source (e.g., 24V DC from the vehicle’s control panel).
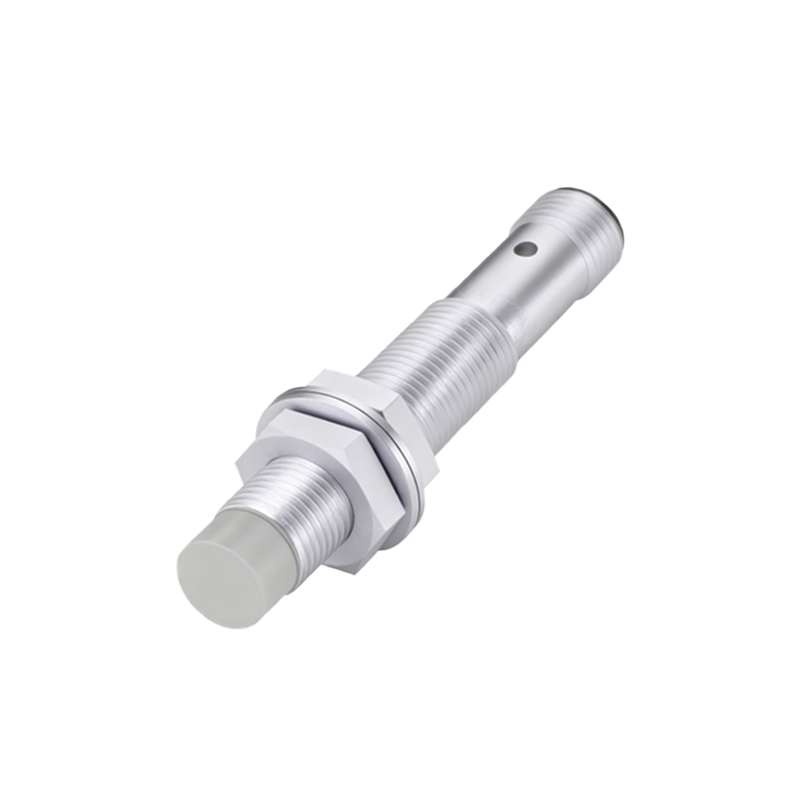
2. Connect the blue wire to the ground or negative terminal.
3. Connect the black wire (output) to the input of the control unit, such as a PLC or relay. For PNP sensors, the output provides positive voltage when activated; for NPN sensors, it switches to ground. Double-check polarity to avoid damage.

If the sensor has a two-wire AC configuration, connect one wire to the AC power source and the other to the load. Always use shielded cables for longer runs to reduce electromagnetic interference from vehicle engines or motors. Secure wires with cable ties and conduits to protect against vibration and environmental hazards like chemicals or water splashes.
After wiring, test the sensor by powering the system. Use a multimeter to verify voltage levels at the output terminal when an object enters the sensing range. Adjust the sensor’s position if the detection is inconsistent. Integrate the sensor with the vehicle’s safety circuit—for instance, connect it to an alarm or automatic stop mechanism to halt operations if an obstruction is detected.
Regular maintenance is key. Inspect wiring for wear or corrosion, especially in harsh sanitation environments. Clean sensor faces to prevent false triggers from dirt buildup. Document the wiring diagram for future troubleshooting, and train technicians on proper handling procedures. By following these steps, you can ensure proximity sensors enhance the safety and reliability of sanitation vehicles, reducing risks and improving operational continuity.