In industrial automation and control systems, proximity sensors play a critical role in detecting the presence or absence of objects without physical contact. A common visual indicator on many models is a status LED, often illuminating in green for normal operation and yellow (or amber) for specific conditions. When a proximity sensor's yellow light remains constantly illuminated, it signals an operational state that requires attention. This persistent yellow indicator is not necessarily an alarm for immediate failure, but rather a diagnostic flag indicating a deviation from standard operating parameters. Understanding the root causes, implications, and corrective actions is essential for maintaining system integrity and preventing downtime.
The constant illumination of a yellow LED typically falls into several diagnostic categories. First and foremost, it can indicate a marginal sensing condition. The sensor may be detecting an object, but the detected target is at the extreme limit of the sensor's specified sensing range, or the object's material, size, or orientation is causing a weak or unstable signal. In such cases, the sensor enters a "caution" state, signified by the yellow light, to alert operators that detection is occurring but not under optimal conditions. This often precedes a potential loss of detection if the situation worsens.
Secondly, environmental interference is a frequent culprit. Electrical noise from nearby motors, variable frequency drives (VFDs), welding equipment, or high-current cables can induce stray signals in the sensor or its wiring. This noise can trick the sensor into a state where it cannot definitively confirm either "object present" or "object absent," causing it to default to a warning state with the yellow LED lit. Similarly, physical contamination—such as buildup of metal shavings, dust, oil, or coolant on the sensing face—can alter the sensor's electromagnetic or capacitive field, leading to erratic behavior and the activation of the warning light.
Third, configuration or setup issues can trigger this warning. For programmable or teach-in sensors, an incorrect setting of the switching threshold or hysteresis might place the sensor in a perpetual "in-between" state. Power supply problems, such as voltage at the lower tolerance limit or ripple on the DC supply, can also cause the sensor's internal circuitry to operate marginally, prompting the yellow indicator. Furthermore, in certain two-wire AC sensors or specific diagnostic models, a constant yellow light might be a designated state indicating a short-circuit or overload condition on the output.
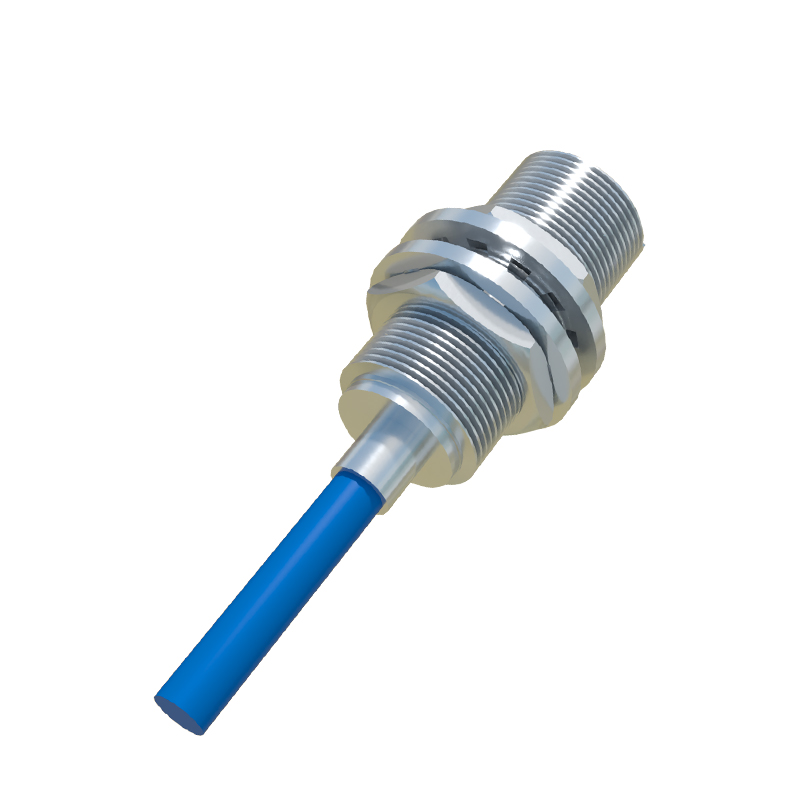
The implications of ignoring a constantly lit yellow light are significant. It can lead to intermittent machine operation, false triggers, or undetected failures in the production line. In precision applications, it compromises the reliability of the entire control loop. Therefore, a structured troubleshooting approach is recommended.
Begin by consulting the sensor's specific datasheet or manual. The meaning of LED colors can vary by manufacturer and model. Assuming yellow indicates a warning, follow these steps:
1. Inspect the Sensing Environment: Verify the target object is within the specified sensing distance and is of the correct material and size. Ensure no secondary objects are partially within the detection field. Clean the sensor face thoroughly.
2. Check Electrical Connections and Supply: Measure the supply voltage at the sensor terminals under load to ensure it is stable and within the rated range (e.g., 24V DC ±10%). Inspect wiring for loose connections, damage, or poor shielding.
3. Investigate Electrical Noise: Separate sensor cables from power lines and noise sources. Use shielded cables, ensure proper grounding of the shield at the controller end only, and consider installing ferrite cores or line filters.
4. Verify Configuration: For programmable sensors, re-teach or recalibrate the sensing point according to the actual target and background conditions. Ensure any damping or response time settings are appropriate.
5. Perform a Substitution Test: If possible, replace the sensor with a known-good unit of the same model. If the yellow light disappears, the original sensor may be faulty or degraded. Internal component drift or damage can cause it to operate outside its normal window.
Preventive measures include selecting the correct sensor type (inductive, capacitive, ultrasonic) for the application, ensuring proper installation with adequate clearance, implementing robust noise suppression practices from the outset, and establishing a routine maintenance schedule for inspection and cleaning.
In conclusion, a proximity sensor with a constant yellow light is communicating valuable diagnostic information. It serves as an early warning system, highlighting issues with the sensing setup, environment, or the sensor itself. By systematically addressing potential causes—from target positioning and contamination to electrical noise and supply issues—engineers and technicians can resolve the underlying problem, restore optimal sensor performance, and ensure the reliability of the automated process. Ignoring this warning light shifts the system from a state of monitored control to one of potential unplanned failure.