In modern automotive electrical systems, proximity sensors play a critical role in advanced driver-assistance systems (ADAS), parking assistance, and collision avoidance. A circuit short in the left rear proximity sensor can trigger warning lights, disable key features, and potentially affect vehicle safety. This guide delves into the technical causes, diagnostic procedures, and repair methodologies for this specific fault, tailored for automotive technicians and engineers.
A circuit short, fundamentally, is an unintended low-resistance connection between two points in an electrical circuit that should not be connected. In the context of a left rear proximity sensor, this typically involves the sensor's power supply wire, ground wire, or signal wire making contact with the vehicle chassis, another wire, or a compromised sensor body. The primary symptoms include a persistent malfunction indicator lamp (MIL) or specific ADAS warning, diagnostic trouble codes (DTCs) such as "C1A1F: Left Rear Parking Aid Sensor Circuit Short to Ground" or similar, and complete failure of the rear parking sensor array or cross-traffic alert system on the affected side.
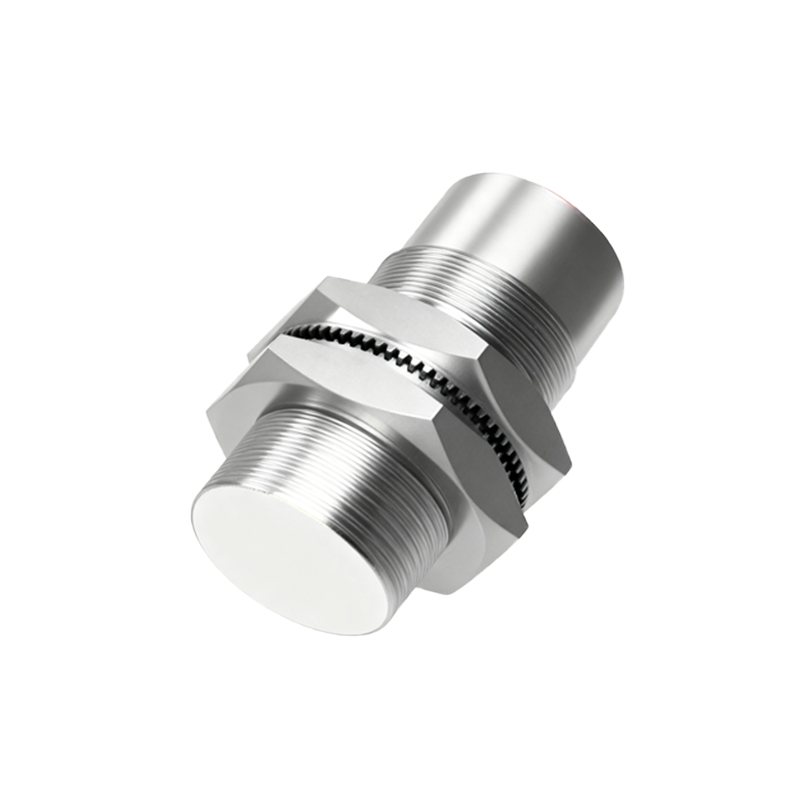
The root causes are multifaceted. The most common is physical damage to the wiring harness routed near the rear bumper, wheel well, or within the trunk/hatch area. Abrasion from sharp edges, corrosion due to water ingress, or impact damage from minor collisions can breach wire insulation. Secondly, the sensor itself can fail internally, where moisture or physical shock creates a short circuit between its internal terminals. Poor manufacturing or substandard aftermarket replacement parts are also contributing factors. Finally, issues at the connector—such as bent pins, corrosion, or contamination with conductive debris—can simulate a short circuit condition.
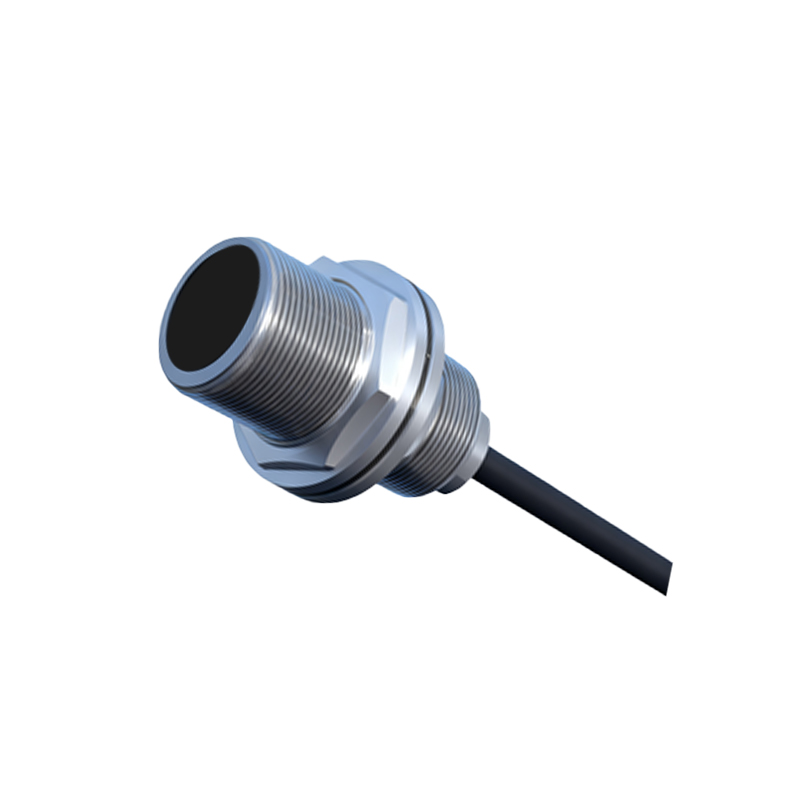
Diagnosis requires a systematic approach. Begin by consulting the vehicle's service manual for the specific wiring diagram and connector pinout of the left rear proximity sensor circuit. Using a high-impedance digital multimeter (DMM), the first step is to measure resistance. With the sensor disconnected, measure the resistance between the suspected shorted circuit wire (e.g., signal wire pin at the harness connector) and a known good chassis ground. A reading near zero ohms (e.g., less than 5 ohms) with the sensor disconnected confirms a short in the wiring harness. If the short disappears when the sensor is disconnected, the fault lies within the sensor unit itself.
For intermittent faults, a lab scope or automotive oscilloscope is invaluable. Monitor the sensor's signal line while manipulating the harness. A healthy sensor typically shows a digital PWM signal or a varying voltage. A short to ground will pull the signal line voltage to near zero volts, while a short to power will show a constant battery voltage, flattening the expected waveform. Always perform a voltage drop test along the ground circuit for the sensor; an excessive drop can indicate a poor ground that may not be a direct short but can cause similar symptoms.
Repair procedures must adhere to OEM standards. For a damaged harness, the recommended practice is to replace the entire sub-harness section. If splicing is necessary, use solder-seal connectors or proper soldering with heat-shrink tubing that provides environmental sealing—never use simple crimp connectors in exterior locations. Ensure the repaired harness is securely routed away from moving parts and sharp edges, using existing clips and looms. When replacing the sensor, calibrate it according to the manufacturer's procedure. Many modern ADAS systems require static or dynamic calibration after sensor replacement to ensure accurate target detection. Clear all DTCs and perform a full system functionality test, including activating the parking aid system and verifying the sensor's response on a scan tool data list.
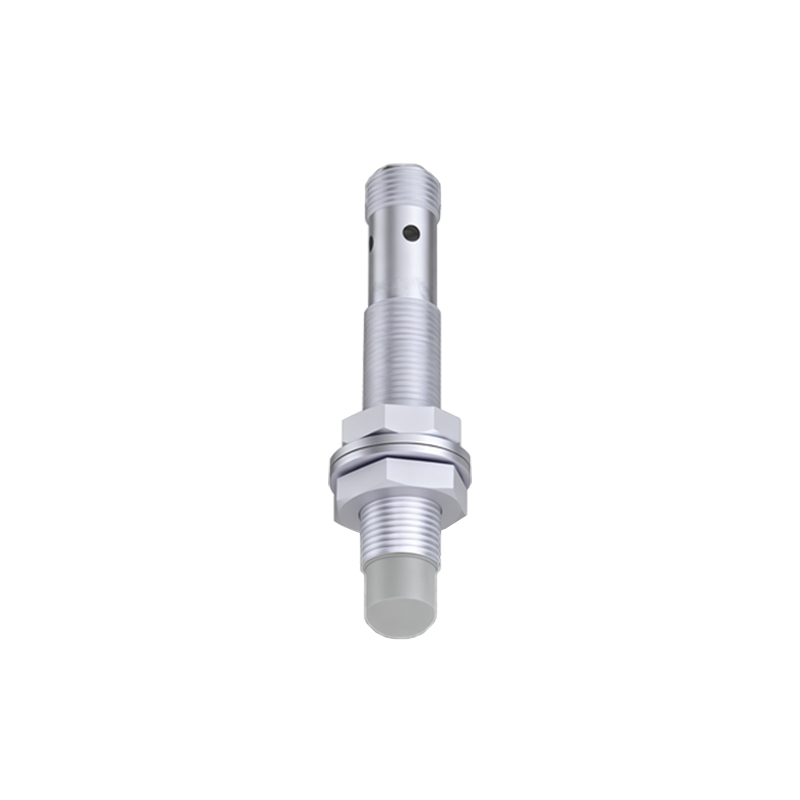
Prevention is key. During any rear-end repair work, technicians should meticulously inspect the sensor wiring path. Applying additional protective conduit or tape in high-risk abrasion areas can extend harness life. Using only OEM or OEM-equivalent sensors and connectors ensures compatibility and longevity. Regular vehicle washes can help prevent corrosive salt buildup, but high-pressure sprays directly at sensor seals should be avoided.
In conclusion, a left rear proximity sensor circuit short is a definitive electrical fault requiring logical diagnosis and precision repair. Understanding the circuit's architecture, employing the correct diagnostic tools, and executing repairs with attention to detail are paramount. As vehicles incorporate more sensors for autonomy, the principles of robust electrical integrity become even more critical for system reliability and occupant safety.