Proximity sensors are indispensable components in modern automation, manufacturing, and consumer electronics. Their primary function is to detect the presence or absence of an object within a specified range without physical contact. However, simply installing a sensor is rarely sufficient. Proper adjustment, or tuning, is critical to ensure reliable operation, prevent false triggers, and maximize the sensor's lifespan. This guide outlines the fundamental principles and step-by-step procedures for correctly adjusting various types of proximity sensors.
The first step in any adjustment process is understanding the sensor type. The two most common categories are inductive and capacitive. Inductive sensors detect metallic objects, while capacitive sensors can detect both metallic and non-metallic materials, including liquids and powders. Each type has distinct adjustment parameters. Always consult the manufacturer's datasheet for specific details regarding your model, including its sensing range, supply voltage, output type (PNP/NPN, NO/NC), and environmental ratings.
Before making any adjustments, ensure a safe working environment. Disconnect power to the machinery or system whenever possible. If the system must remain live, follow all applicable lockout-tagout (LOTO) procedures and use appropriate personal protective equipment. Verify the sensor is correctly mounted, secure, and aligned with the target object's path. The sensing face should be clean and free from obstructions like dust, oil, or metal shavings, which can severely impact performance, especially for capacitive sensors.
For most adjustable proximity sensors, the key parameter is the sensitivity or sensing distance setting. This is often controlled by a potentiometer (a small screw) or via digital interfaces on more advanced models. The goal is to set the sensing distance so the sensor reliably detects the target object but ignores background interference.
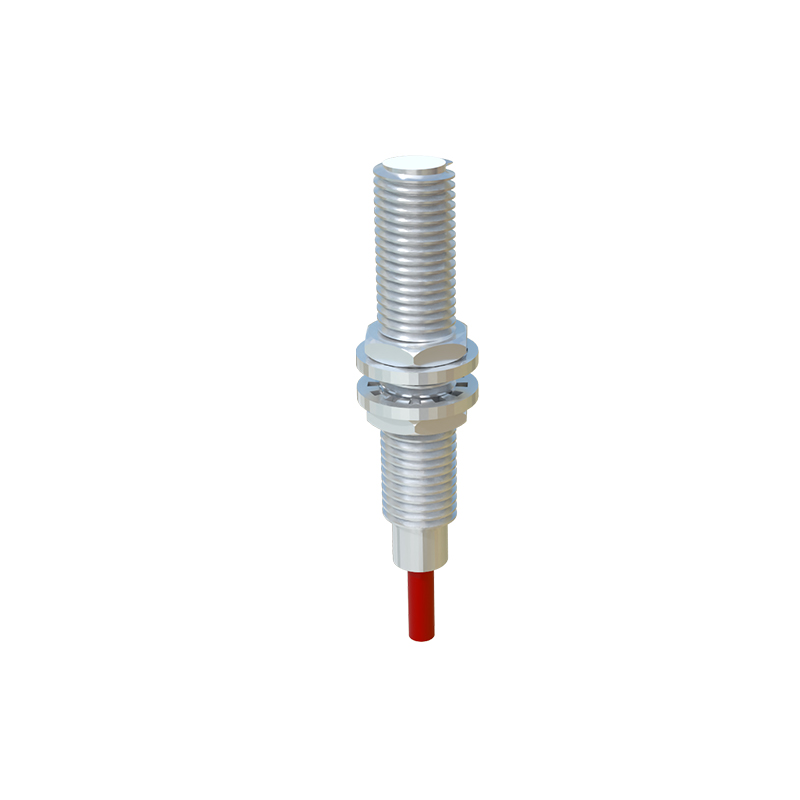
Here is a standard adjustment procedure:
1. Power Up: Reconnect power to the sensor and the system. Many sensors have an LED indicator that shows power status and detection state.
2. Introduce the Target: Place the standard target object (the material and size the sensor is designed to detect) at the nominal sensing distance specified in the datasheet.
3. Initial Adjustment: Turn the sensitivity potentiometer fully counter-clockwise to the minimum sensitivity setting. The sensor should not detect the target.
4. Increase Sensitivity: Slowly turn the potentiometer clockwise. Observe the sensor's output LED. The moment the LED activates, indicating detection, stop. This is the threshold point.
5. Add a Safety Margin: To account for variables like temperature drift, voltage fluctuations, and material inconsistencies, increase the sensitivity slightly beyond this threshold—typically by an additional 10-15% of the potentiometer's rotation. This creates a reliable operating buffer.
6. Test with Interference: Test the sensor by introducing potential interference objects (like non-target metals for inductive sensors or different materials for capacitive sensors) near but not in the primary detection path. The sensor should not trigger. If it does, slightly reduce the sensitivity until the false triggering stops.
7. Cycle Testing: Run the target object through the detection cycle multiple times at the intended operational speed to ensure consistent detection.
For capacitive sensors, an additional "null" or "background suppression" adjustment is often required. After mounting the sensor in its final position, you must "teach" it to ignore the background, such as the container wall it is mounted on. Follow the manufacturer's instructions, which usually involve pressing a button or holding a teach wire when only the background is present. Then, adjust the sensitivity for the target material as described above.
Environmental factors are crucial. Temperature extremes can cause sensing ranges to contract or expand. Strong electrical noise from motors or welders can induce false signals. In such environments, use shielded cables, ensure proper grounding, and consider sensors with built-in noise immunity. For applications involving fast-moving objects, consider the sensor's response time; it must be fast enough to detect the object as it passes.
Regular verification is part of proper adjustment. Schedule periodic checks to ensure the sensor maintains its calibration. Look for physical damage, accumulated debris on the sensing face, or changes in the operating environment.
In summary, effective proximity sensor adjustment is a blend of methodical procedure and practical understanding of the application. It requires identifying the sensor type, preparing the environment, carefully setting the sensitivity with an appropriate safety margin, accounting for environmental interference, and implementing routine maintenance. Taking the time to adjust sensors correctly minimizes downtime, reduces false rejects in production lines, and ensures the smooth, reliable operation of any automated system. A poorly adjusted sensor is a frequent point of failure, while a well-tuned sensor becomes a reliable and unnoticed component of efficient machinery.