Proper installation and mounting are critical for proximity sensors to function accurately and reliably in industrial environments. These sensors detect the presence or absence of objects without physical contact, making precise positioning essential. This guide covers key considerations, steps, and best practices for installing fixed proximity sensors.
First, select an appropriate sensor type based on the application. Inductive sensors are ideal for detecting metals, while capacitive sensors handle non-metallic materials. Photoelectric sensors use light beams for detection over longer ranges. Ensure the sensor's sensing distance, output type (e.g., NPN or PNP), and environmental ratings (like IP67 for dust and water resistance) match your needs.
Mounting location is crucial. Avoid areas with excessive vibration, heat, or electromagnetic interference, as these can cause false readings. For inductive sensors, maintain a clearance zone around the sensing face—typically 1-2 times the sensor diameter—to prevent interference from surrounding metal objects. Use non-metallic brackets or shields if metal proximity is unavoidable.
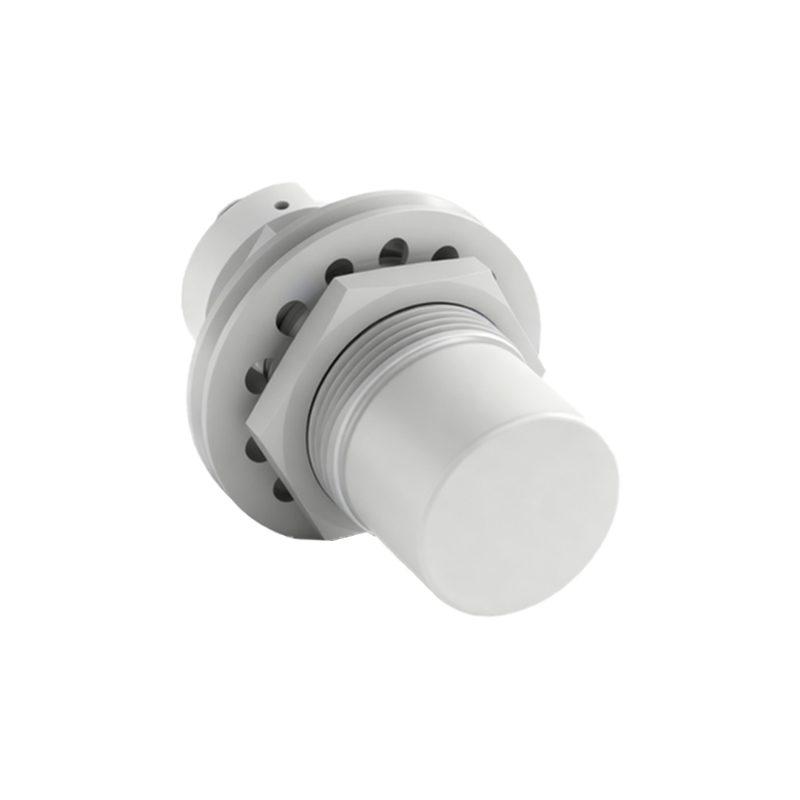
Installation involves mechanical fixing and electrical wiring. Securely mount the sensor using provided brackets or threaded housings, ensuring it is aligned perpendicular to the target object. For cylindrical sensors, standard mounting nuts or locknuts help adjust position. Flush-mountable sensors can be embedded in metal, but non-flush types require standoff distances. Tighten fasteners to the manufacturer's torque specifications to avoid damage.
Wiring must follow safety standards. Disconnect power before connecting wires. Match the sensor's output to the control system (e.g., PLC input). Use shielded cables in high-noise environments and ground them properly. Keep cables away from power lines to reduce electrical noise. For multi-sensor setups, maintain spacing between sensors to prevent crosstalk.
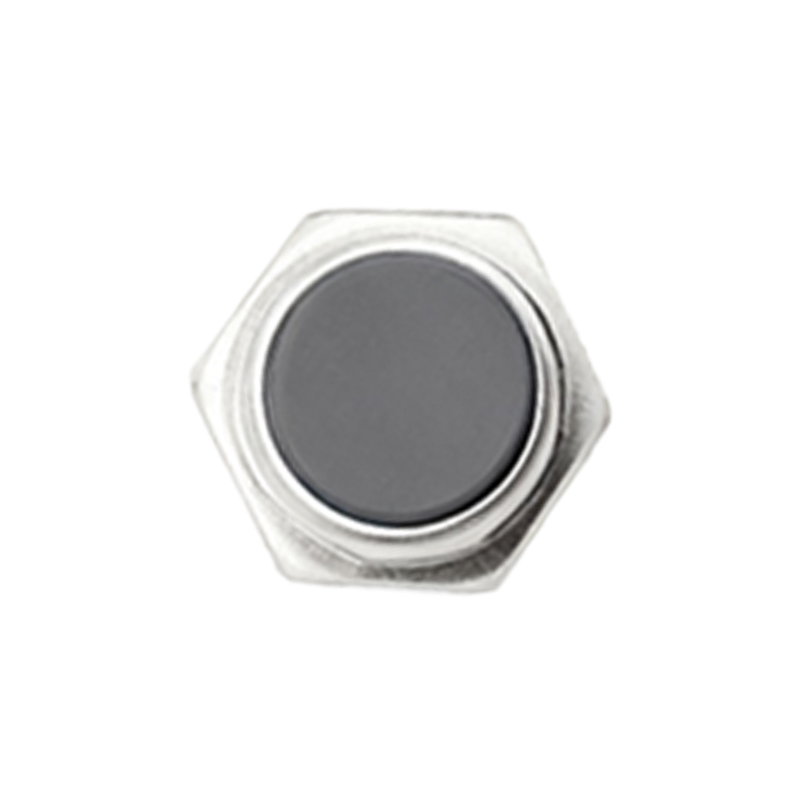
After mounting, test the sensor. Power the system and use a target object to verify detection at the required range. Adjust the sensor position if needed, and check for consistent operation under real conditions. Regular maintenance, like cleaning the sensing face and inspecting mounts, ensures long-term reliability.
Common mistakes include incorrect orientation, inadequate clearance, and loose wiring. Always refer to the sensor's datasheet for specific mounting instructions. By following these guidelines, you can optimize sensor performance, reduce downtime, and enhance system efficiency in automation, packaging, or machinery applications.
In summary, successful proximity sensor installation requires careful planning, correct mounting techniques, and thorough testing. Attention to detail in placement and wiring will maximize sensor lifespan and accuracy, supporting seamless industrial operations.