Laser sensors are critical components in modern industrial automation, quality control, and measurement systems. Proper calibration and debugging are essential to ensure accuracy, reliability, and longevity. This guide outlines a systematic approach to tuning laser sensors, tailored for engineers and technicians in the electrical and automation fields.
First, understand the sensor type. Common laser sensors include distance-measuring (triangulation or time-of-flight), diffuse reflective, through-beam, and background suppression models. Each has unique calibration needs. Begin by reviewing the manufacturer’s datasheet for specifications such as measuring range, resolution, response time, and environmental tolerances (e.g., temperature, humidity).
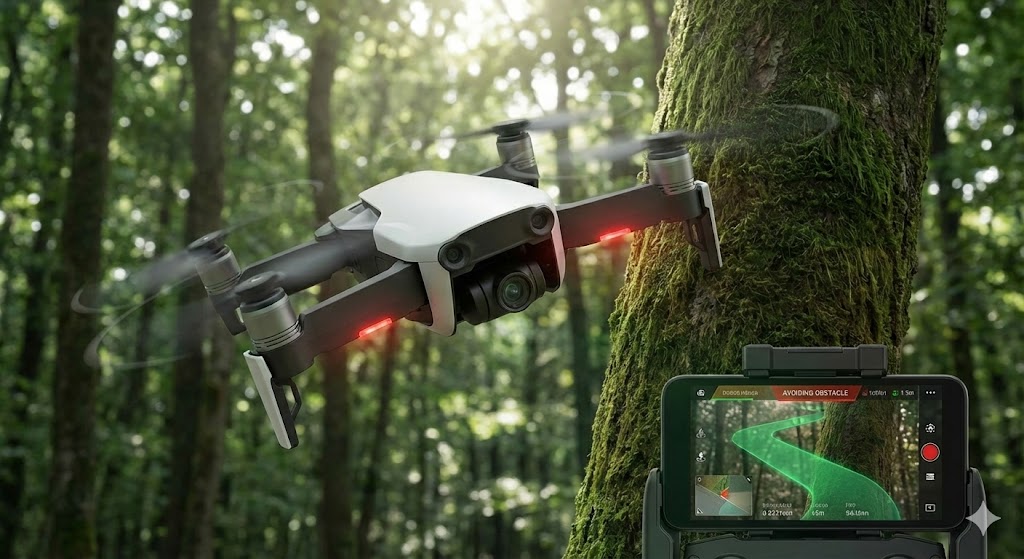
Preparation is key. Ensure the installation environment is stable, free from excessive vibration, dust, or ambient light interference. Mount the sensor securely using appropriate brackets, aligning it perpendicular to the target surface unless otherwise specified. Verify that all electrical connections—power supply, output signals (analog, digital, or bus protocols like IO-Link)—are correct and shielded from noise. Use a stable power source within the sensor’s voltage range to prevent fluctuations.
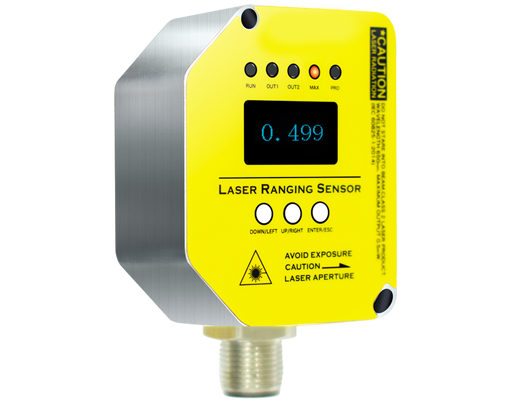
Initial power-up and configuration involve setting basic parameters via the sensor’s interface (buttons, potentiometers, or software). For analog output sensors, adjust the zero and span points. For example, with a 4-20mA output representing a 0-100mm range, place the target at the minimum distance and adjust the zero until the output reads 4mA; then move it to the maximum distance and adjust the span to 20mA. Digital sensors often feature teach-in functions: press the button while the target is in the desired position to store reference values.
Fine-tuning requires addressing real-world conditions. If the sensor exhibits drift or inconsistency, check for environmental factors. Stray light from other sources can be mitigated using filters or housing shields. For reflective targets, adjust the sensitivity to avoid false triggers from background objects. In dusty settings, periodic lens cleaning is necessary—use a soft, lint-free cloth to avoid scratches.
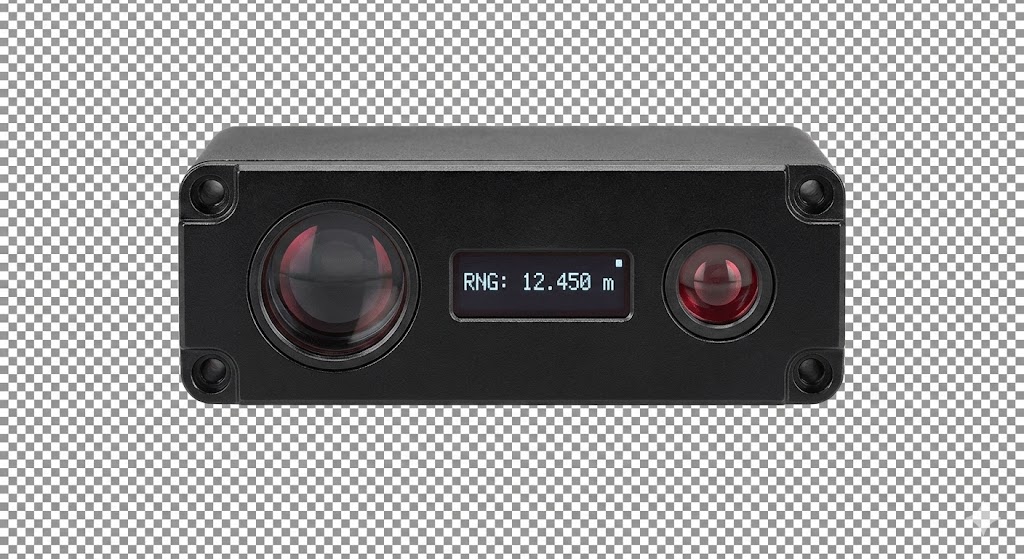
Debugging common issues involves methodical testing. If the sensor fails to detect, verify the alignment and ensure the target is within the sensing range. Use an oscilloscope or multimeter to monitor output signals. For erratic readings, inspect for electrical noise; adding ferrite cores or relocating cables away from high-voltage lines can help. Temperature variations may cause expansion or contraction, requiring recalibration over operating cycles.
Advanced calibration techniques include using certified reference targets (e.g., calibration plates with known reflectivity) and software tools for linearization. For precision applications, perform multi-point calibration across the entire range to correct non-linearities. Document all settings and environmental conditions for future maintenance.
Regular maintenance ensures sustained performance. Schedule periodic checks, especially in harsh environments. Record calibration data to track sensor drift over time. Replace components like lenses or emitters if degradation is observed.
In summary, laser sensor calibration blends technical knowledge with practical adjustments. By following these steps—understanding specifications, securing installation, configuring parameters, fine-tuning for conditions, and proactive debugging—engineers can optimize sensor performance, reduce downtime, and enhance system accuracy. Always prioritize safety: disconnect power during adjustments and wear protective gear when working with high-power lasers.