In the realm of modern office and industrial printing, the reliable operation of a laser printer hinges on a complex interplay of mechanical, optical, and electronic subsystems. Among these, the sensor network acts as the printer's nervous system, providing critical feedback to the main control board. A malfunctioning sensor can lead to a cascade of failures, from paper jams and poor print quality to complete operational shutdown. For the field engineer or technical specialist, a systematic approach to diagnosing and resolving sensor issues is paramount. This article delves into the common types of sensors in a laser printer, their failure modes, diagnostic procedures, and effective remediation strategies.
Laser printers typically employ several key sensor types. The most common are paper path sensors (often opto-interrupters or mechanical micro-switches), which detect the presence and position of paper from the tray through the fuser assembly. Toner level sensors, usually based on optical or piezoelectric principles, monitor the supply of toner. The fuser temperature is regulated by a thermistor, a critical component for proper toner fusion and preventing damage. Additionally, covers and doors utilize interlock switches for safety, and some printers have photosensitive drum rotation sensors or laser scanner assembly sensors.
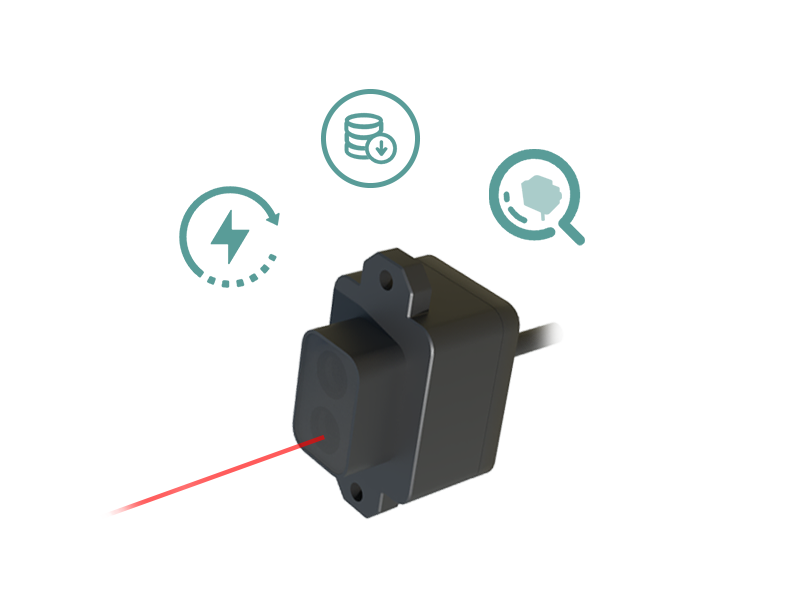
Sensor failures manifest in various ways. A complete failure to power on or immediate error codes upon startup often point to a safety interlock switch issue. Chronic paper jams, especially at specific points in the path, strongly indicate a faulty paper sensor. The printer may incorrectly report "No Paper" despite a full tray, or conversely, attempt to feed paper without a sheet being present. "Low Toner" warnings that persist after cartridge replacement or, worse, overfilling and spillage, signal a defective toner sensor. Print quality issues like faint prints or toner not adhering can stem from an inaccurate fuser thermistor reading, causing the fuser to operate at the wrong temperature.

Diagnosis begins with a clear understanding of the reported symptoms and any associated error codes from the printer's diagnostic menu or service manual. The first step is always to perform a visual and physical inspection. Check for obvious obstructions in paper paths, damaged sensor levers, or accumulated toner dust and debris on optical sensor lenses. Debris is a primary culprit, often simulating a "blocked" state for an optical sensor.
Electrical diagnosis follows. Using a multimeter, engineers can test sensors in situ. For switches and opto-interrupters, check for a change in state (open/closed circuit or voltage change) when the sensor is actuated manually (e.g., pressing a paper sensor flag). A thermistor's resistance should change predictably with temperature; consult the service manual for specific values. Toner level sensors may require printer-specific diagnostic modes to output a raw signal value. It is crucial to also check the continuity of the wiring harness and connectors back to the main controller for breaks or corrosion.
When a sensor is confirmed faulty, replacement with an OEM or high-quality compatible part is the standard remedy. However, not all issues require replacement. Meticulous cleaning of optical sensors with compressed air and isopropyl alcohol on a swab can restore functionality. Ensure mechanical sensor flags move freely without binding. Re-seating connectors can resolve intermittent issues caused by oxidation. For paper sensors, sometimes recalibrating the paper tray or running the printer's built-in sensor calibration routine (detailed in the service manual) can clear persistent errors.
Preventive maintenance is the best defense against sensor failures. Implement a regular cleaning schedule for the interior paper path and sensor areas. Use recommended paper types to minimize dust. Handle toner cartridges carefully to prevent spills that can coat sensors. Ensure the operating environment is within specified temperature and humidity ranges and free from excessive conductive dust.
In conclusion, laser printer sensor troubleshooting demands a logical, step-by-step methodology. Start with symptom analysis and error codes, proceed to physical and electrical inspection, and apply targeted cleaning or replacement. A deep familiarity with the printer's sensor architecture, coupled with disciplined use of the service manual and diagnostic tools, enables engineers to efficiently restore printer functionality and minimize costly downtime. Remember that a sensor error code is the starting point for investigation, not the conclusion.