Proximity sensors are critical components in modern freight elevator systems, ensuring safe and efficient operation by detecting the presence of objects or personnel near elevator doors and shafts. Proper installation is essential to maximize reliability and compliance with safety standards such as EN 81-20/50. This guide outlines the step-by-step process for installing proximity sensors in freight elevator applications, adhering to industry best practices.
First, conduct a thorough site assessment. Identify the optimal mounting locations for sensors based on the elevator design and operational requirements. Common positions include door edges, landing entrances, and pit areas to prevent collisions or entrapment. Ensure the selected spots are free from obstructions, excessive vibration, or electromagnetic interference from nearby machinery. Use a laser level and measuring tape to mark precise positions, referencing the elevator manufacturer’s blueprint for alignment.
Next, prepare the mounting surfaces. Clean the areas with a degreaser to remove dust, oil, or debris that could affect sensor adhesion or alignment. For metallic surfaces, consider using insulating gaskets if required to prevent electrical interference. Drill holes as per the sensor’s mounting template, ensuring they match the specified diameter and depth. Secure the sensor housing with appropriate fasteners—typically stainless steel bolts or rivets—to withstand heavy-duty use and vibration. Avoid overtightening, as it may distort the sensor casing or affect sensitivity.
Wiring is a crucial phase. Begin by de-energizing the elevator control system and verifying zero voltage with a multimeter. Follow the sensor manufacturer’s wiring diagram, connecting the power supply (usually 24V DC or 120V AC), output signals, and ground wires. Use shielded cables for noise reduction, and route them through conduit pipes away from power lines to minimize interference. Strip wires to the recommended length, secure them with crimp connectors, and insulate joints with heat-shrink tubing. Label each wire clearly for future maintenance.
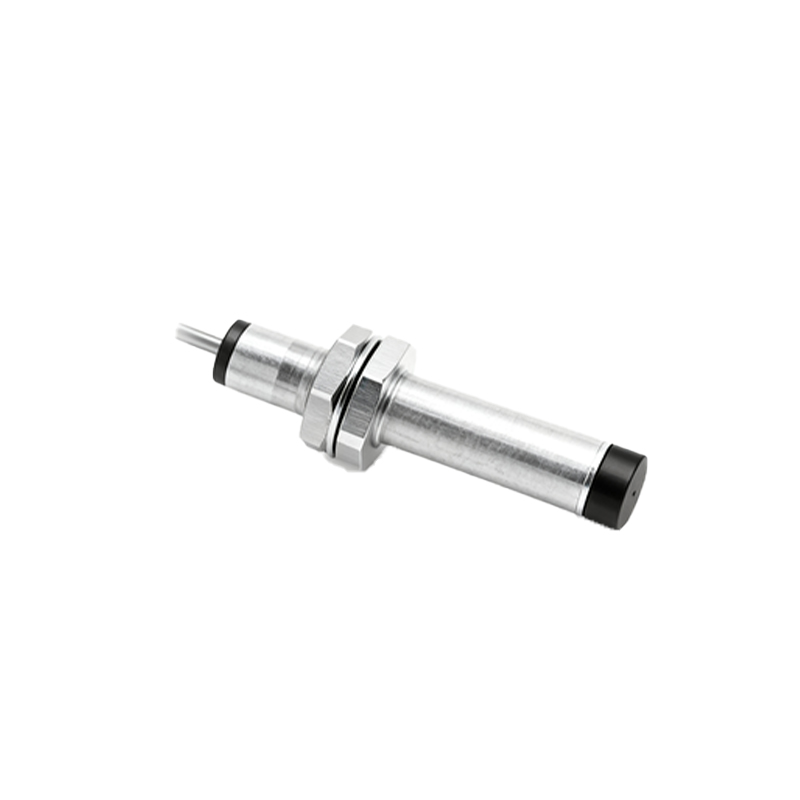
After wiring, calibrate the sensors. Adjust the sensing range and sensitivity according to the elevator’s operational parameters—for example, setting a detection distance of 10–50 mm for door edges to avoid false triggers. Use a test object (e.g., a metal plate) to verify consistent detection. Check the output signal with an oscilloscope or PLC monitor to ensure it matches the required logic (e.g., NPN/PNP for programmable controllers). Document the calibration settings for reference.
Finally, perform comprehensive testing. Re-energize the system and conduct functional tests under various conditions, such as simulating object detection during door closure or movement. Verify integration with the elevator’s safety circuit, ensuring the sensor triggers immediate stops or alarms when obstacles are detected. Conduct endurance tests over multiple cycles to confirm stability. Regularly inspect sensors during routine maintenance for wear, misalignment, or environmental damage.
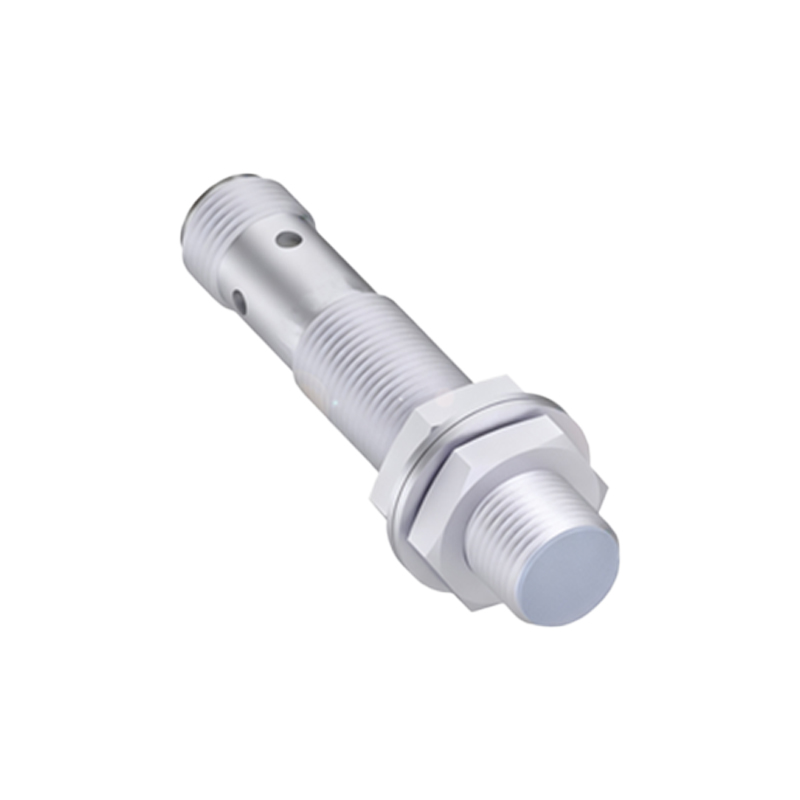
In summary, installing proximity sensors in freight elevators demands precision, adherence to safety protocols, and attention to environmental factors. Proper installation enhances operational safety, reduces downtime, and extends sensor lifespan. Always consult local regulations and manufacturer guidelines to ensure compliance and optimal performance.