As an experienced electrical engineer, I often encounter questions from colleagues and clients about how to interpret proximity sensor model numbers. Understanding these alphanumeric codes is crucial for selecting the right sensor for industrial automation, machinery safety, and process control applications. This guide will break down the common elements found in proximity sensor model numbers, helping you decode specifications, features, and compatibility at a glance.
Proximity sensor model numbers typically follow a structured format established by manufacturers to convey key technical details. While formats vary between brands like Omron, Schneider, Siemens, or Pepperl+Fuchs, most include core information such as sensing type, output configuration, sensing distance, housing style, and electrical ratings. Let’s explore each component systematically.
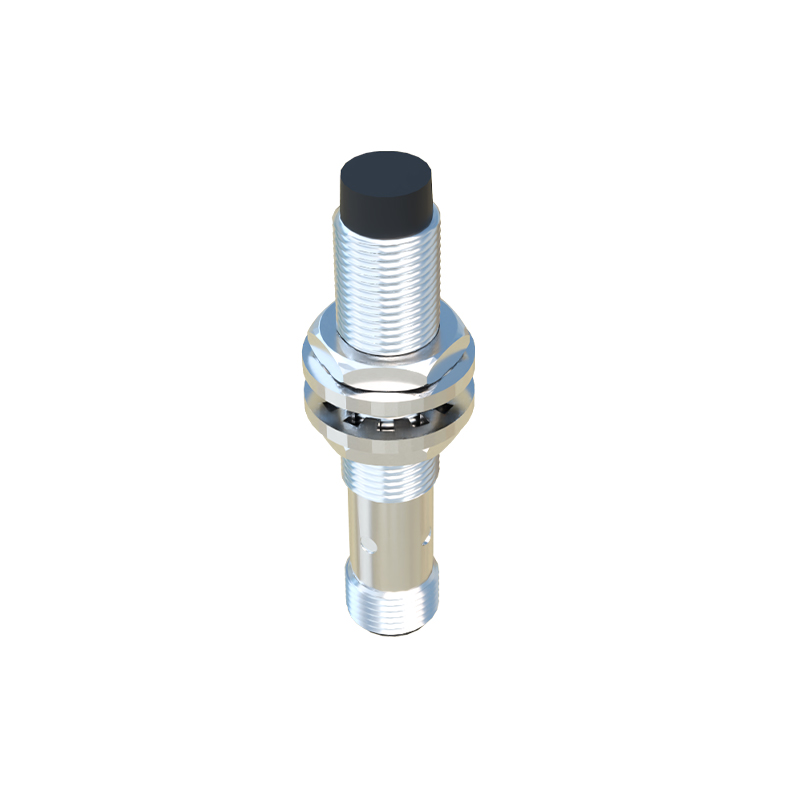
First, identify the sensor type. Model numbers often start with letters indicating the technology: "IN" for inductive sensors (detect metals), "CA" for capacitive sensors (detect liquids, plastics, etc.), or "UL" for ultrasonic sensors. For example, an Omron model like "E2E-X10MY1" includes "E2E" denoting a standard inductive proximity sensor. Some brands use prefixes like "PR" for photoelectric sensors or "M" for magnetic types. Recognizing this prefix helps narrow down the sensor’s basic function.
Next, examine the sensing distance. This is usually embedded as a numerical value in millimeters or inches. In the model "E2E-X10MY1," the "10" indicates a 10mm sensing range. For longer-range sensors, you might see codes like "50" for 50mm or "2M" for 2 meters in photoelectric models. Always cross-reference this with datasheets, as some manufacturers use coded numbers (e.g., "1" for 1mm, "5" for 5mm) rather than direct measurements.
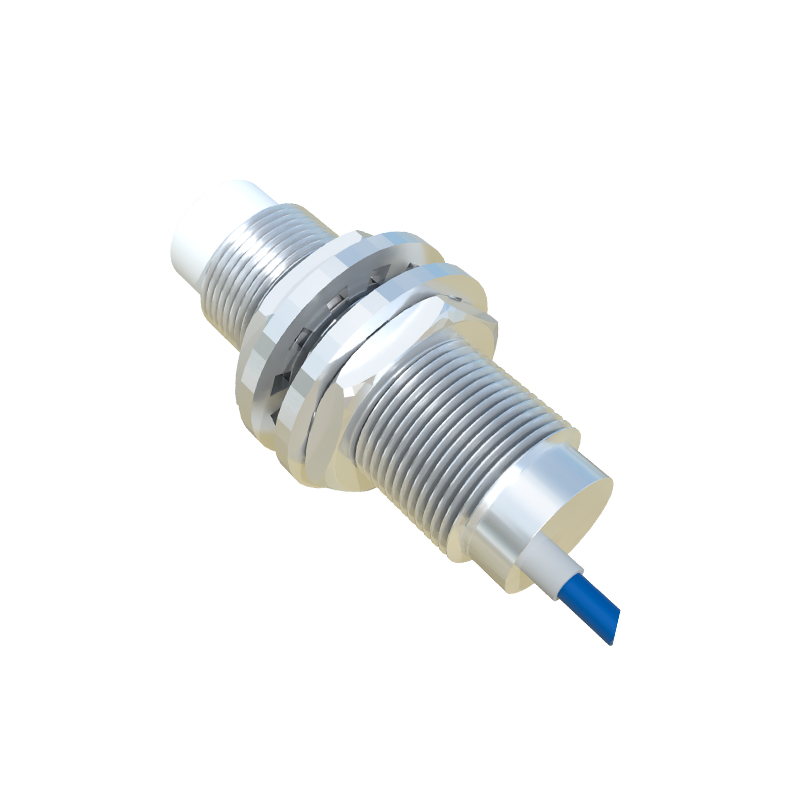
Output configuration is another critical element. Look for letters such as "N" for NPN (sinking output), "P" for PNP (sourcing output), or "A" for analog output. In our example, "MY1" includes "M" for metal housing and "Y" for connector type, but the output is often specified elsewhere in the code. Some models explicitly state "NO" for normally open or "NC" for normally closed contacts. For instance, a Schneider sensor might have "X" in the code to denote a changeover contact.
Housing material and shape are frequently encoded. Cylindrical sensors may include "M" for metal or "P" for plastic housings, while rectangular housings use codes like "F" for flat style. Additional suffixes indicate thread size (e.g., "M12" or "M18") or mounting options. Environmental ratings like IP67 (ingress protection) or temperature ranges might appear as suffixes too, such as "IP67" or "T" for high-temperature variants.
Electrical ratings, such as voltage and current, are often implied or explicitly coded. A model ending in "DC24V" specifies a 24V DC supply, while codes like "2A" indicate current capacity. Always verify these against application requirements to avoid mismatches in power supply or load compatibility.
Finally, consider special features. Some sensors include diagnostics, IO-Link communication, or weld-field immunity, denoted by suffixes like "IO" or "W." For example, a Pepperl+Fuchs model might add "IOL" to signify IO-Link capability. These extras enhance functionality but can complicate decoding—consult manufacturer catalogs for detailed breakdowns.
In practice, always refer to the manufacturer’s datasheet or online tools for precise interpretations. Brands like Siemens provide online configurators where you can input model numbers to get full specifications. As a best practice, maintain a reference list of common codes used in your facility to speed up procurement and troubleshooting.
By mastering model number decoding, you can reduce errors in sensor selection, ensure system compatibility, and optimize maintenance schedules. Whether you’re integrating sensors into conveyor systems, robotic cells, or safety circuits, this skill empowers efficient and reliable automation design. Remember, when in doubt, don’t hesitate to reach out to technical support—clarifying a model number can prevent costly downtime.