Proximity sensor switches are indispensable components in modern industrial automation, offering non-contact detection of metallic or non-metallic objects. Proper wiring is crucial for ensuring reliable operation, safety, and longevity of these sensors. This guide provides a comprehensive overview of wiring methods for common types of proximity sensors, including two-wire, three-wire, and four-wire configurations, tailored for engineers and technicians in the electrical and automation fields.
First, understand the basic types of proximity sensors. Inductive proximity sensors detect metallic objects, while capacitive sensors can detect both metallic and non-metallic materials. The wiring principles vary based on the sensor's design and output type (e.g., NPN, PNP, or analog). Always refer to the manufacturer's datasheet for specific details, as incorrect wiring can lead to malfunction or damage.
For two-wire proximity sensors, wiring is straightforward. These sensors are connected in series with the load, similar to a mechanical switch. One wire is linked to the power supply (typically 10-30V DC or 20-250V AC), and the other to the load. Ensure the voltage and current ratings match the sensor specifications to avoid overheating. Two-wire sensors are commonly used in simple on/off applications but may have higher leakage currents, which can affect low-power loads.
Three-wire proximity sensors are more prevalent in industrial settings due to their reliability and lower leakage current. They consist of three wires: brown (positive), blue (negative), and black (output). For NPN sensors (sinking output), the black wire connects to the load, which is then linked to the positive supply. For PNP sensors (sourcing output), the black wire connects to the load, which is tied to the negative supply. Always verify the sensor's output type—NPN or PNP—to ensure compatibility with your control system (e.g., PLC input modules). Follow these steps:
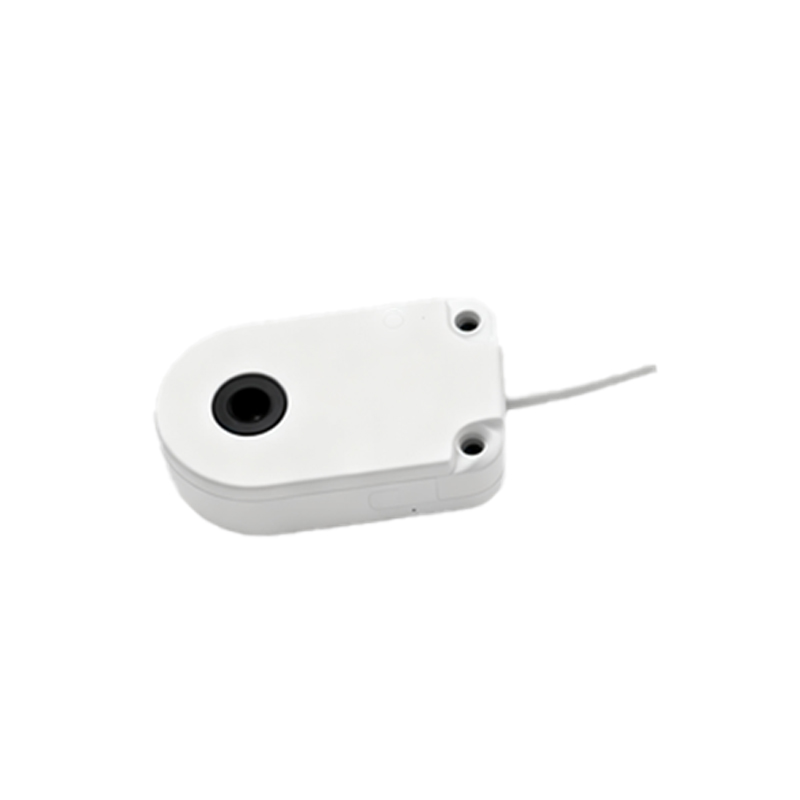
1. Connect the brown wire to the positive DC supply (e.g., +24V).
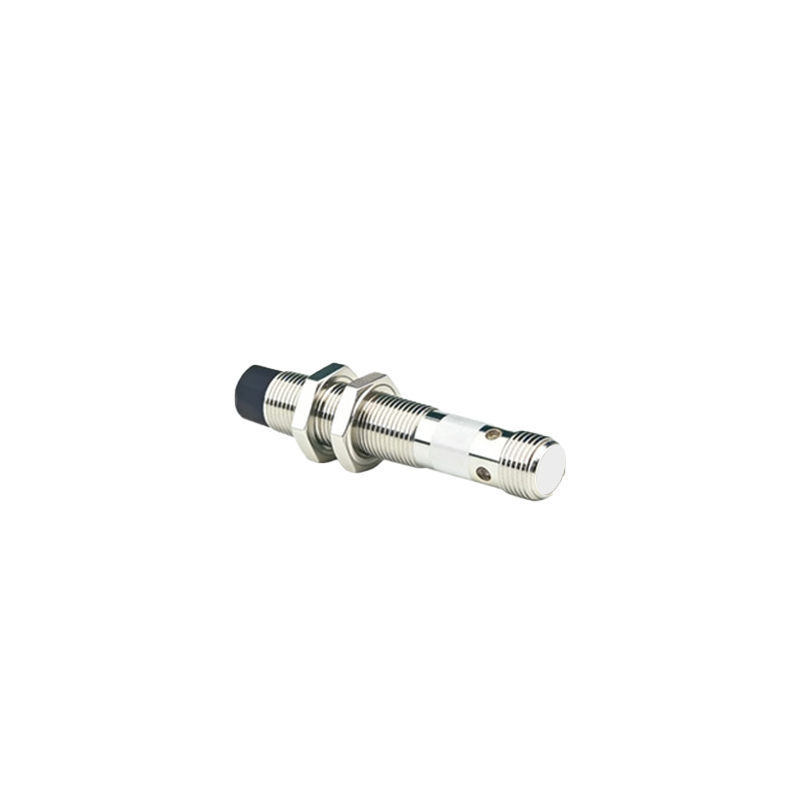
2. Connect the blue wire to the negative DC supply (0V or ground).
3. Connect the black wire to the input of the load (e.g., relay, PLC).
4. Ensure proper grounding to minimize electrical noise and interference.
Four-wire proximity sensors often include two output wires (e.g., one normally open and one normally closed) for flexible control. Wiring follows similar principles: brown to positive, blue to negative, and the output wires to respective loads. Some sensors also feature analog outputs (e.g., 4-20mA or 0-10V) for distance measurement, requiring careful calibration and shielding to prevent signal degradation.
Safety is paramount when wiring proximity sensors. Always de-energize the circuit before starting work. Use appropriate wire gauges and insulation to handle the expected current and environmental conditions (e.g., moisture, temperature). Implement overcurrent protection, such as fuses or circuit breakers, and avoid running sensor wires parallel to high-voltage cables to reduce electromagnetic interference. For hazardous locations, select sensors with proper certifications (e.g., ATEX, IECEx).
Testing and troubleshooting are essential after wiring. Use a multimeter to check voltage levels and continuity. If the sensor fails to detect objects, verify the power supply, wiring connections, and sensing range. For false triggers, inspect for environmental factors like vibration or nearby metal objects. Regular maintenance, including cleaning the sensor face and checking for wear, ensures optimal performance.
In summary, wiring proximity sensor switches requires attention to detail and adherence to safety standards. By understanding the sensor type, output configuration, and application requirements, engineers can achieve efficient and reliable automation systems. Always prioritize manufacturer guidelines and industry best practices to minimize downtime and enhance operational safety.