As an electrical engineer with extensive experience in the design and troubleshooting of consumer electronics, particularly in the pet tech sector, I frequently encounter questions about device malfunctions. One common issue reported by users of automated litter boxes is a persistently flashing proximity sensor. This symptom, while often a source of user frustration, is typically not a random error but a deliberate diagnostic signal from the device's control system. Understanding the underlying causes requires a basic grasp of the sensor's function, its integration into the system, and the common failure modes.
Firstly, let's define the role of the proximity sensor in this context. In most automated litter boxes, a proximity sensor—often an infrared (IR) or ultrasonic type—is deployed as a safety and operational component. Its primary functions are twofold: Obstacle Detection and Cat Presence Monitoring. The sensor creates an invisible field or beam. If this field is interrupted, it signals the microcontroller that an object (like a cat or a foreign item) is within a designated zone. This prevents the cleaning mechanism from activating while a pet is inside, ensuring safety. It can also be used to trigger a cleaning cycle after the cat has departed.
A flashing indicator light associated with this sensor is the unit's way of communicating a fault state. It is a visual error code. The specific flash pattern (e.g., steady blink, rapid flash, alternating colors) can sometimes indicate different issues, so consulting the user manual for your specific model is always the first critical step. However, from an engineering standpoint, the root causes generally fall into a few categories:
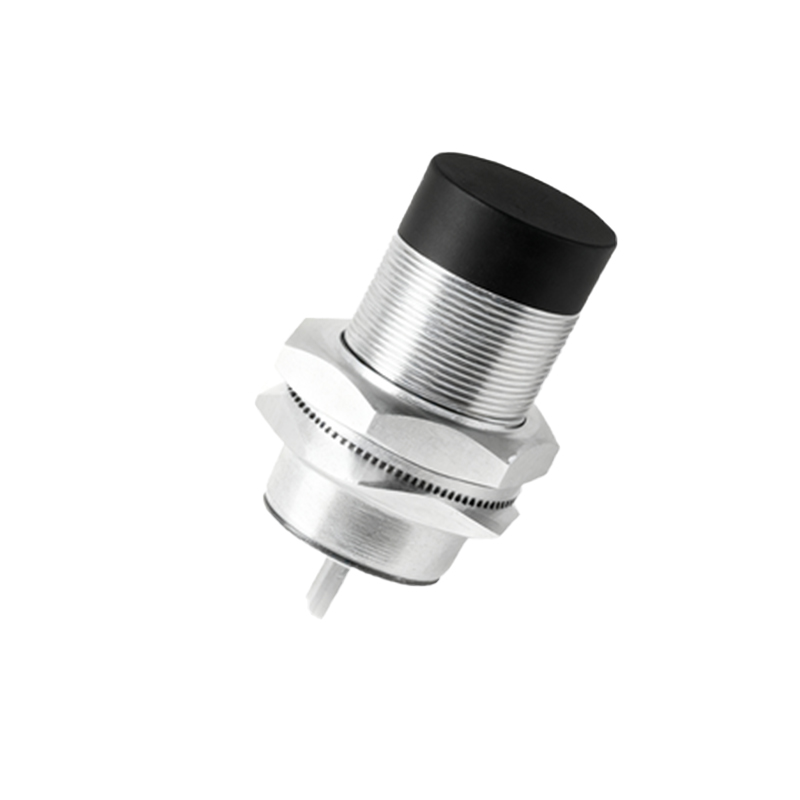
1. Sensor Obstruction or Contamination: This is the most frequent cause. Litter dust is highly abrasive and conductive (especially clay dust). Over time, a fine layer can coat the sensor's lens or emitter/receiver elements. For IR sensors, this layer can scatter or absorb the infrared light, severely degrading the signal-to-noise ratio. The sensor may intermittently detect an obstacle or fail to detect one altogether, causing the control board to flag it as unreliable and initiate a flash warning. Similarly, physical obstructions like lodged litter clumps, pet hair, or even a spider web in front of the sensor will cause constant false triggers.
2. Misalignment or Physical Damage: Automated litter boxes are subject to vibration during operation and occasional impacts. The sensor module, which must be precisely aligned, can become slightly dislodged from its mounting. Even a millimeter of shift can cause the beam to miss its target receiver or reflect incorrectly. Physical damage to the sensor housing or its electrical connector from impact or moisture ingress will also lead to failure and a consequent error signal.
3. Electrical Connection Issues: The sensor is connected to the main control board via a wiring harness. Vibration can lead to fretting corrosion at connector terminals or loose pins. A poor connection results in intermittent signal loss, voltage drops, or noisy data being sent to the microcontroller. The system interprets this instability as a sensor fault, triggering the alert flash. Check for any visibly disconnected or corroded connectors.
4. Power Supply Irregularities: The sensor operates at a specific voltage (commonly 3.3V or 5V DC). If the power supply unit (PSU) or the voltage regulator on the control board is failing, it may supply voltage that is out of specification—too low, too high, or with excessive ripple. Sensors are sensitive to their operating voltage. An under-voltage condition can cause them to behave erratically or not power on at all, while over-voltage can damage them permanently. The flashing light may indicate the system has detected a power rail anomaly affecting the sensor circuit.
5. Sensor or Control Board Failure: While less common than the issues above, component failure does occur. The sensor itself could have a degraded IR emitter or a failed phototransistor. On the control board, a damaged GPIO pin, a faulty pull-up/pull-down resistor, or a problem in the signal conditioning circuit (like an op-amp comparator) can prevent correct communication with the sensor. Differentiating between a failed sensor and a failed control board often requires diagnostic testing with a multimeter or oscilloscope.
Troubleshooting Steps for the End-User:
Power Cycle: Fully unplug the unit for 2-3 minutes. This resets the microcontroller and can clear transient errors.
Inspect and Clean: With the unit unplugged, thoroughly inspect the sensor area. Use a can of compressed air to blow away dust and debris. Carefully wipe the sensor lens with a soft, dry, lint-free cloth slightly dampened with distilled water or isopropyl alcohol. Do not use abrasive cleaners.
Check for Obstructions: Remove the litter tray and any interior panels if possible per the manual