In industrial automation and machine vision systems, camera laser sensors are critical components for precision measurement, alignment, and quality control. A malfunctioning laser sensor can lead to significant production downtime, inaccurate readings, and costly errors. This article provides a comprehensive analysis of common failure modes, diagnostic procedures, and best practices for troubleshooting camera laser sensor issues in an industrial context.
The primary function of a camera laser sensor is to project a laser line or pattern onto a target surface. The integrated camera then captures the deformation or position of this pattern, allowing the system's software to calculate precise measurements such as distance, height, thickness, or profile. Failures typically manifest as a complete loss of laser projection, a dim or unstable laser line, erratic measurement data, or communication errors between the sensor and the host controller.
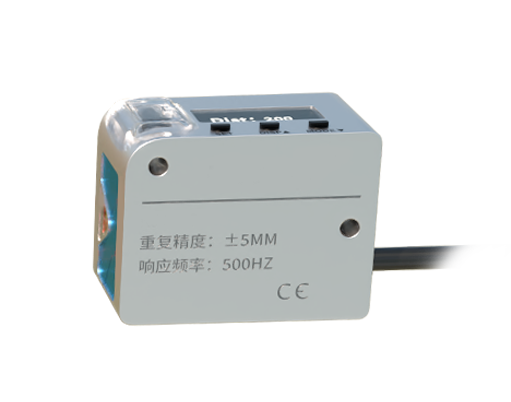
Common Failure Modes and Root Causes:
1. Laser Diode Degradation or Failure: The laser diode is the core light source. Over time, it can degrade due to normal wear, thermal stress from continuous operation, or electrical surges. Symptoms include a progressively dimmer laser line or complete failure to emit light. Operating the sensor beyond its specified temperature range (both high and low) is a leading cause of premature diode failure.
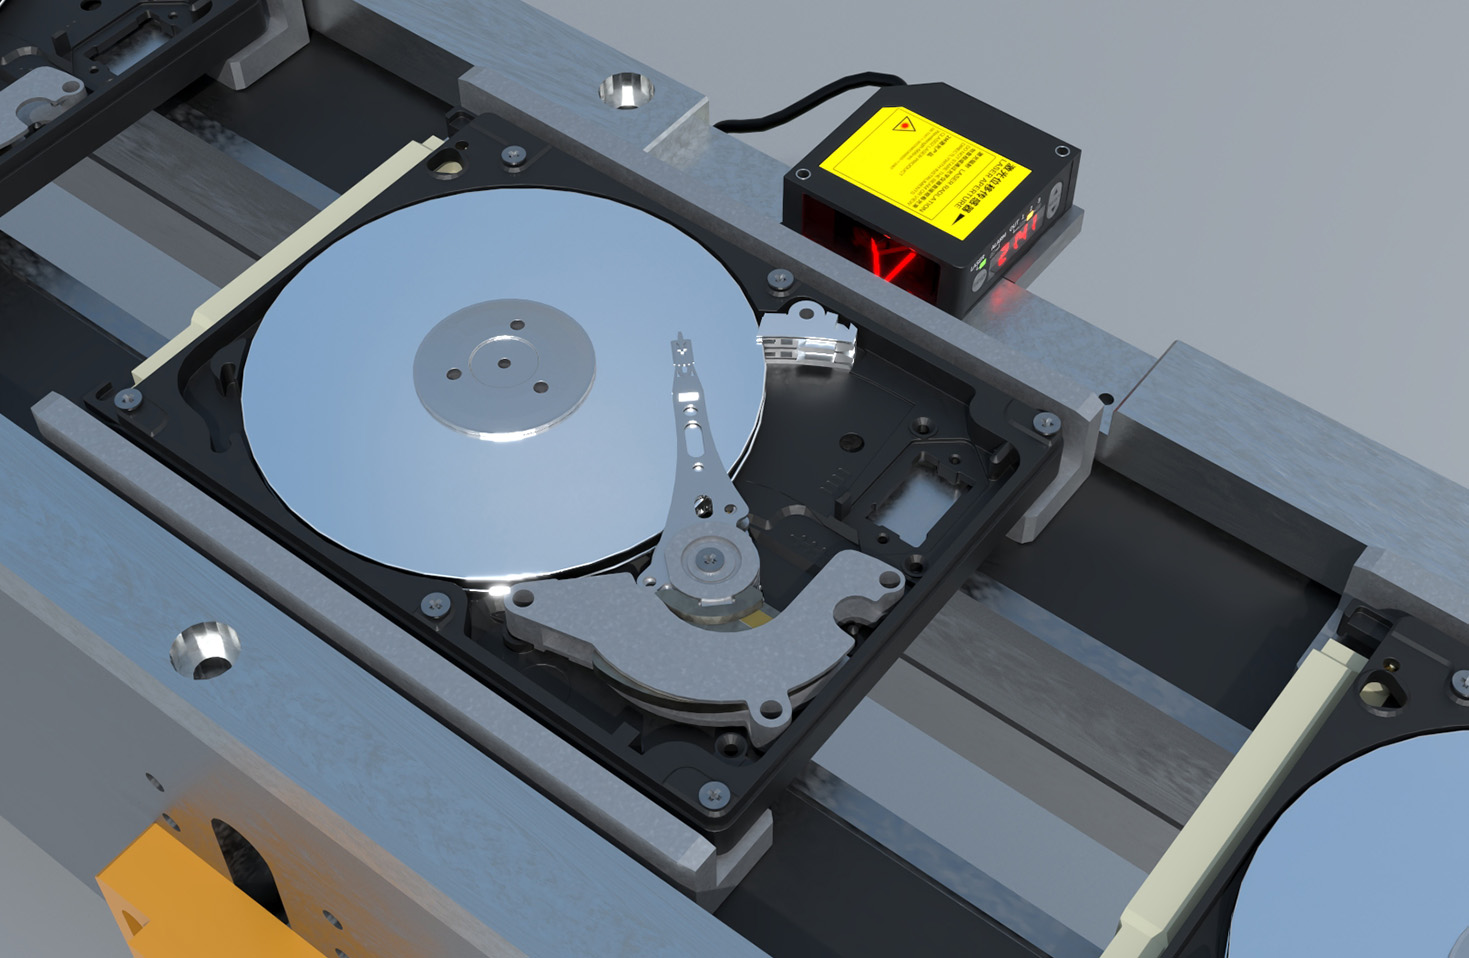
2. Optical Component Contamination: Industrial environments often contain dust, oil mist, coolant, or other particulates. These contaminants can coat the sensor's output window (protecting the laser diode) and the camera's lens. This buildup attenuates the projected laser line and reduces the amount of reflected light entering the camera, leading to poor signal strength and measurement noise.
3. Power Supply and Electrical Issues: An unstable or out-of-specification power supply is a frequent culprit. Voltage spikes, ripple, or insufficient current can damage internal circuitry or cause the sensor to behave unpredictably. Loose or corroded connections in the power or communication cables (e.g., Ethernet, IO-Link, RS-232) can also cause intermittent failures.
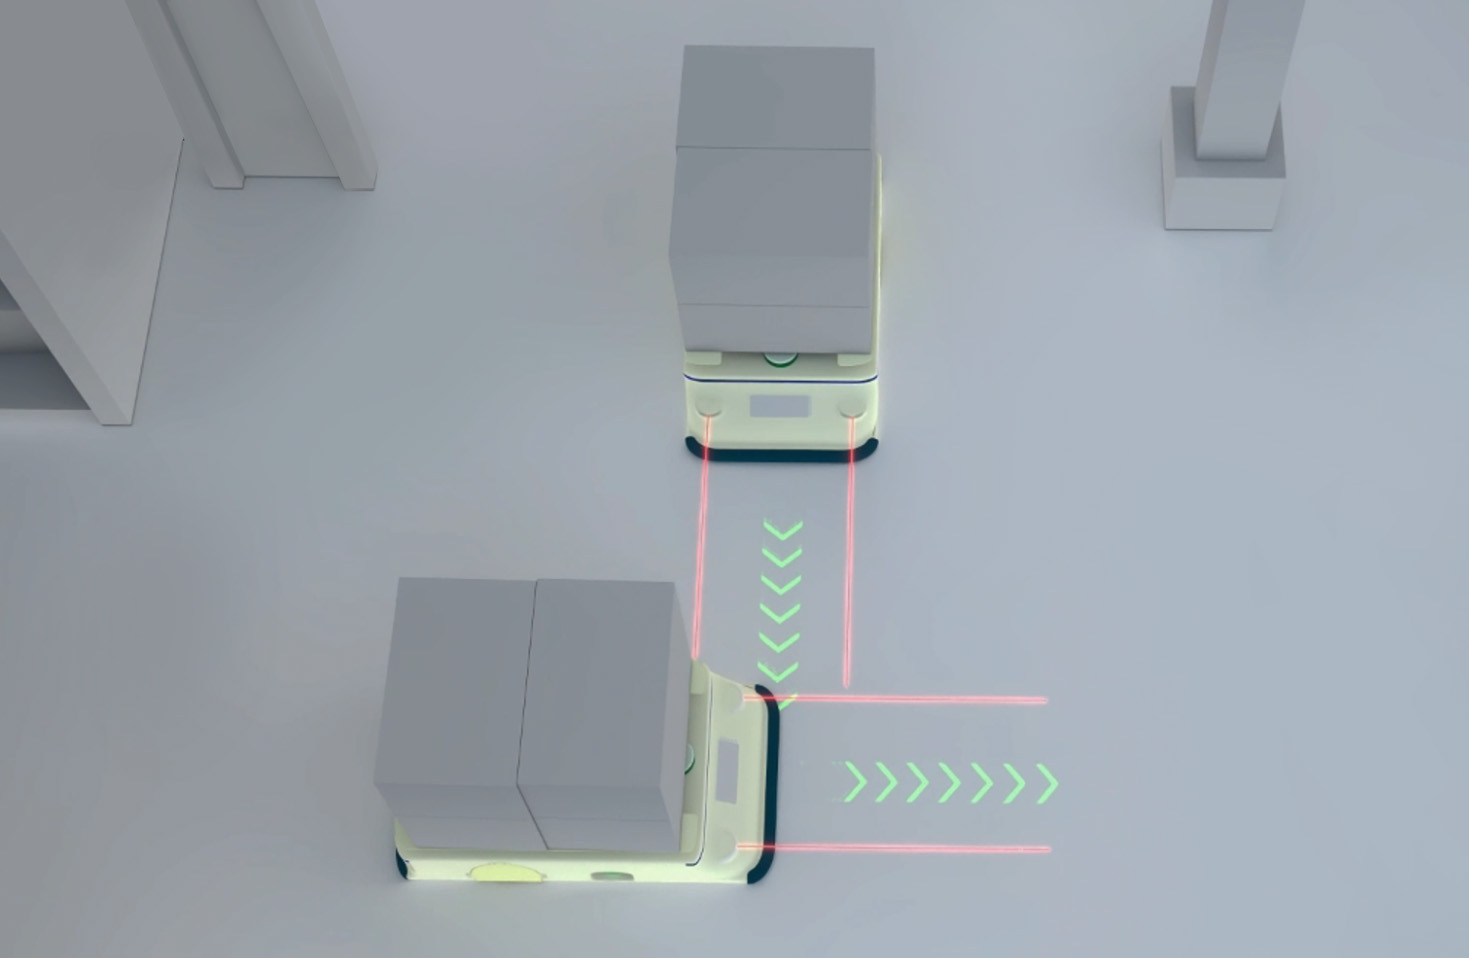
4. Mechanical Misalignment or Damage: Physical impact, vibration, or thermal expansion can misalign the critical optical path between the laser diode and the camera. Even a minor misalignment can render the sensor unusable. Damage to the housing can compromise sealing, leading to ingress of contaminants or moisture.
5. Software and Configuration Errors: While not a hardware "failure," incorrect configuration parameters in the sensor's software or the vision system can mimic a sensor fault. Incorrect exposure settings, laser power settings, or communication protocols will prevent proper operation.
Systematic Troubleshooting Procedure:
Before concluding the sensor is faulty, follow a logical diagnostic sequence:
* Step 1: Visual Inspection and Basic Checks: Power down the system. Inspect the sensor housing, windows, and lenses for obvious contamination, scratches, or physical damage. Verify all cable connections are secure and undamaged. Confirm the power supply voltage matches the sensor's specifications using a multimeter.
* Step 2: Environmental Assessment: Ensure the sensor is operating within its rated temperature, humidity, and cleanliness specifications. Check for sources of intense ambient light (e.g., welding arcs, sunlight) that could oversaturate the camera.
* Step 3: Isolation Test: If possible, isolate the sensor. Connect it to a known-good power supply and controller in a clean, bench-top environment. Use the manufacturer's configuration software to perform basic functionality tests. This determines if the issue is with the sensor itself or the broader system (e.g., PLC, cabling, host PC).
* Step 4: Parameter Verification: Reload or verify the sensor's configuration file. Check key settings: laser power (ensure it is enabled and set to an appropriate level), camera exposure time, and communication settings. Compare them against a known-working setup.
* Step 5: Signal Analysis: Using the manufacturer's software, observe the raw image or signal profile from the camera. A complete absence of the laser line points to laser diode or driver failure. A faint or noisy line suggests contamination or low laser power. A stable but misaligned line indicates a mechanical issue.
Corrective Actions and Prevention:
* For Contamination: Carefully clean the optical windows and lenses using approved materials (e.g., lens tissue, sensor-safe cleaner). Never use abrasive cloths or solvents. Implement preventive maintenance schedules for regular cleaning.
* For Electrical Issues: Replace faulty power supplies or cables. Use surge protectors or dedicated line conditioners. Ensure proper grounding.
* For Suspected Internal Failure: If the laser diode, camera, or core electronics are faulty, sensor repair at the component level is rarely cost-effective or feasible in-house. The standard course of action is to contact the manufacturer's technical support and initiate a Return Material Authorization (RMA) for repair or replacement.
* Preventive Measures: Select sensors with an appropriate Ingress Protection (IP) rating for the environment. Ensure proper mounting to minimize vibration. Follow the manufacturer's guidelines for thermal management. Maintain backups of all configuration files.
In summary, diagnosing a camera laser sensor failure requires a methodical approach that separates environmental, electrical, mechanical, and configuration factors. Most apparent "sensor failures" originate from external causes. By understanding the common failure modes and implementing robust preventive maintenance, engineers can maximize sensor uptime and ensure the reliability of their machine vision and measurement systems.