As an experienced electrical engineer specializing in industrial automation, I often encounter the need to maintain or replace proximity sensors, particularly the M5 type with a smooth rod design. These sensors are widely used in machinery, robotics, and control systems due to their compact size and reliable detection capabilities. Disassembling an M5 proximity sensor requires careful attention to detail to avoid damage and ensure safe reassembly. Below is a step-by-step guide based on industry best practices.
First, ensure safety by disconnecting all power sources to the equipment. Verify that the sensor is de-energized using a multimeter to prevent electrical hazards. Gather necessary tools: a small wrench set (typically 5mm or 7mm), screwdrivers, and possibly pliers, depending on the sensor model. Wear protective gloves and eyewear to shield against sharp edges or debris.
Begin by identifying the sensor's mounting configuration. M5 proximity sensors with smooth rods are usually cylindrical and may be secured with a lock nut or mounting bracket. If a lock nut is present, use the appropriate wrench to loosen it by turning counterclockwise. Avoid applying excessive force, as this can strip threads or deform the rod. For bracket-mounted sensors, remove the screws holding the bracket in place, then gently detach the sensor from its housing.
Next, disconnect the electrical connections. Most M5 sensors have a cable or connector attached to the rear. If it's a pre-wired model, unscrew the cable gland or connector housing carefully. Note the wiring scheme—typically, sensors have three wires: brown (positive), blue (negative), and black (output). Label each wire or take a photo for reference during reassembly. For quick-disconnect models, simply unplug the connector by pressing the release tab and pulling straight out.
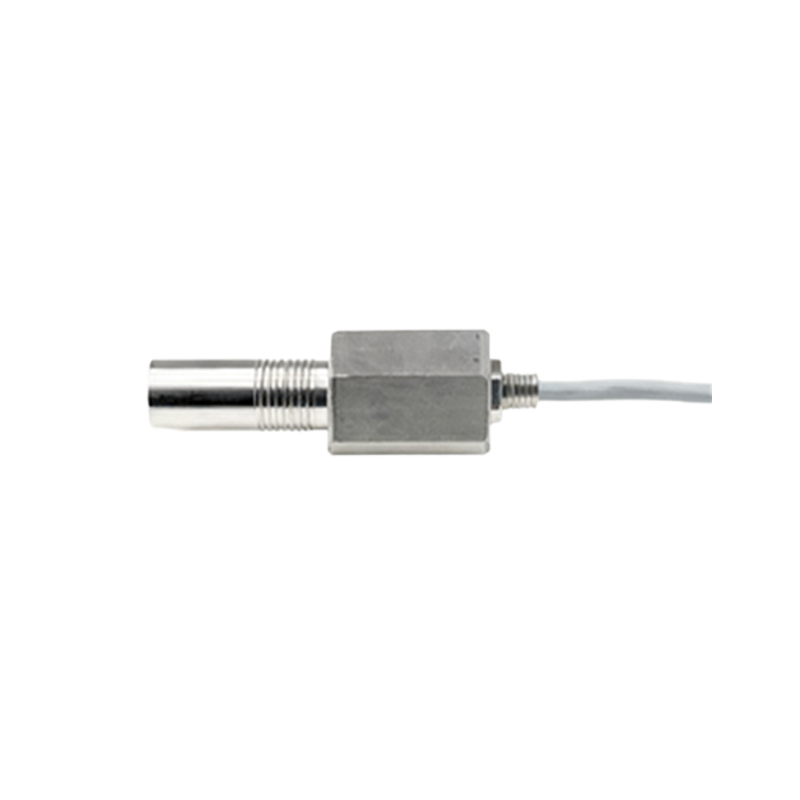
Once disconnected, inspect the sensor body. The smooth rod, which is the sensing element, is often integrated into the front housing. To access internal components, locate any seams or screws on the sensor casing. Some M5 models have a threaded front cap that can be unscrewed by hand or with a tool. Turn the cap counterclockwise until it separates from the main body. If resistance is felt, check for hidden screws or adhesive; avoid prying, as this can crack the housing.
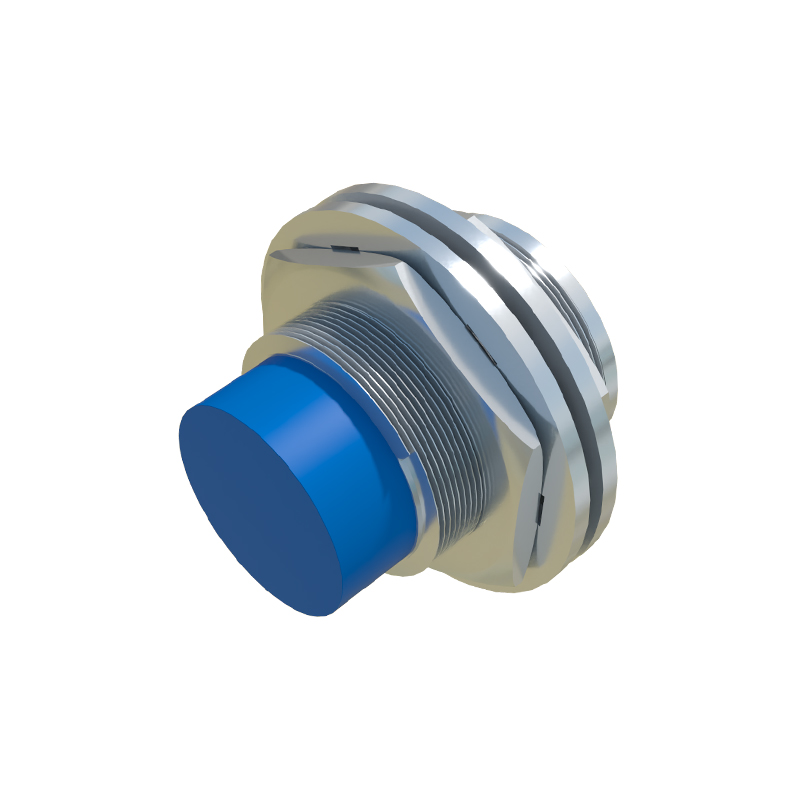
After opening the sensor, you'll see internal parts like the coil, oscillator, and circuitry. The smooth rod is connected to these components and may be held by a small set screw or adhesive. Use a screwdriver to loosen any fasteners, then gently slide the rod out. Be cautious not to bend or scratch the rod, as this can affect sensing accuracy. If the rod is glued, apply a small amount of solvent (e.g., isopropyl alcohol) to dissolve the adhesive, but ensure it doesn't contact electronic parts.
Clean the components if necessary, using a soft brush or compressed air to remove dust. Inspect for wear, corrosion, or damage—common issues in harsh environments. Reassembly is the reverse process: reinsert the smooth rod, secure it, and close the housing. Tighten screws or caps snugly but not overly tight to prevent thread damage. Reconnect wires according to your earlier notes, and test the sensor before remounting it.
In summary, disassembling an M5 proximity sensor with a smooth rod involves safety precautions, proper tool use, and methodical steps. Always refer to the manufacturer's manual if available, as designs can vary. Regular maintenance like this extends sensor life and ensures optimal performance in industrial applications.