Installing object proximity sensors correctly is crucial for ensuring reliable operation in industrial automation, security systems, and smart devices. These sensors detect the presence or absence of objects within a specified range without physical contact, using technologies such as inductive, capacitive, ultrasonic, or photoelectric principles. Proper installation not only maximizes sensor performance but also extends its lifespan and reduces false triggers. This guide provides step-by-step instructions for installing object proximity sensors, covering planning, mounting, wiring, calibration, and maintenance.
Before installation, thorough planning is essential. Start by selecting the appropriate sensor type based on the application environment and target object characteristics. Inductive sensors are ideal for detecting metallic objects in harsh industrial settings, while capacitive sensors can handle non-metallic materials like liquids or plastics. Ultrasonic sensors work well for distance measurement in dusty or humid conditions, and photoelectric sensors are suitable for high-speed detection in clean environments. Consider factors such as sensing range, response time, environmental conditions (e.g., temperature, humidity, and potential interference), and power requirements. Review the manufacturer’s datasheet for specifications like voltage ratings, output types (e.g., NPN or PNP), and housing materials. Ensure the sensor’s operating parameters align with the system’s needs to avoid malfunctions.
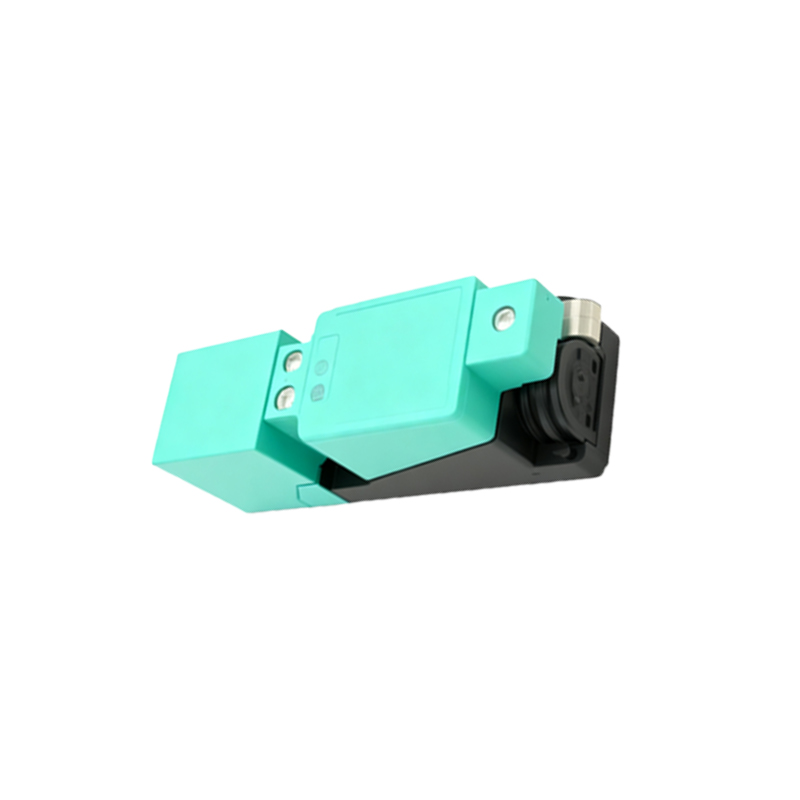
Mounting the sensor securely is the next critical step. Choose a stable location free from vibrations or mechanical stress that could affect accuracy. For wall or machine mounting, use brackets or fixtures compatible with the sensor’s housing. Align the sensor perpendicular to the target object’s path to ensure optimal detection. Maintain the recommended sensing distance—typically specified in the datasheet—to prevent under- or over-sensing. Avoid placing sensors near sources of electromagnetic interference, such as motors or high-voltage cables, which can disrupt signals. In outdoor or harsh environments, use protective enclosures rated for IP67 or higher to shield against dust, moisture, and corrosion. Tighten mounting hardware firmly but avoid over-torquing, which could damage the sensor.
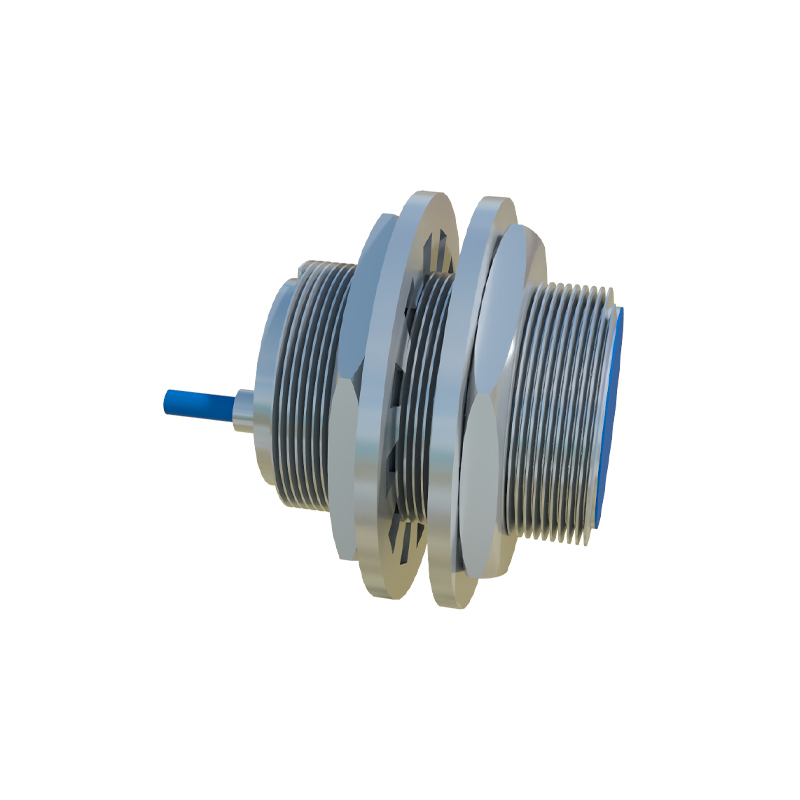
Wiring must be done carefully to ensure safety and functionality. First, disconnect power to the installation area to prevent electrical hazards. Follow the sensor’s wiring diagram, connecting wires to the correct terminals for power supply, ground, and output signals. Use shielded cables for long runs or noisy environments to minimize signal interference. Secure connections with crimp terminals or soldering, and avoid loose wires that could cause short circuits. For sensors with multiple outputs, verify each connection matches the control system’s input requirements. After wiring, perform a continuity test to check for faults before powering on.
Calibration fine-tunes the sensor for precise operation. After powering up, adjust sensitivity settings using potentiometers or digital interfaces, if available. Test the sensor by placing target objects within the sensing range and observing output signals (e.g., LED indicators or relay activations). For adjustable-range sensors, set thresholds to avoid detecting background objects. Record calibration values for future reference. In automated systems, integrate the sensor with controllers like PLCs and validate responses through software monitoring.
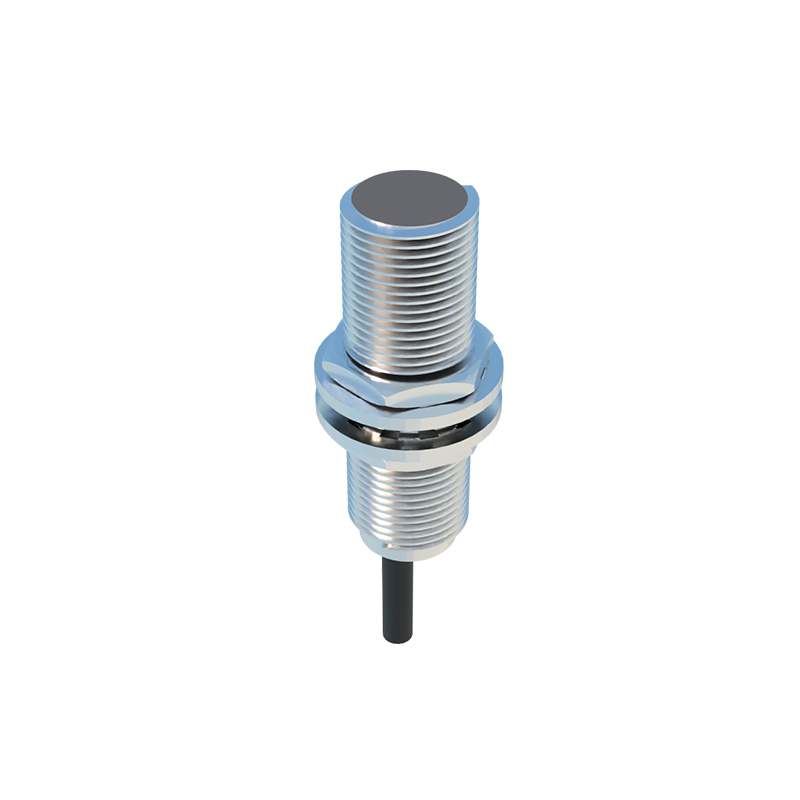
Regular maintenance ensures long-term reliability. Periodically inspect sensors for physical damage, dirt accumulation, or misalignment. Clean lenses or surfaces with a soft cloth to maintain accuracy. Check wiring integrity and environmental conditions annually, and recalibrate if performance drifts. Keep a log of maintenance activities to track sensor health.
By following these guidelines, users can achieve efficient and durable object proximity sensor installations, enhancing system automation and safety. Always refer to manufacturer instructions for model-specific details.