Calibrating a laser sensor is a critical procedure in industrial automation and measurement systems, ensuring accuracy, reliability, and consistency in operations. Whether used for distance measurement, object detection, alignment, or quality control, a properly tuned laser sensor minimizes errors and enhances system efficiency. This guide outlines a systematic, professional approach to laser sensor calibration, adhering to industry best practices.
Before initiating calibration, thorough preparation is essential. First, consult the sensor’s technical datasheet and manufacturer manual to understand specific parameters such as measurement range, resolution, response time, and environmental tolerances (e.g., temperature, humidity). Ensure the sensor is correctly installed, with a stable mounting base free from vibrations, and that the optical lens is clean and unobstructed. Verify all electrical connections, including power supply and output signals (analog, digital, or serial interfaces), are secure. Necessary tools typically include a calibration target or reference standard (e.g., a certified gauge block or reflective plate), a multimeter or oscilloscope for signal analysis, and any proprietary software provided by the manufacturer for configuration.

The calibration process generally follows these key steps:
1. Power-Up and Initialization: Switch on the sensor and allow it to stabilize thermally, especially if it has been in a different environment. This minimizes drift due to temperature variations. Access the sensor’s settings via its interface (buttons, dip switches, or software). Reset to factory defaults if needed to establish a baseline.
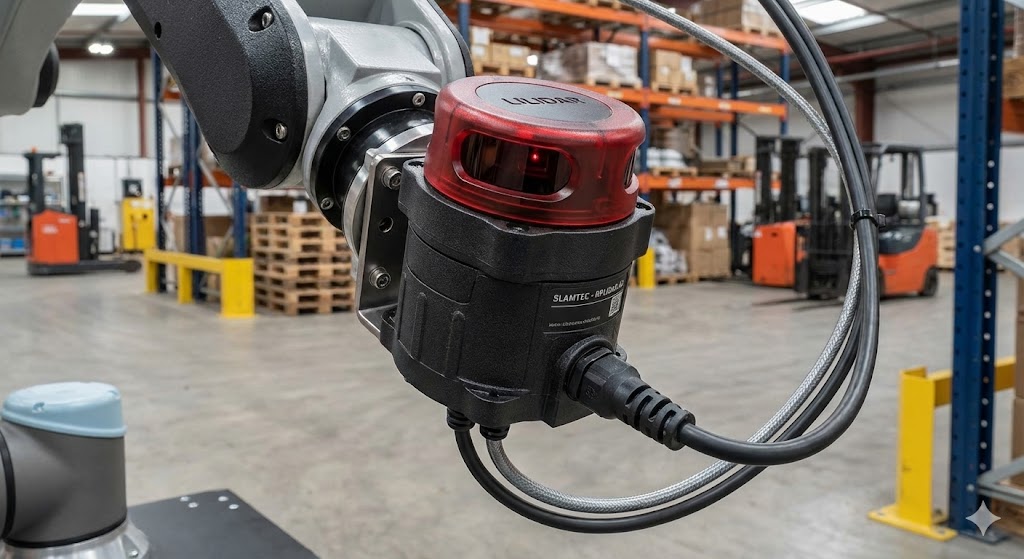
2. Reference Target Positioning: Place the calibration target at a known distance within the sensor’s specified range. The target should have consistent surface properties (e.g., reflectivity, color) matching typical application conditions. For example, use a white, diffuse surface for diffuse reflection sensors or a precise retro-reflector for through-beam types.
3. Adjustment of Sensing Parameters: Using the manufacturer’s interface, adjust critical parameters. For analog output sensors, set the zero (or offset) point by aligning the output signal (e.g., 4 mA or 0 V) with the minimum measurement distance. Then, set the span (or gain) by matching the full-scale output (e.g., 20 mA or 10 V) to the maximum distance. For digital sensors, configure thresholds for switching points, hysteresis, and response delay to avoid false triggers.
4. Signal Verification and Fine-Tuning: Measure the sensor’s output while varying the target distance across the range. Record readings at multiple points (e.g., near, mid, and far ranges) and compare them against the reference standard. Calculate any linearity errors or deviations. If the sensor features temperature compensation or filtering options, enable them to reduce noise and environmental effects. Fine-tune parameters iteratively until the output consistently meets the required tolerance (e.g., ±0.1% of full scale).

5. Validation and Documentation: After adjustment, perform a validation test under real or simulated operating conditions. Check for repeatability by taking multiple measurements at fixed distances. Document all settings, calibration dates, reference standards used, and results for quality assurance and future maintenance.
Common challenges during calibration include optical interference (e.g., ambient light, dust), material transparency or reflectivity variations, and electrical noise. Mitigate these by using protective housings, selecting sensors with appropriate wavelengths (e.g., red laser for visible alignment, infrared for reduced interference), and employing shielded cables. Regular maintenance, such as periodic recalibration every 6–12 months or after environmental shocks, is recommended to sustain performance.
Advanced sensors may offer automated calibration features via software, which can streamline the process. However, manual verification remains crucial for critical applications. Always prioritize safety: never look directly into the laser beam, and follow local regulations for laser device usage.
In summary, meticulous calibration transforms a laser sensor from a mere component into a precision tool. By following structured steps—preparation, parameter adjustment, verification, and documentation—engineers can ensure optimal functionality, reduce downtime, and enhance the overall reliability of industrial systems.