In industrial automation and control systems, 4-wire proximity sensors are widely used for non-contact detection of metallic objects. These sensors provide two separate circuits: one for power supply and one for the output signal, allowing for versatile configurations such as normally open (NO) or normally closed (NC) outputs. However, like any electronic device, they are susceptible to faults that can disrupt operations. This guide outlines systematic methods for diagnosing and troubleshooting common issues with 4-wire proximity sensors.
First, understand the basic wiring of a 4-wire proximity sensor. Typically, it includes:
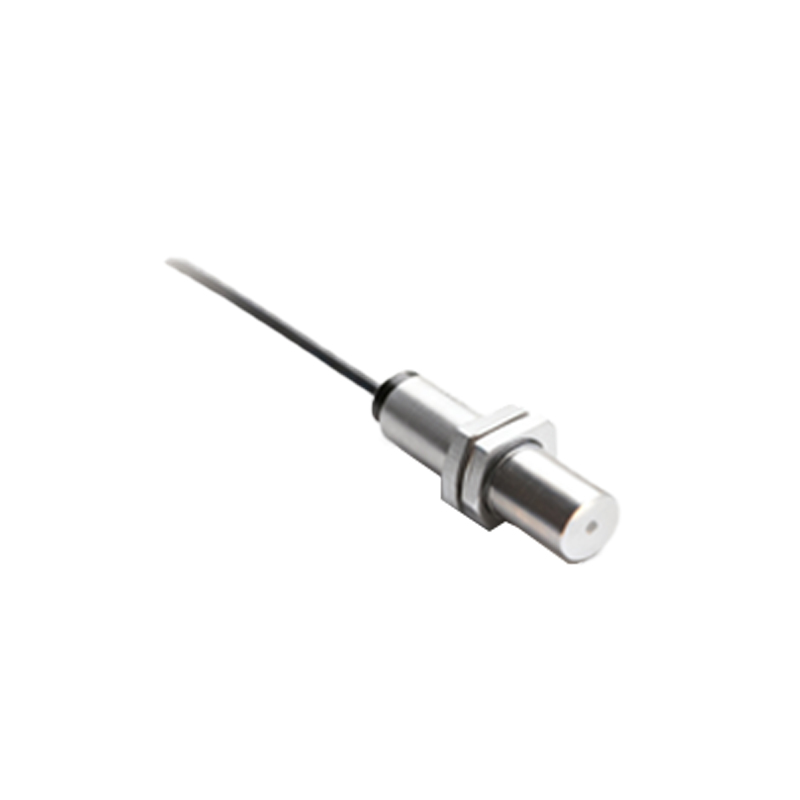
- Brown wire: Connected to the positive DC supply voltage (e.g., +24V).
- Blue wire: Connected to the negative DC supply voltage (0V or ground).
- Black wire: Output signal (usually for NO configuration).
- White wire: Output signal (often for NC configuration, or as a complementary output).
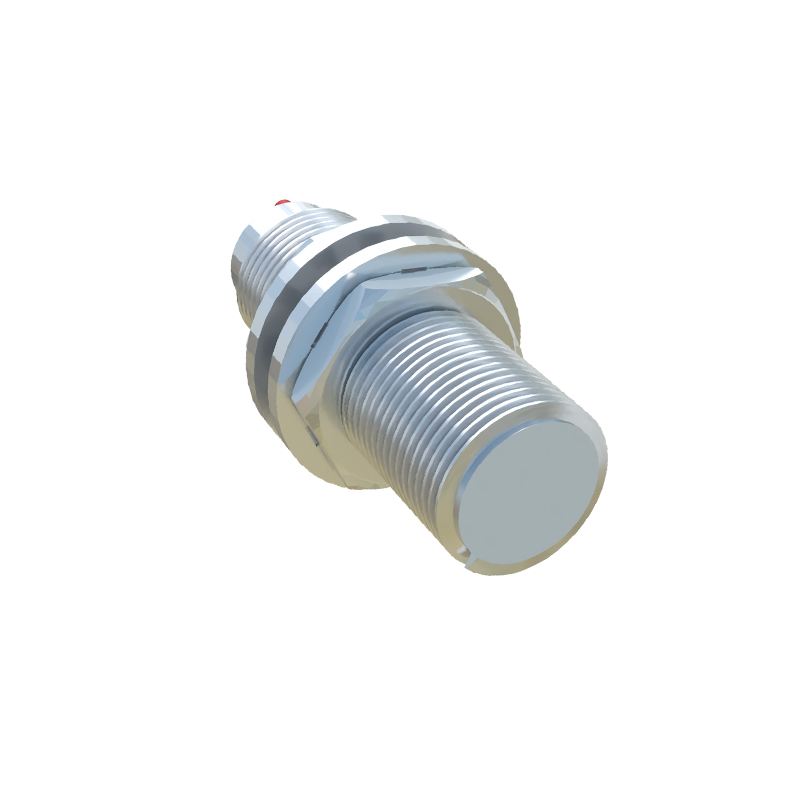
Always refer to the manufacturer's datasheet, as wire colors may vary.
Common Fault Symptoms and Diagnosis Steps:
1. Sensor Not Responding to Targets
- Check Power Supply: Use a multimeter to measure voltage between brown and blue wires. Ensure it matches the sensor's rated voltage (commonly 10-30V DC). Low or absent voltage indicates a power source issue.
- Inspect Wiring: Look for loose connections, corrosion, or damaged cables. Verify all connections are secure and correct.
- Test Output: With power applied, bring a metal target within the sensing range. Measure voltage between the output wire (black or white) and blue wire. For a NO sensor, voltage should switch from low to high (or vice versa) when triggered. No change suggests sensor failure.
- Environmental Factors: Ensure the sensor is not affected by extreme temperatures, moisture, or electromagnetic interference, which can impair functionality.
2. Intermittent Operation
- Vibration or Misalignment: Loose mounting can cause inconsistent detection. Tighten the sensor and ensure it is properly aligned with the target.
- Power Fluctuations: Monitor the power supply for instability. Use an oscilloscope if available to check for noise or voltage drops.
- Target Issues: Verify the target material, size, and approach angle are within specifications. Some sensors may only detect ferrous metals.
3. False Triggering
- External Interference: Check for nearby motors, welding equipment, or other sensors causing electrical noise. Shield cables or increase separation.
- Incorrect Sensing Range: Adjust the sensor's sensitivity or positioning to avoid unintended objects.
- Wiring Problems: Ensure output wires are not shorted to power lines or ground.
4. Output Stuck High or Low
- Internal Failure: If the output remains constant regardless of target presence, the sensor's internal circuitry may be damaged. Replace the sensor after ruling out external causes.
- Load Issues: Verify the connected load (e.g., PLC input, relay) is within the sensor's rated current. Overloading can damage the output transistor.
Advanced Troubleshooting Tools:
- Multimeter: Essential for measuring voltage, continuity, and resistance.
- Oscilloscope: Useful for analyzing signal integrity and noise.
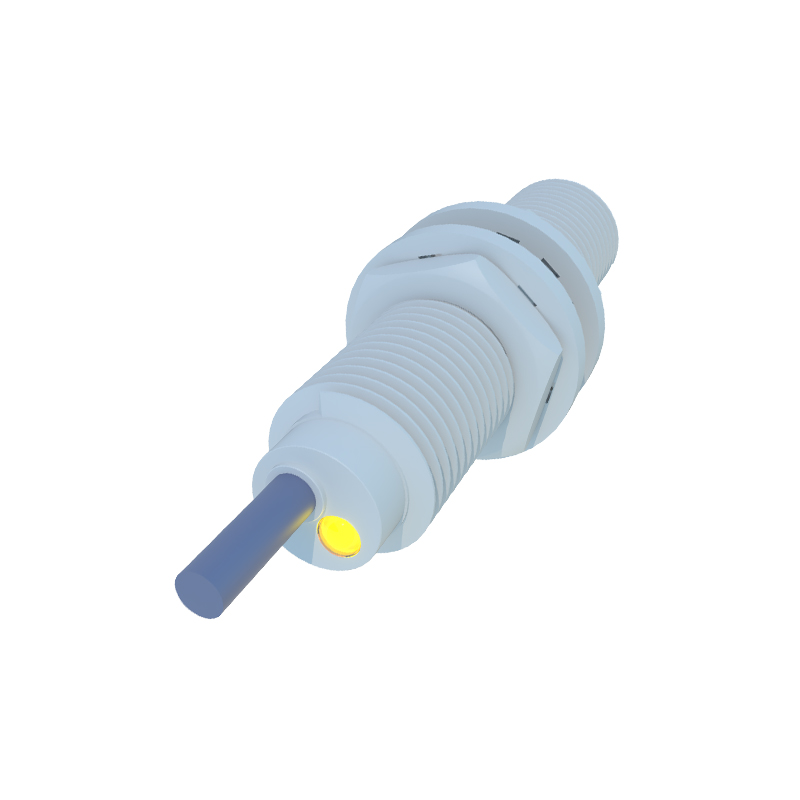
- Manufacturer Diagnostics: Some sensors have LED indicators for power and output status. A solid or blinking LED can provide fault codes.
Preventive Maintenance Tips:
- Regularly inspect sensors for physical damage, dirt, or debris accumulation. Clean lenses or sensing faces as needed.
- Perform periodic functional tests using known targets.
- Document installation dates and environmental conditions to predict lifespan.
In summary, diagnosing 4-wire proximity sensor faults involves a step-by-step approach: verify power and wiring, test output behavior, consider environmental factors, and use appropriate tools. Most issues stem from simple causes like loose connections or incorrect setup. By following these practices, downtime can be minimized, ensuring reliable operation in industrial applications. Always prioritize safety by disconnecting power before inspection and adhering to local electrical codes.