Laser sensors are versatile components widely used in robotics, automation, and DIY electronics projects. They offer precise distance measurement, object detection, and alignment capabilities. For beginners and makers, integrating these sensors into projects can seem daunting, but with Mixly—a graphical programming platform based on Arduino—controlling laser sensors becomes accessible and straightforward. This guide walks through the basics of using Mixly to interface with common laser sensor modules, enabling you to harness their power in your creations.
First, understand the types of laser sensors available. Common modules include time-of-flight (ToF) sensors like the VL53L0X, which measure distance by calculating the time laser light takes to reflect back, and simpler laser transmitter-receiver pairs for detection tasks. These sensors typically communicate via I2C or digital pins, making them compatible with popular boards like Arduino Uno or ESP32. Before starting, gather your components: a laser sensor module, an Arduino-compatible board, jumper wires, and a breadboard for prototyping.
To begin, connect the laser sensor to your microcontroller. For an I2C-based sensor such as the VL53L0X, link the VCC pin to 3.3V or 5V (check the sensor’s datasheet), GND to ground, SDA to the board’s SDA pin, and SCL to the SCL pin. For digital sensors, connect the output pin to a digital input on the board. Once wired, open Mixly and ensure the correct board and port are selected. Mixly’s block-based interface simplifies coding: you drag and drop blocks to create programs without writing complex syntax.
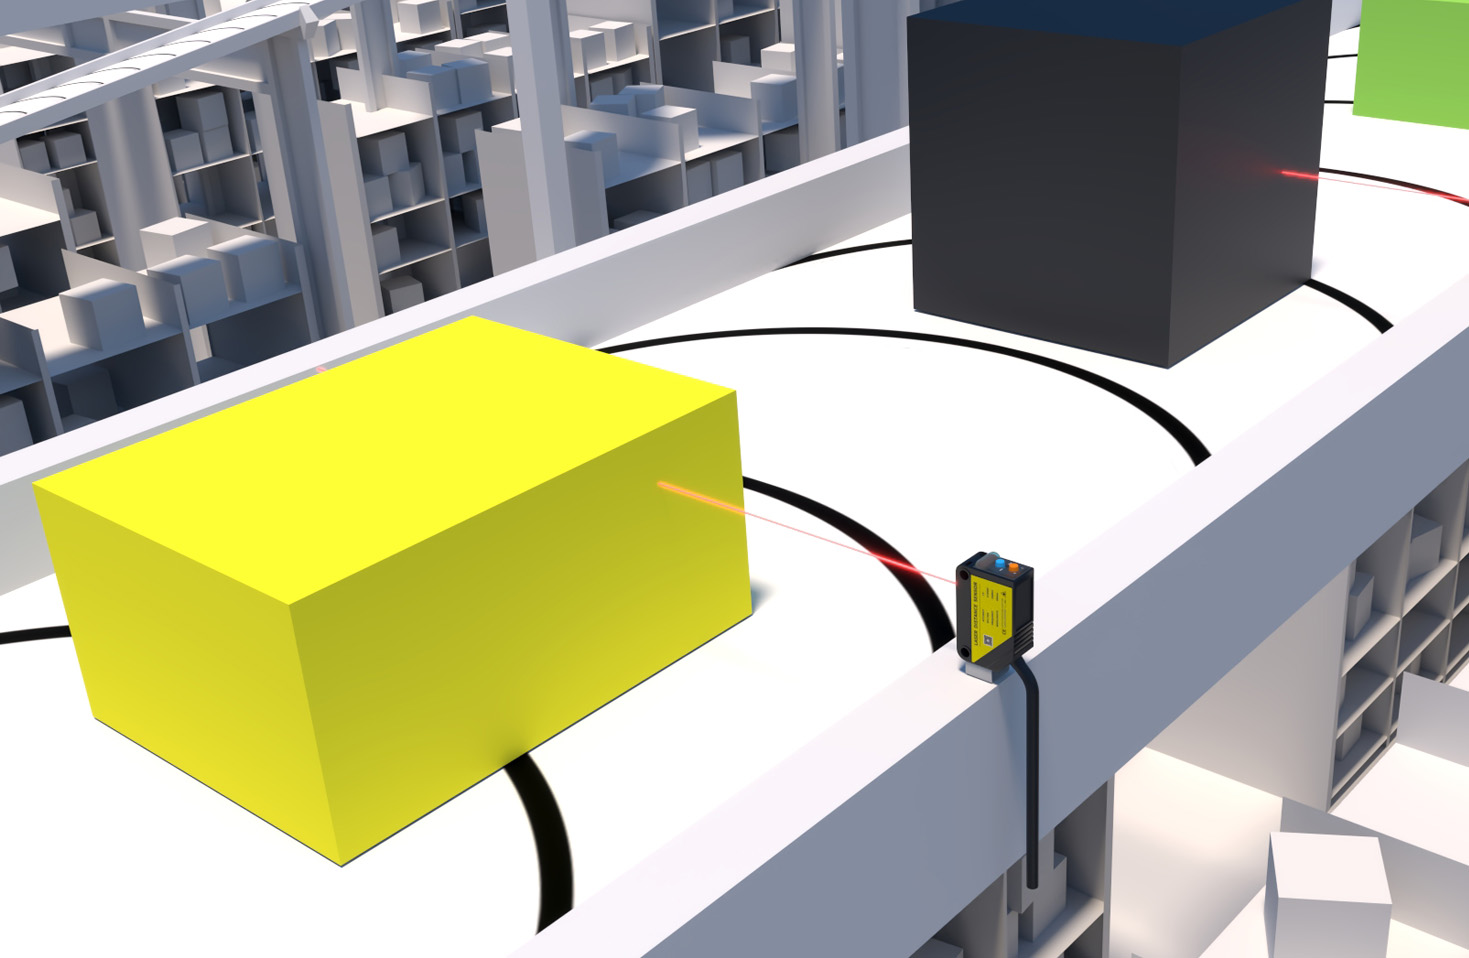
In Mixly, navigate to the sensor blocks category. If your laser sensor isn’t preloaded, you may need to import a library. Mixly supports many libraries via its management tool; search for libraries like "Adafruit VL53L0X" for ToF sensors. After importing, use blocks to initialize the sensor. For example, with a VL53L0X, drag an initialization block and set the I2C address if needed. Then, create a loop to read data: use a "read distance" block to get measurements in millimeters or centimeters. You can display this data on the serial monitor by adding a serial print block, or use it to trigger actions like turning on an LED or activating a motor.
A practical application is building a laser-based security system. Connect a laser diode and receiver across a doorway; when the beam is interrupted, the sensor detects the change and triggers a buzzer. In Mixly, program this by reading the sensor’s digital output: if the pin state goes low (beam broken), play a sound. This project demonstrates how Mixly abstracts complex coding, letting you focus on logic and creativity. For advanced users, combine multiple sensors or integrate with displays for real-time feedback.
Troubleshooting is part of the process. If the sensor fails to work, double-check wiring and power supply. In Mixly, use serial monitor blocks to debug values; incorrect readings might indicate library issues or environmental interference (e.g., bright light affecting sensors). Always refer to the sensor’s documentation for specifics. Mixly’s community forums and tutorials offer additional support for common pitfalls.
In summary, Mixly democratizes laser sensor control, making it ideal for education and prototyping. By leveraging visual programming, you can quickly implement features like obstacle avoidance in robots or precision measurement tools. Experiment with different sensors and Mixly’s blocks to expand your projects. As you grow confident, explore coding in Arduino IDE for deeper customization, but start with Mixly to grasp the fundamentals effortlessly.