As a seasoned electrical engineering professional specializing in consumer electronics, I often encounter queries regarding malfunctioning proximity sensors in mobile phones. This component, though small, plays a critical role in user experience by disabling the touchscreen during calls when the device is near the ear, preventing accidental inputs. When it fails, issues like a black screen during calls, unresponsive display, or erratic behavior become prevalent. Addressing these faults requires a systematic, technical approach grounded in understanding the sensor's operation, common failure modes, and practical repair methodologies.
Firstly, understanding the technology is essential. Most modern smartphones use an infrared (IR)-based proximity sensor. It typically consists of an IR LED emitter and an IR photodiode receiver. During a call, the emitter sends out an IR signal. If an object, like your ear, is close, the signal reflects back to the receiver. The sensor's integrated circuit then processes this data and signals the system controller to turn off the display. Failures can stem from the hardware (emitter, receiver, circuit, or physical obstruction) or software (drivers, firmware, or OS conflicts).
The initial troubleshooting step should always be a software diagnostic. Before disassembling the device, perform a soft reset to clear temporary system glitches. If the problem persists, check for pending operating system updates, as these often contain bug fixes for sensor calibration. Boot the phone in safe mode to disable third-party applications; a malfunctioning app can sometimes interfere with sensor operations. If normal function returns in safe mode, the culprit is likely a recently installed application. For advanced users, accessing the device's engineering menu (codes vary by manufacturer, e.g., ##6484## for some Xiaomi models) allows direct hardware testing of the proximity sensor. This provides a clear pass/fail status.
If software solutions prove ineffective, the issue is almost certainly hardware-related. The most common hardware problem is physical obstruction. Dust, lint, or adhesive from a poorly applied screen protector can accumulate over the sensor area, usually located near the earpiece. Carefully inspect the top bezel of the phone. Using a can of compressed air to gently blow around the earpiece grill can dislodge loose debris. For more stubborn grime, lightly dampening a cotton swab with isopropyl alcohol (99% concentration is ideal) and gently cleaning the area can be effective. Ensure the phone is powered off and the alcohol is fully evaporated before restarting.
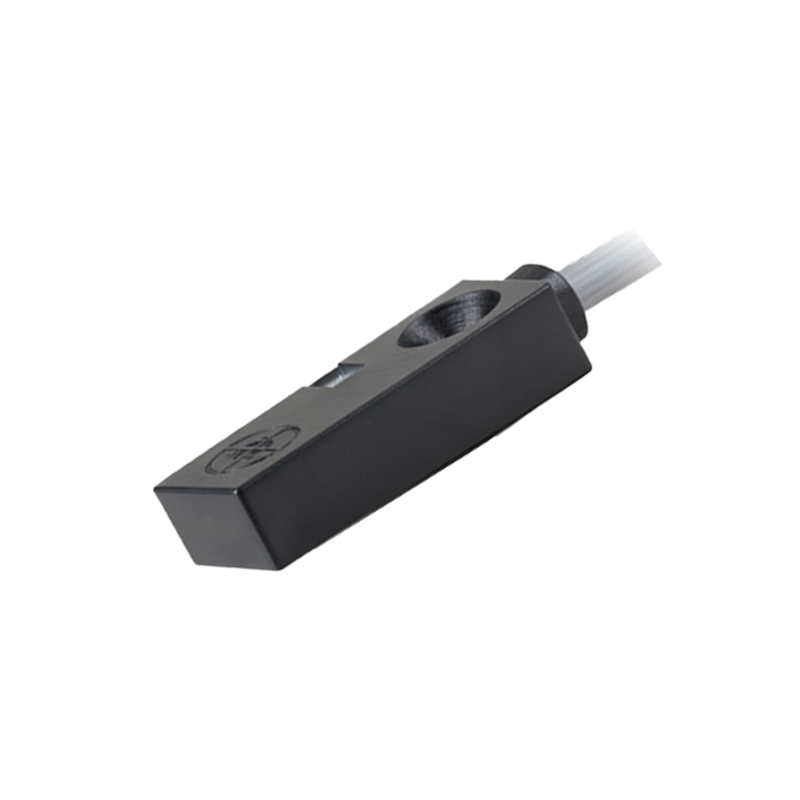
When obstruction is ruled out, the fault may lie in the sensor component itself or its connection. This requires disassembly, which demands proper tools (precision screwdrivers, plastic spudgers, tweezers) and anti-static precautions. After safely opening the phone, locate the proximity sensor. It is often a small, rectangular module on the flex cable connected to the mainboard or integrated into the front camera/earpiece assembly. Visually inspect the flex cable connector for any signs of corrosion, bending, or dislodgement. Reseating the connector—unplugging and firmly re-plugging it—can resolve poor contact issues.
Should reseating not work, testing the sensor module is the next step. Using a multimeter, an engineer can check the continuity of the IR LED and photodiode. However, a more practical field method is substitution. Replacing the suspected faulty sensor module or the entire front assembly (which often houses the sensor, earpiece, and front camera) is a standard repair procedure. Sourcing high-quality, OEM-compatible parts is crucial for longevity and calibration accuracy.
In some cases, particularly after a drop or water damage, the problem may be on the mainboard. This could involve damaged traces, a faulty sensor IC, or issues with the power management IC supplying voltage to the sensor. This level of repair requires advanced microsoldering skills, schematic diagrams, and board-level diagnostics. It is generally not recommended for non-professionals.
Finally, after any hardware intervention, recalibration is vital. Many manufacturers provide proprietary calibration tools within their service software. For general users, after reassembly, performing a factory reset (ensuring data is backed up) can sometimes force a recalibration sequence. Testing the sensor's functionality by making a call or using a sensor-testing app from the Play Store will confirm the repair's success.
In conclusion, resolving proximity sensor faults is a tiered process: rule out software, clean potential obstructions, check connections, and finally, replace components. While basic cleaning and software checks are user-accessible, internal hardware repairs demand technical skill. Persistent issues, especially post-physical damage, should be referred to a qualified repair technician with the necessary tools and expertise to perform precise board-level work, ensuring the device's full functionality is restored.