In industrial automation, proximity sensors play a critical role in detecting the presence or absence of objects without physical contact. Over time, these sensors may fail due to environmental factors, wear, or electrical issues, necessitating replacement. This guide outlines the key steps and considerations for replacing proximity sensors in industrial settings, ensuring minimal downtime and optimal performance.
Before beginning any replacement procedure, always follow lockout/tagout (LOTO) protocols to de-energize the equipment and ensure a safe working environment. Verify that the power supply is disconnected and use appropriate personal protective equipment (PPE). Once safety measures are in place, identify the faulty sensor by checking diagnostic indicators such as LED status lights or error codes on the control system. Document the sensor’s model number, specifications, and wiring configuration for reference.
Next, remove the mounting hardware securing the sensor. Depending on the installation, this may involve loosening bolts, unscrewing brackets, or detaching clamps. Carefully disconnect the electrical connections, noting the wire colors and terminal assignments. It is advisable to take photographs or label wires to avoid confusion during reinstallation. Inspect the wiring for signs of damage, such as fraying or corrosion, and address any issues before installing the new sensor.
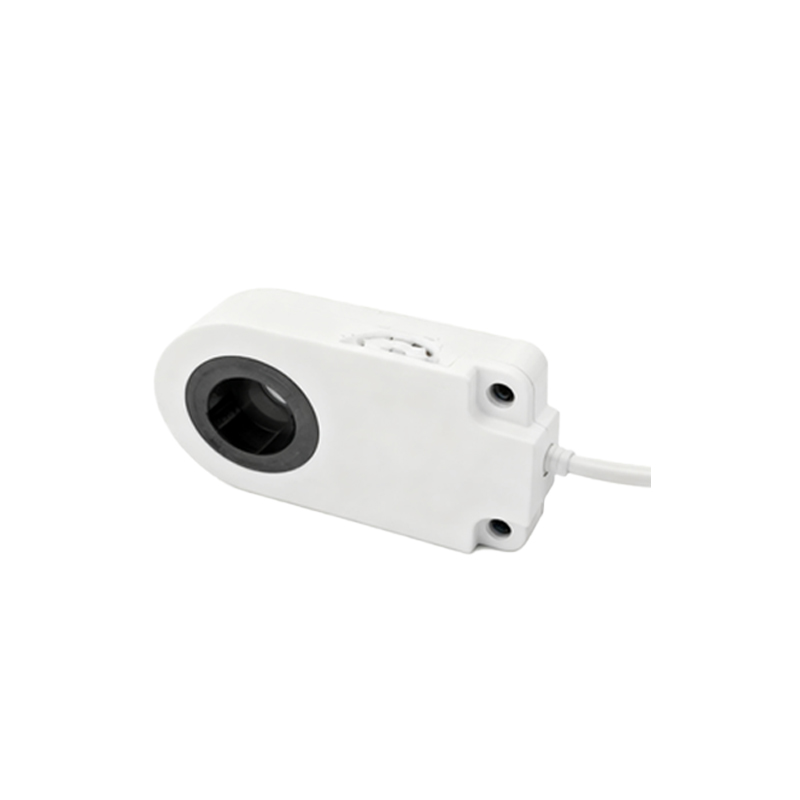
When selecting a replacement sensor, ensure compatibility with the existing system. Key parameters include sensing range, output type (e.g., NPN, PNP, or analog), voltage rating, and housing material. For harsh environments, choose sensors with appropriate ingress protection (IP) ratings to resist dust, moisture, or chemicals. If the original model is discontinued, consult manufacturer datasheets or technical support to find a suitable alternative.
Install the new sensor by reversing the removal steps. Mount it securely in the same position and orientation as the old unit to maintain accurate detection. Reconnect the wiring according to your documentation, ensuring tight terminal connections to prevent loose contacts. After installation, restore power and perform functional tests. Use a test object to verify that the sensor triggers correctly and check the control system for proper signal reception. Adjust the sensor’s position if necessary to achieve the desired sensing range.
Regular maintenance can extend the lifespan of proximity sensors. Keep them clean from debris, monitor for environmental changes, and schedule periodic inspections. By following these practices, you can reduce unexpected failures and maintain efficient operations. Remember, always refer to manufacturer guidelines and industry standards for specific applications.