Photographing laser sensors effectively requires a blend of technical understanding and photographic skill. As an engineer in the industrial automation or measurement field, you may need to document sensor installations, create technical manuals, or produce marketing materials. This guide provides a structured approach to capturing clear, informative, and professional images of laser sensors.
The first step is pre-shoot preparation. Safety is paramount. Ensure the laser sensor is powered off or in a safe, non-operational mode to prevent accidental exposure to laser beams, which can be hazardous to eyes and can also overwhelm camera sensors. Gather necessary equipment: a DSLR or mirrorless camera with manual controls is ideal, but a high-quality smartphone camera can suffice for documentation purposes. Essential accessories include a sturdy tripod to eliminate blur, a macro lens for close-up detail shots of the emitter and receiver apertures, and a remote shutter release or timer function. Clean the sensor housing and lens window thoroughly to avoid dust spots appearing prominently in your photos.
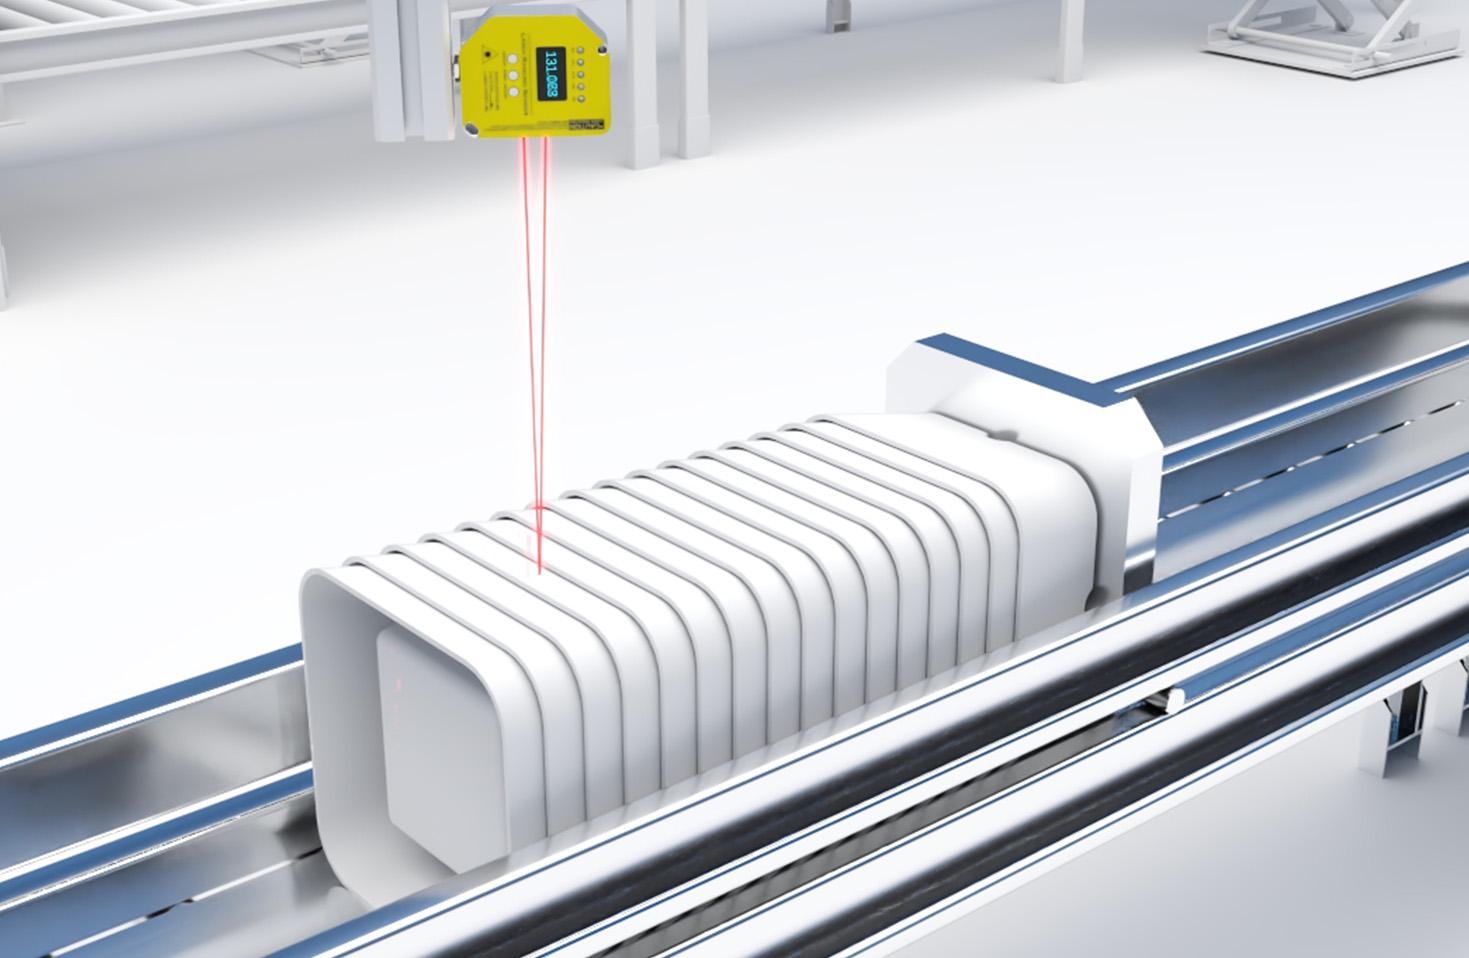
Understanding your subject is crucial. Before shooting, identify the key features you need to highlight. These typically include the laser emission point, the receiving lens, status LEDs, mounting brackets, connection ports (e.g., M8, M12 connectors), and any labeling with part numbers or specifications. Consider the context: is the sensor mounted on a machine, in a test bench setup, or as a standalone unit? The context defines the story of the image.
Lighting is the most critical factor in technical photography. Avoid using the sensor's own laser as a primary light source; it is often a single, intense point that creates glare and fails to illuminate the overall subject. Instead, use controlled, diffused external lighting. For studio-like shots of a standalone sensor, a lightbox or two softboxes placed at 45-degree angles to the subject will provide even, shadow-reducing illumination. For sensors installed in machinery, use a powerful, handheld LED panel to fill in shadows. Pay attention to reflections on the sensor's often glossy or metallic housing; use a polarizing filter on your camera lens to manage these reflections and reveal surface details.
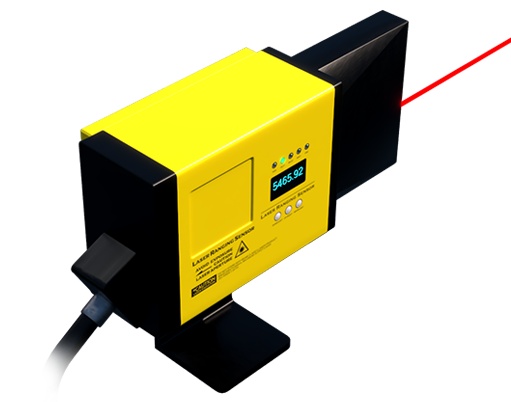
Camera settings require a manual approach. Set your camera to Manual (M) mode. Use a low ISO (e.g., 100 or 200) to minimize digital noise. Select a narrow aperture (a high f-number like f/8 to f/16) to achieve a deep depth of field, ensuring both the front and back of the sensor are in focus. This will necessitate a longer shutter speed, making the tripod essential. If capturing a sensor in an active, low-light industrial environment where a tripod isn't feasible, you may need to raise the ISO cautiously. For dynamic shots demonstrating a laser line or point in action (with all safety measures confirmed), use a very fast shutter speed to freeze the beam's appearance on a target surface. Focus meticulously, using manual focus and your camera's live view zoom function to ensure the laser aperture or critical text is razor-sharp.
Composition and angles tell the technical story. Shoot from multiple angles: a straight-on front view to show the face, a three-quarter view to display profile and mounting, and a top-down view. For detail shots, get close with a macro lens to capture serial numbers, connector types, and optical components. Include a scale reference, like a ruler or a common object (e.g., a coin), in one shot to convey size, especially for miniature sensors. If photographing an application, such as a sensor measuring object distance on a conveyor, use a wider angle to show the sensor in its functional environment, ensuring the key elements (sensor, target, background) are arranged clearly.
Post-processing is the final step for polish. Use software like Adobe Lightroom or Photoshop to make minor adjustments. Correct the white balance to ensure colors are accurate—metallic grays and indicator LED colors should appear true. Increase clarity and sharpness slightly to enhance edge definition. Crop the image to improve composition and remove distracting background elements. For instructional materials, you may add simple annotations (arrows, labels) directly onto the image using graphic software, clearly pointing to key features. Always retain an original, unedited version for reference.
By following this methodical process—prioritizing safety, mastering lighting and camera settings, and thoughtfully composing your shots—you can produce high-quality photographs that accurately represent laser sensor technology. These images will serve as valuable assets for documentation, design reviews, troubleshooting guides, and promotional content within the engineering and industrial sectors.