Installing a laser sensor correctly is crucial for ensuring accurate measurements, reliable operation, and long-term performance in various applications, from industrial automation and robotics to security systems and consumer electronics. A poorly installed sensor can lead to measurement errors, frequent malfunctions, or even permanent damage. This guide provides a comprehensive, step-by-step approach to laser sensor installation, covering essential considerations, best practices, and common pitfalls to avoid.
Before beginning the installation process, thorough preparation is key. First, review the sensor's datasheet and manufacturer's manual. Understand the sensor's specifications, including its operating voltage, output type (e.g., digital, analog, or serial), sensing range, beam characteristics, and environmental ratings (like IP protection against dust and water). Ensure you have all necessary tools and components, such as mounting brackets, screws, cables, and a suitable power supply. Always prioritize safety: disconnect power during wiring, and be aware that some high-power laser sensors can pose eye safety risks—never look directly into the beam.
The first physical step is selecting an optimal mounting location. The mounting surface should be stable, vibration-free, and aligned with the target object's expected path. Consider environmental factors like ambient light, temperature extremes, and potential obstructions. For example, strong ambient light can interfere with some sensors, requiring shields or filters. Mount the sensor securely using the provided hardware, ensuring it is firmly attached to prevent movement from vibrations. Many sensors allow for fine adjustment via mounting brackets; loosely secure the bracket initially to enable final alignment.
Wiring and electrical connections come next. Follow the wiring diagram in the manual precisely. Typically, connections include power supply wires (V+ and GND) and output wires (for signals to a PLC, controller, or other device). Use appropriate wire gauges and ensure connections are tight and insulated. For sensors with multiple output types or configurable parameters, you may need to set DIP switches or use software configuration tools before powering on. Once wiring is complete, double-check all connections against the diagram to prevent short circuits or incorrect polarity, which can damage the sensor.
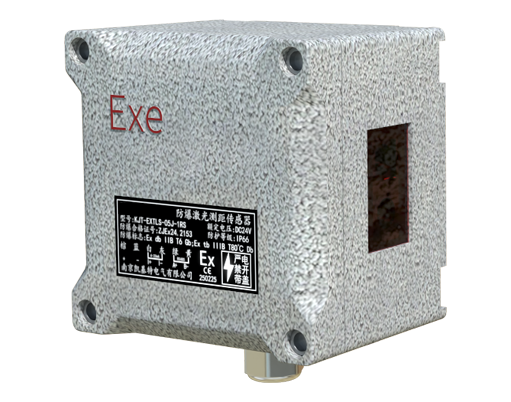
After securing the sensor and completing wiring, the next critical phase is alignment and calibration. Power on the system. Many laser sensors have a visible beam or an alignment indicator (like an LED) to assist in positioning. Aim the sensor at the target object within its specified sensing range. Adjust the sensor's angle and position until the indicator confirms proper alignment. For precision applications, use alignment tools or targets recommended by the manufacturer. Some advanced sensors feature automatic calibration or teach-in functions, where you program reference points via a button or software. Take time here; precise alignment directly impacts accuracy.
Once aligned, conduct thorough testing. Test the sensor with the actual target objects under normal operating conditions. Verify that the output signal behaves as expected—for instance, a digital sensor should switch states reliably when the target enters and exits the sensing field. Check for consistency across multiple trials. If the sensor has adjustable parameters like sensitivity or response time, fine-tune them based on test results to optimize performance. Document the settings for future reference.
Finally, implement protective measures and establish a maintenance routine. Depending on the environment, you might need to install protective housings to shield the sensor from physical impact, debris, or harsh chemicals. Regularly inspect the sensor lens for dust or contamination, cleaning it gently with recommended materials (like a lens cloth) to maintain beam quality. Periodically verify alignment and performance, especially in environments subject to vibration or temperature shifts.
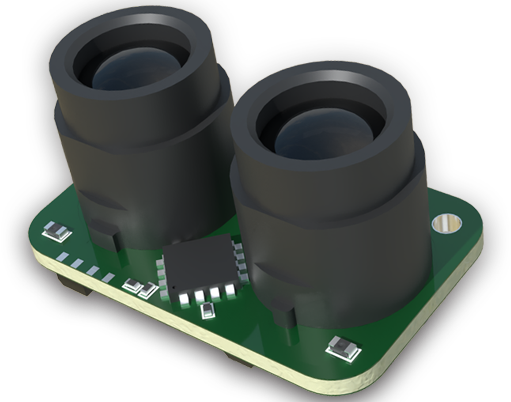
Common installation mistakes include incorrect wiring, poor alignment due to rushing, ignoring environmental limits (e.g., using an indoor-rated sensor outdoors), and neglecting to secure cables, which can strain connections over time. Always refer to manufacturer guidelines, as specific steps can vary between sensor models. By following this systematic approach—preparation, secure mounting, careful wiring, precise alignment, rigorous testing, and ongoing protection—you can ensure your laser sensor delivers reliable, accurate performance for its intended lifespan.
