Disassembling a laser sensor requires precision, safety awareness, and a clear understanding of its internal components. Whether for maintenance, repair, or component replacement, following a systematic approach is crucial to prevent damage to sensitive optics and electronics. This guide outlines best practices for engineers and technicians in handling such tasks.
Before beginning any disassembly, always prioritize safety. Ensure the sensor is completely disconnected from all power sources, including electrical supplies and connected systems. Allow the device to cool if it has been in operation, as some laser diodes or housings may retain heat. Wear appropriate personal protective equipment (PPE), such as safety glasses designed for laser wavelengths and anti-static wrist straps to protect against electrostatic discharge (ESD). Work in a clean, well-lit environment to avoid contamination of optical surfaces and to clearly see small components.
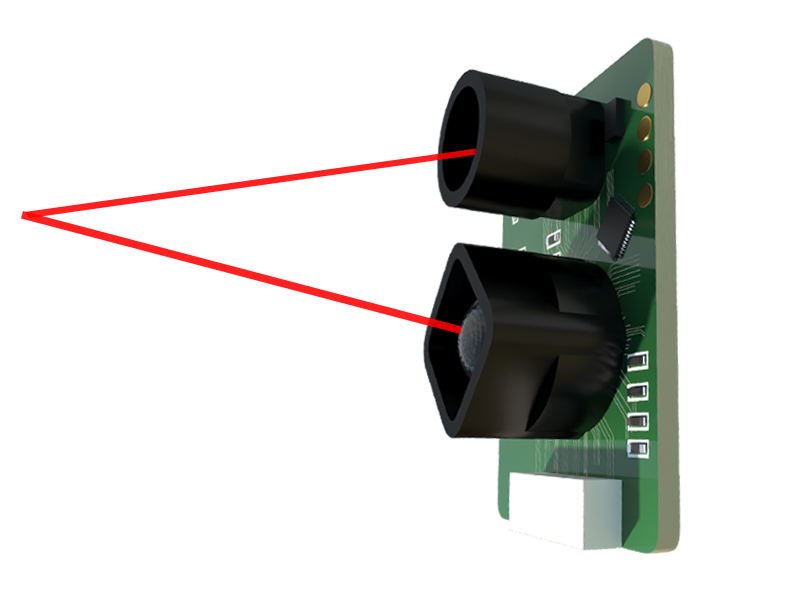
Start by consulting the manufacturer’s technical documentation. Many laser sensors have specific disassembly instructions, torque specifications for screws, or warnings about fragile parts like lenses or alignment mirrors. If documentation is unavailable, proceed with extra caution. Typically, the external housing is secured with screws—often Torx or hex-head types. Use the correct tools to avoid stripping screw heads. Gently remove the outer casing, noting the orientation and placement of any seals or gaskets that ensure environmental protection (e.g., IP ratings).
Once the housing is open, identify key internal modules: the laser emitter, receiver optics (such as photodiodes or CMOS arrays), signal processing board, and wiring harnesses. Take clear photographs at each stage to aid reassembly. Before touching any internal part, discharge any static electricity by grounding yourself. Carefully disconnect cable connectors by pulling on the connector body, not the wires. For optical components, avoid direct contact with lenses or mirrors; use lens tissue and approved cleaning solutions if cleaning is necessary.
If the laser diode or receiver assembly needs removal, note its mounting alignment. Many sensors have precise alignment screws or shims that affect calibration. Mark their positions with a non-permanent marker or document their settings. Remove any retaining clips or screws gently, keeping track of each part. Store small components in labeled containers.
During disassembly, inspect for common issues: cracked lenses, loose connections, or signs of overheating on circuit boards. This can inform repair decisions. Avoid using excessive force on any component; if something is stuck, re-check for hidden fasteners or adhesives.
After completing the required internal work, reassembly is essentially the reverse process. Ensure all connectors are firmly seated, seals are properly positioned, and screws are tightened to specified torque values. Misalignment can degrade sensor performance. Finally, perform basic functional tests after reconnecting power, such as checking output signals or alignment indicators, before reintegrating the sensor into the system.
Remember, improper disassembly can void warranties or cause permanent damage. When in doubt, consult the manufacturer or a certified specialist. Regular training on handling electro-optical devices is recommended for engineering teams to maintain safety and efficiency.