As a seasoned electrical engineer specializing in elevator systems, I often encounter issues with proximity switch sensors, which are critical components for ensuring safe and efficient elevator operation. These sensors detect the presence or absence of an object—typically the elevator car or counterweight—without physical contact, relying on electromagnetic fields or optical principles. When they malfunction, it can lead to erratic elevator behavior, safety hazards, or system failures. Therefore, knowing how to test their condition is essential for maintenance and troubleshooting. In this article, I will guide you through a step-by-step process to determine if an elevator proximity switch sensor is good or bad, using industry-standard methods and tools.
First, understand the types of proximity sensors commonly used in elevators: inductive, capacitive, and optical. Inductive sensors detect metallic objects and are popular for their durability, while capacitive sensors can sense non-metallic materials, and optical sensors use light beams. Each type has specific testing procedures, but the general approach involves checking electrical signals, physical alignment, and environmental factors.
To begin testing, ensure safety by following lockout-tagout procedures to de-energize the elevator system and prevent accidental movement. Wear appropriate personal protective equipment (PPE) such as gloves and safety glasses. Gather necessary tools: a digital multimeter (DMM) for measuring voltage, current, and resistance; an oscilloscope for analyzing signal waveforms if available; and a manufacturer’s datasheet for reference on specifications like operating voltage and output signals.
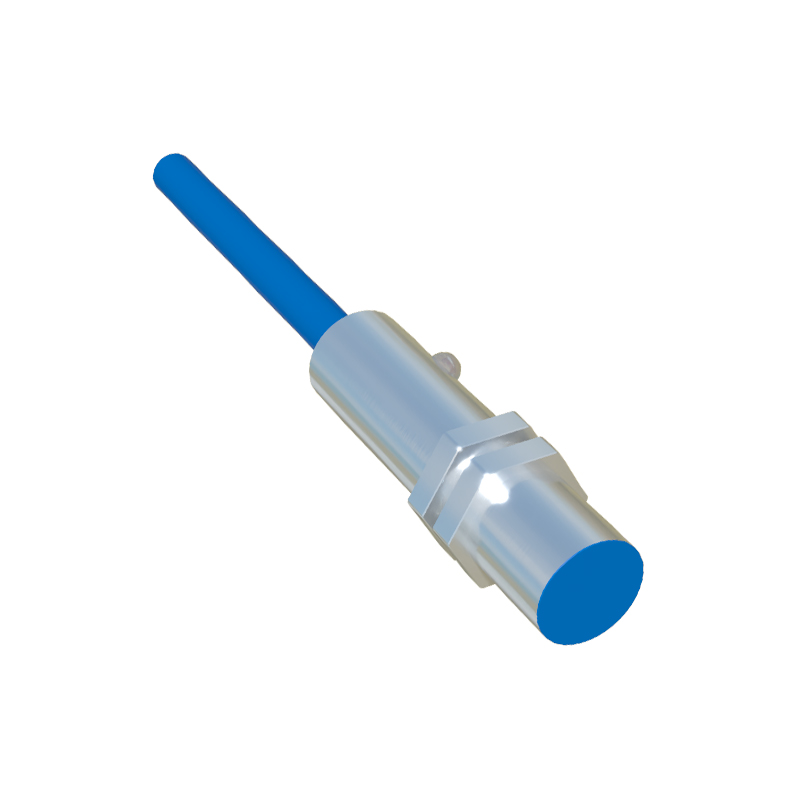
Step 1: Visual Inspection
Examine the sensor for physical damage, such as cracks, corrosion, or loose connections. Check the mounting bracket and alignment—misalignment can cause false readings. Ensure the sensing face is clean and free from debris, dust, or oil, which can interfere with performance. For optical sensors, verify that the lens is not obscured.
Step 2: Electrical Testing
Using the DMM, measure the supply voltage at the sensor terminals. Compare it to the rated voltage (e.g., 24V DC or 120V AC) from the datasheet. A significant deviation indicates a power supply issue. Next, test the output signal. For a normally open (NO) or normally closed (NC) sensor, observe the output state when the target is present or absent. For example, an inductive sensor should switch its output when a metal object enters its sensing range. Measure the output voltage or current; a faulty sensor may show no change or an incorrect value.
Step 3: Functional Testing
Simulate the sensor’s operation by moving a target (like a metal plate for inductive sensors) into its sensing range. Use the DMM to monitor the output. A good sensor will respond promptly and consistently. For optical sensors, test with an object interrupting the light beam. Note any delays or fluctuations, which could indicate internal component wear.
Step 4: Signal Analysis
If possible, use an oscilloscope to view the sensor’s output waveform. A clean, stable signal suggests proper function, while noise or distortion may point to electromagnetic interference or internal faults. Compare the waveform to the datasheet’s specifications for rise time and pulse width.
Step 5: Environmental Checks
Evaluate the operating environment. Extreme temperatures, humidity, or vibration can affect sensor performance. Ensure the sensor is rated for the elevator’s conditions. For instance, high humidity might cause capacitive sensors to false-trigger.
Step 6: Replacement and Verification
If tests indicate a bad sensor, replace it with a compatible unit from a reputable manufacturer. After installation, repeat the tests to confirm proper operation. Document the findings for future reference and preventive maintenance.
Common issues include short circuits, open circuits, or drift in sensing distance. Regular testing every 6-12 months, as part of a maintenance schedule, can prevent unexpected failures. Always refer to the elevator’s technical manual and local safety codes.
In summary, testing elevator proximity switch sensors involves a combination of visual, electrical, and functional checks. By following these steps, you can quickly identify and resolve problems, ensuring reliable elevator performance and passenger safety. Remember, when in doubt, consult with the sensor manufacturer or a certified technician for complex issues.