In industrial and laboratory settings, accurate temperature measurement is critical for process control, safety, and product quality. Laser temperature sensors, also known as infrared (IR) thermometers or pyrometers, offer non-contact, rapid, and precise temperature readings. However, their performance hinges on proper calibration and systematic troubleshooting. This guide provides a comprehensive, step-by-step approach for engineers and technicians to ensure these sophisticated instruments deliver reliable data.
The foundation of effective laser temperature sensor operation begins with understanding its core principle: it detects infrared radiation emitted by a target and converts this energy into a temperature reading. Key factors influencing accuracy include the sensor's emissivity setting, distance-to-spot size ratio, environmental conditions, and the target's surface characteristics. Before any calibration, consult the manufacturer’s manual for specific model specifications, recommended calibration intervals, and operational limits.
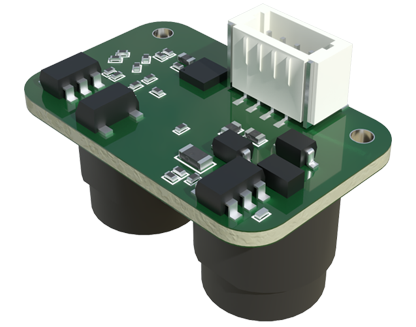
Initial Setup and Pre-Calibration Checks
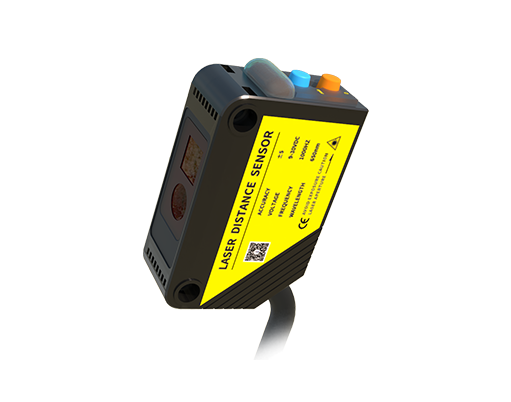
1. Visual Inspection: Examine the sensor lens for dust, moisture, or scratches. A clean, unobstructed lens is essential for accurate IR energy detection. Use only approved cleaning materials.
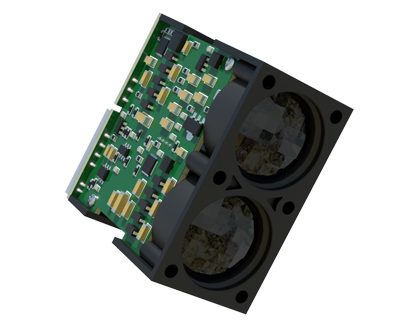
2. Power and Connections: Verify stable power supply and secure cable connections. Intermittent power can cause erratic readings.
3. Environmental Assessment: Note ambient temperature, humidity, and the presence of airborne particles, steam, or strong ambient light (e.g., from furnaces), which can interfere with readings. Ensure the sensor's operating environment is within its specified ratings.
4. Target Preparation: The target surface should be stable, opaque, and larger than the sensor's spot size. Shiny, reflective, or polished surfaces require special attention, often necessitating an adjusted emissivity setting or the application of a high-emissivity tape or paint.
The Calibration Process
Calibration involves comparing the sensor's reading against a known reference standard, typically a calibrated blackbody source. *Never attempt to calibrate against an unknown or unverified heat source.
1. Select a Reference Standard: Use a blackbody calibrator at the temperature range relevant to your application. Ensure the calibrator's own certification is current.
2. Stabilize Conditions: Allow both the blackbody source and the sensor to acclimate to the room environment for at least 30 minutes. Power on the blackbody and stabilize it at the desired calibration point (e.g., 100°C, 200°C, 500°C).
3. Configure Sensor Settings: Set the sensor's emissivity to match the blackbody source (typically 0.95 to 0.99). Configure the response time and output signal (4-20mA, 0-10V, digital) as required.
4. Perform Measurement: Align the sensor perpendicularly to the blackbody aperture at the specified distance. Ensure the sensor's spot is completely within the blackbody's cavity. Record the sensor's temperature reading once both the source and sensor readings are stable.
5. Adjust and Document: If the reading deviates beyond the sensor's stated accuracy, perform an offset or span adjustment as per the manufacturer's instructions. Calibrate at two or more temperature points across the used range for best results. Document all reference values, sensor readings, adjustments made, and environmental conditions in a calibration certificate or log.
Systematic Troubleshooting Common Issues
Even after calibration, issues may arise. Follow a logical diagnostic sequence.
* Inconsistent or Drifting Readings:
* Check for unstable target temperature (e.g., a cooling object).
* Look for environmental interference like steam, dust, or vibrations.
* Verify the power supply for noise or voltage fluctuations.
* Confirm the lens is clean and the housing is sealed.
* Readings are Consistently Too High or Too Low:
* Re-verify the emissivity setting. This is the most common source of error.
* Confirm the distance-to-spot-size ratio; moving too close or far can affect the measured area.
* Check for optical obstructions (dirty sight window on a protective air purge assembly).
* Revisit calibration; the reference standard may have drifted.
* No Output or Erratic Signal:
* Inspect all wiring and connectors for damage or looseness.
* Measure loop voltage and current for 4-20mA outputs.
* Test the sensor on a known, simple target to isolate the issue from the process.
* Review the configuration of the connected display, controller, or data acquisition system for mismatched settings.
Best Practices for Long-Term Reliability
* Establish a regular calibration schedule based on usage intensity and criticality.
* Maintain a detailed log for each sensor, including calibration dates, issues, and environmental exposures.
* Use protective accessories like air purge fittings or water-cooling jackets in harsh environments to keep the lens clean and the unit within its temperature limits.
* When in doubt, refer to the manufacturer's technical support with detailed symptom descriptions and your troubleshooting steps.
By adhering to this structured approach—meticulous setup, traceable calibration, and logical troubleshooting—engineers can maximize the accuracy, repeatability, and service life of laser temperature sensors. This diligence ensures they remain a trustworthy component in any precision measurement or control system, safeguarding process integrity and operational efficiency.