CMOS laser sensors have become indispensable components in modern industrial automation, offering high precision, reliability, and versatility. Proper configuration is crucial to harness their full potential in applications such as object detection, distance measurement, and quality control. This guide outlines key steps and considerations for setting up CMOS laser sensors effectively.
First, understand the sensor specifications. CMOS laser sensors typically include parameters like measurement range, resolution, response time, and output types. For instance, a sensor with a range of 10-500 mm and a resolution of 0.1 mm is suitable for precise positioning tasks. Review the datasheet to ensure compatibility with your system’s voltage requirements, often 12-24 V DC, and output signals like analog (0-10 V) or digital (PNP/NPN).
Mounting and alignment are critical. Position the sensor perpendicular to the target surface to avoid angular errors. Use stable brackets to minimize vibrations, which can cause signal noise. For reflective surfaces, adjust the sensor angle slightly to prevent specular reflection from interfering with the detection. Ensure the operating environment is within the sensor’s temperature and humidity limits, typically -10 to 60°C and 35-85% RH, to maintain accuracy.
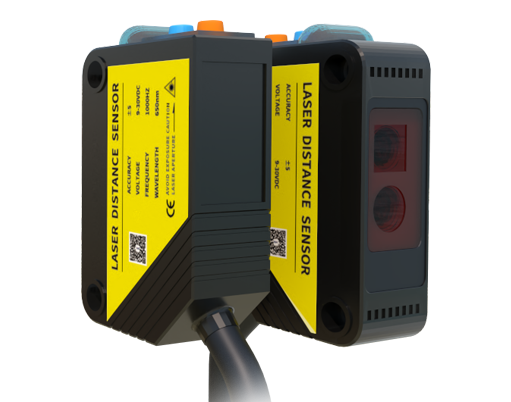
Configure the sensing mode based on your application. CMOS laser sensors often support modes like diffuse reflection, retro-reflective, or through-beam. In diffuse mode, the sensor emits light and detects reflections from the target, ideal for non-uniform surfaces. For long-range detection, through-beam mode uses separate emitter and receiver units. Set the sensitivity threshold to distinguish between target and background; this can be done via potentiometers or software interfaces provided by manufacturers like Keyence or Omron.
Calibration is essential for accuracy. Perform a zero-point calibration by placing a reference object at the desired distance. Use the teach function, if available, to store this position. For dynamic applications, enable averaging filters to smooth out fluctuations in readings. Adjust the response time to match the speed of your process—faster lines may require settings below 1 ms to avoid missed detections.
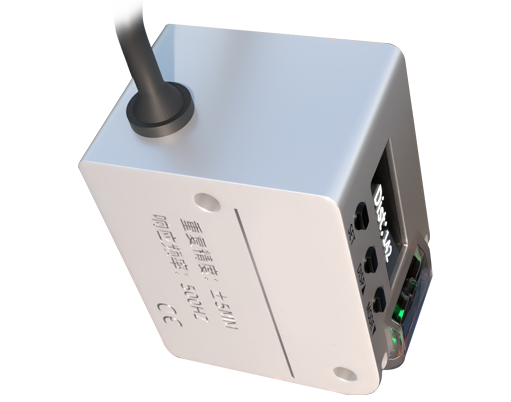
Integrate the sensor with control systems. Connect output wires to PLCs or microcontrollers, ensuring proper grounding to reduce electrical noise. For analog outputs, scale the voltage range to correspond with measurement units. In digital setups, configure logic levels (e.g., high for detection) and use timers to debounce signals. Test the setup with sample objects to verify consistency; record data over multiple cycles to identify drift or errors.
Maintenance ensures longevity. Regularly clean the lens with a soft cloth to prevent dust accumulation, which can scatter laser light. Check connections for corrosion, especially in humid environments. Update firmware via manufacturer tools to access new features or bug fixes. Document settings for future reference, as reconfiguration may be needed after power outages or part replacements.
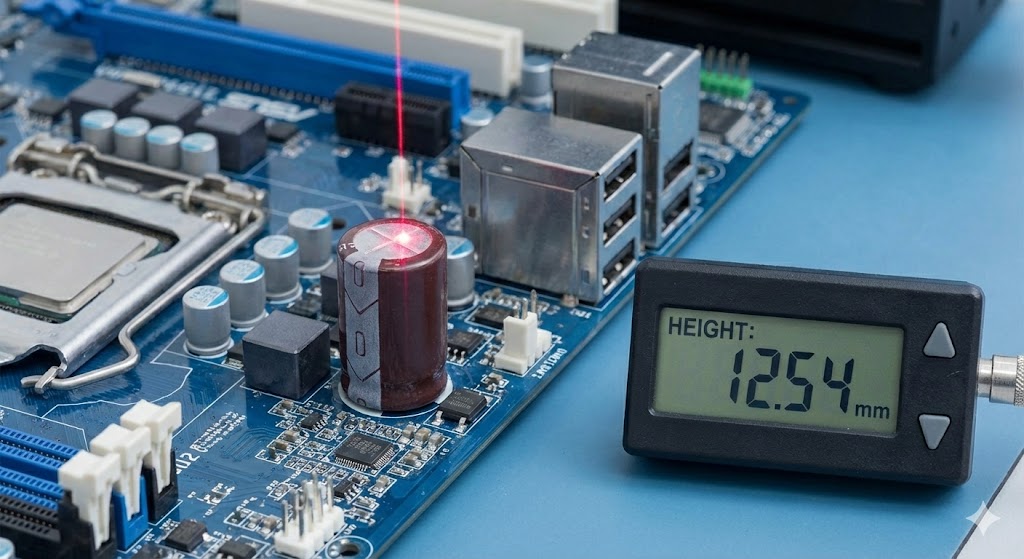
In summary, optimizing CMOS laser sensors involves careful planning, precise adjustment, and ongoing upkeep. By following these steps, engineers can achieve reliable performance in diverse industrial scenarios, from assembly lines to robotic guidance. Always refer to specific product manuals for detailed instructions, as features vary across models.