In the realm of industrial automation and precision measurement, laser probe sensors are indispensable components. Their ability to provide non-contact, high-accuracy measurements for tasks like positioning, inspection, and profiling makes them critical for operational efficiency. However, like all sophisticated electronic devices, they are susceptible to failure. Effective troubleshooting and repair are essential skills for maintenance engineers to minimize costly downtime. This guide outlines a systematic approach to diagnosing and rectifying common issues with laser probe sensors.
The initial step in any repair process is a thorough visual inspection. Power down the system and isolate the sensor. Examine the sensor housing for any signs of physical damage, such as cracks, dents, or severe impact marks. Check the lens or optical window meticulously. Even microscopic dust, oil mist, condensation, or scratches can scatter or attenuate the laser beam, leading to erratic readings or complete signal loss. Use approved optical cleaning solutions and lint-free wipes for cleaning. Inspect all cable connections, including the main interface cable and any auxiliary wiring, for integrity. Look for fraying, cuts, or damaged connectors. Ensure connectors are securely seated and free from corrosion.
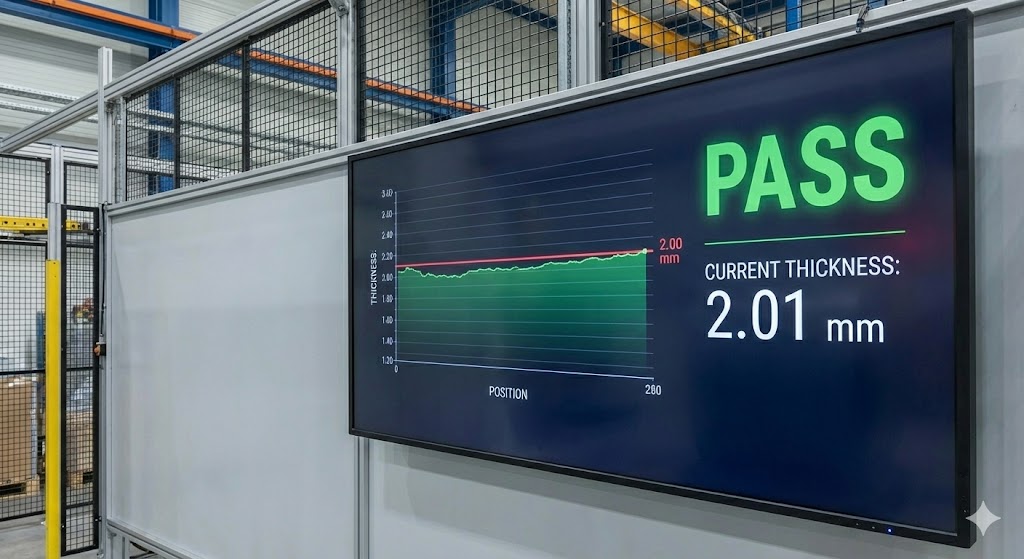
Following the visual check, proceed with electrical and signal verification. Consult the sensor's datasheet to confirm the correct supply voltage (e.g., 12-24 VDC). Using a multimeter, verify that the voltage at the sensor's connection point is stable and within the specified range, both under load and idle. Voltage spikes or drops from the power supply can cause intermittent faults or damage internal circuitry. Next, monitor the output signal. Depending on the sensor type (analog voltage/current, digital switching, or serial communication), use an oscilloscope or a process meter. For analog sensors, check if the output scales correctly and linearly with target distance changes. For digital sensors, verify the switching behavior and the stability of the output state. An unstable or noisy signal often points to power issues, electromagnetic interference (EMI), or internal component degradation.
Environmental factors are a frequent, yet sometimes overlooked, source of problems. Laser sensors can be affected by ambient light interference, especially from strong incandescent or strobe lighting. Verify if the sensor has a teaching mode to set thresholds in the actual operating environment. Temperature extremes can also affect performance; ensure the sensor is operating within its rated temperature range. Vibrations may loosen internal components or connections. Additionally, consider the target properties. The sensor's specified wavelength is optimized for certain materials. Highly reflective, transparent, or dark absorbent surfaces can return insufficient signal. Testing with a standard calibration target can help isolate if the issue is sensor-related or target-dependent.

If external factors are ruled out, the fault likely lies within the sensor's internal components. Common internal failures include a degraded laser diode. Over time, the output power of the laser diode can diminish, reducing the effective sensing range. This is often a gradual failure. The photodetector or receiver circuitry can also fail, becoming less sensitive or noisy. Signal processing electronics, including amplifiers, filters, and microcontrollers, can be damaged by electrical transients or heat. Repair at this component level typically requires specialized equipment and expertise. For many engineers, the most practical step after confirming an internal fault is module replacement. Modern industrial sensors are often designed as sealed, modular units.
Before replacing the entire sensor, consider the possibility of firmware or configuration corruption. Some advanced sensors store configuration parameters in non-volatile memory. A power interruption during a write cycle or electrical noise can corrupt this data. If possible, perform a factory reset and reconfigure the sensor parameters according to the application requirements. Always ensure you have a backup of the known-good configuration settings.
Preventive maintenance is key to longevity. Establish a regular schedule for cleaning optical surfaces and checking connections. Maintain stable, clean power supplies, possibly using line conditioners or isolation transformers in electrically noisy environments. Keep sensors within their specified environmental limits using enclosures or cooling systems if necessary. Log all maintenance and failure events to identify patterns or recurring issues.
In conclusion, repairing a laser probe sensor demands a logical, step-by-step methodology. Start with the simplest explanations: inspection, cleaning, and connection checks. Progress to verifying electrical parameters and output signals. Systematically eliminate environmental and target-related variables. Internal component repair may not always be feasible, making accurate diagnosis crucial for justifying replacement. By mastering this diagnostic workflow, maintenance engineers can ensure the reliable performance of these critical precision instruments, supporting uninterrupted and high-quality production.