For electrical engineers, technicians, and maintenance personnel, correctly wiring a 24V DC proximity sensor is a fundamental yet critical task. These non-contact switches are ubiquitous in industrial automation, providing reliable object detection for machine control, positioning, and safety systems. Incorrect wiring can lead to sensor failure, erratic machine behavior, or even damage to the connected programmable logic controller (PLC) or other control equipment. This guide provides a comprehensive, step-by-step explanation of the standard wiring configurations for 3-wire and 4-wire 24V DC proximity sensors, complete with conceptual diagrams and best practices.
First, it is crucial to understand the basic types. The vast majority of industrial 24V DC proximity sensors are solid-state devices with three or four connection wires. They are categorized by their output type: NPN (sinking) and PNP (sourcing). This designation defines how the sensor switches the load relative to the power supply's positive and negative rails. The wire colors are typically standardized according to international conventions (IEC), but one must always consult the specific sensor's datasheet. Common color coding is: Brown for +V (24V DC), Blue for 0V (Common or Ground), Black for the output signal, and White for a complementary output or function wire in 4-wire models.
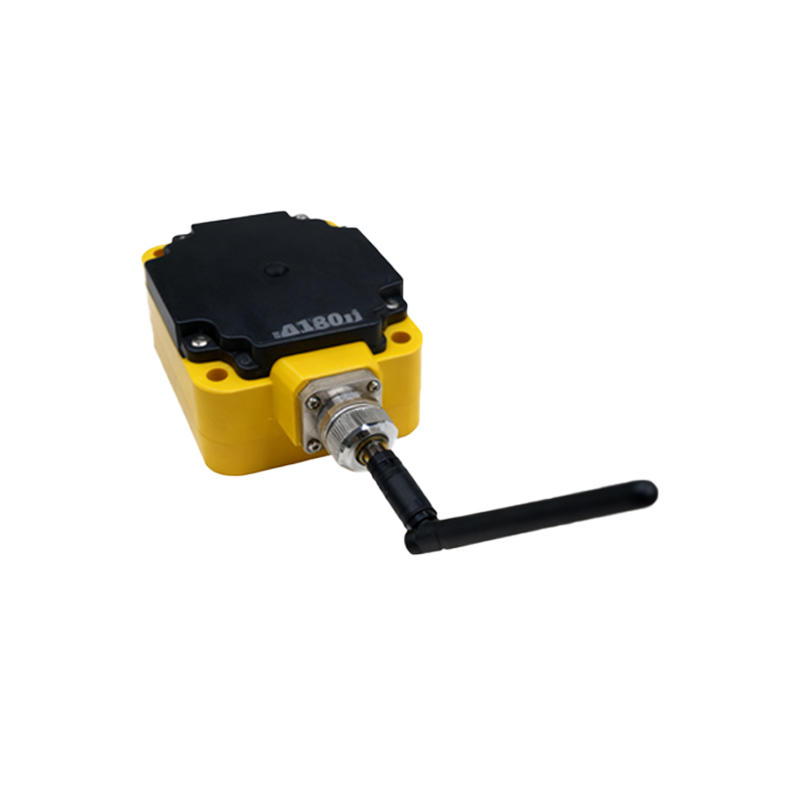
Wiring a 3-Wire 24V DC Proximity Sensor
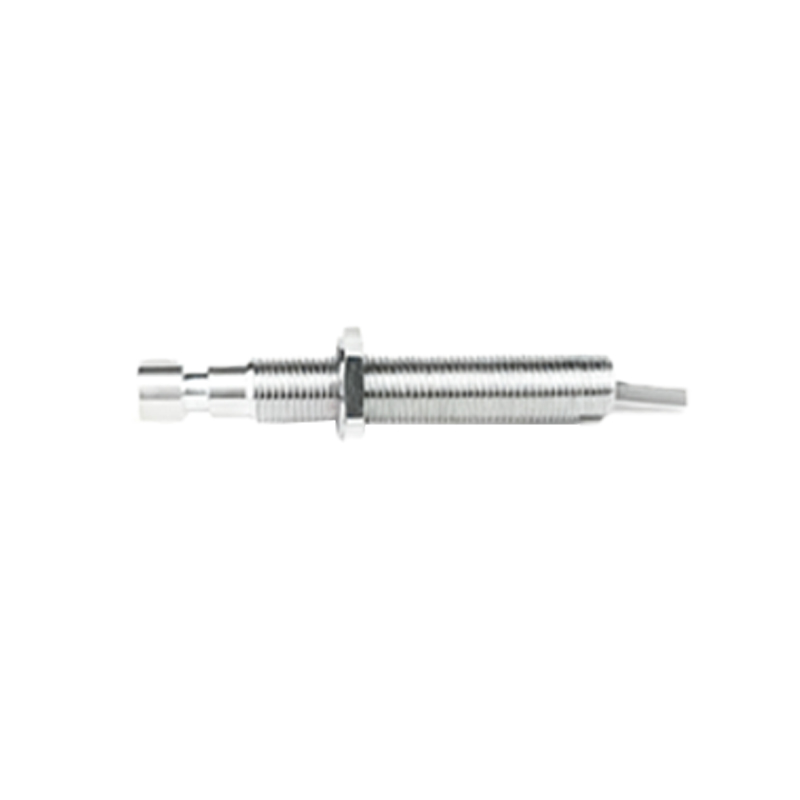
A 3-wire sensor has connections for power supply positive (+V), power supply negative (0V or Common), and the switched output signal. The procedure differs for PNP and NPN types.
PNP (Sourcing) Sensor Wiring: In a PNP configuration, the sensor "sources" current from the positive supply to the load. Here is the standard procedure:
1. Connect the Brown wire to the +24V DC terminal of your power supply.
2. Connect the Blue wire to the 0V (Common/ground) terminal of the same power supply.
3. Connect the Black (output) wire to one terminal of your load (e.g., the input channel of a PLC, a relay coil, or an indicator lamp).
4. Connect the other terminal of your load back to the 0V (Common) of the power supply.
How it works: When the sensor detects a target, it internally connects the Black output wire to the internal +24V source (connected to Brown). This completes the circuit, allowing current to flow from the sensor's output, through the load, and to 0V, thereby activating the load.
NPN (Sinking) Sensor Wiring: In an NPN configuration, the sensor "sinks" current from the load to the negative supply.
1. Connect the Brown wire to +24V DC.
2. Connect the Blue wire to 0V.
3. Connect the Black (output) wire to one terminal of your load.
4. Connect the other terminal of your load to the +24V DC of the power supply.
How it works: When activated, the sensor internally connects the Black output wire to its internal 0V (connected to Blue). This completes the circuit, allowing current to flow from the +24V supply, through the load, and into the sensor's output, which sinks it to ground, activating the load.
Wiring a 4-Wire 24V DC Proximity Sensor
A 4-wire sensor typically provides two complementary outputs, often one NPN (Normally Open) and one PNP (Normally Closed), or sometimes two independent outputs. The common wire colors are Brown (+V), Blue (0V), Black (Output 1, e.g., N.O.), and White (Output 2, e.g., N.C.). The wiring follows the same logical principles:
1. Connect Brown to +24V and Blue to 0V to power the sensor.
2. Treat the Black and White wires as separate outputs. You would wire the Black output following either the PNP or NPN rules above, depending on its specification.
3. Similarly, wire the White output independently to its own load, based on its specified type (PNP or NPN).
4. These two outputs can be used to control different devices or to provide a fail-safe signal to a control system.
Essential Wiring Diagrams & Best Practices
While a physical diagram is not displayed here, the described connections create these standard circuits. For clarity, always sketch the circuit before implementation. Adhere to these critical best practices:
1. Verify Voltage: Double-check that your power supply is a stable