Laser sensors are critical components in modern industrial automation, offering high precision for measurement, detection, and positioning tasks. Over time, these sensors may experience performance degradation or failure due to environmental factors, mechanical stress, or internal component wear. Conducting a proper disassembly and repair can restore functionality and extend the sensor's service life. This guide provides a systematic approach for engineers to safely dismantle, diagnose, and repair common laser sensor issues.
Before beginning any disassembly, ensure all safety protocols are followed. Disconnect the sensor from its power source and associated control systems. Allow sufficient time for any capacitors to discharge completely. Wear appropriate personal protective equipment, including anti-static wrist straps to prevent electrostatic discharge damage to sensitive electronics. Document the sensor's model number and configuration settings, as these may need to be restored post-repair. Gather necessary tools: precision screwdrivers, tweezers, a clean, static-free work surface, lens cleaning solutions, a multimeter, and an oscilloscope for advanced diagnostics.
Start by removing the sensor from its mounting bracket or housing. Carefully detach any connected cables, noting their orientation and connection points. Most laser sensors feature an outer casing secured with small screws or clips. Use the correct screwdriver to avoid stripping the screw heads. Once the casing is open, avoid touching optical components like the laser diode, lenses, or mirrors with bare fingers, as oils and debris can cause permanent damage.
The internal assembly typically consists of the laser emitter, receiver optics, signal processing board, and power supply circuitry. Inspect for visible signs of damage: cracked lenses, burnt components on the circuit board, or loose connections. Dust accumulation on optical surfaces is a common issue; use a gentle blast of clean, dry air or a specialized optical brush to remove particles. For smudges, apply a minimal amount of lens cleaning fluid to a lint-free cloth and wipe gently in a circular motion.
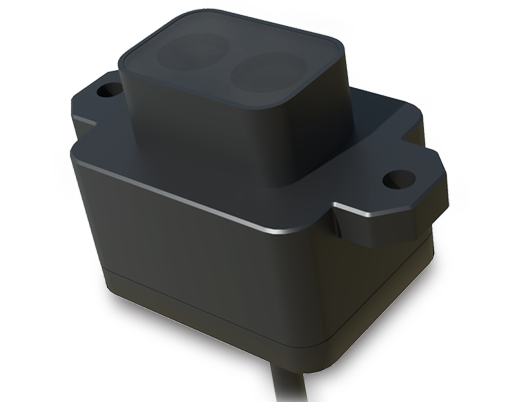
Electrical faults often originate from the power supply or signal conditioning sections. Use a multimeter to check voltage levels at key test points against the manufacturer's specifications. If the laser diode fails to emit light, verify its drive current. A faulty diode usually requires replacement, as repair is rarely feasible. Desolder the old diode carefully, noting its polarity, and install an identical replacement. For circuit board repairs, inspect for cold solder joints, cracked traces, or failed components like capacitors or integrated circuits. Reflow suspicious solder joints and replace defective components with exact equivalents.
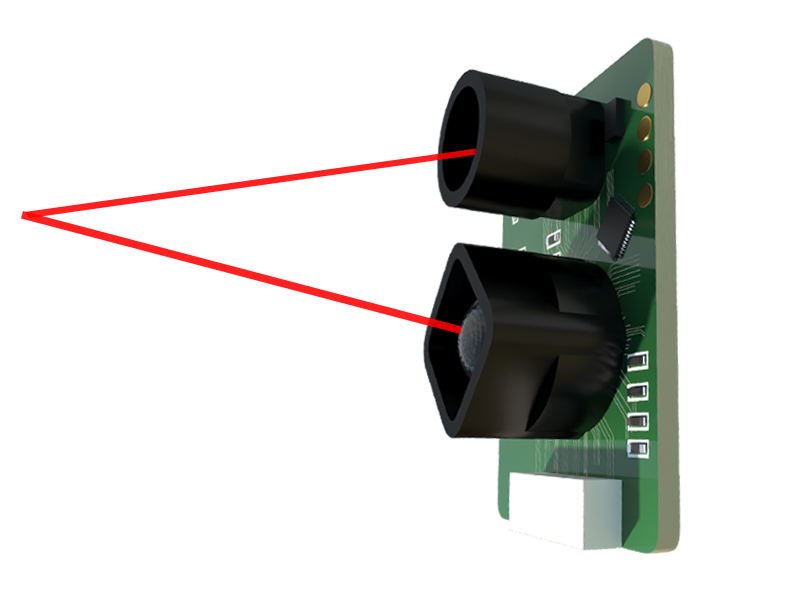
After addressing the identified issues, reassemble the sensor in reverse order. Ensure all connectors are seated firmly and no cables are pinched. Before powering the unit, double-check alignment of optical elements, as misalignment can drastically affect accuracy. Once reassembled, perform a basic functional test in a controlled environment. Reconnect the sensor to a test setup and verify its output signal using an oscilloscope. Calibrate the sensor according to the manufacturer's guidelines, using known reference targets to confirm measurement precision.
Preventive maintenance can reduce the need for repairs. Regularly clean sensor exteriors, ensure operating conditions stay within specified temperature and humidity ranges, and protect sensors from excessive vibration or shock. Implementing periodic inspection schedules helps catch early signs of wear.
In summary, successful laser sensor repair demands meticulous attention to detail, adherence to safety standards, and a methodical diagnostic approach. While some complex failures may necessitate professional service or replacement, many common issues can be resolved with careful disassembly and component-level repair, restoring valuable equipment to optimal operation.