In industrial automation and control systems, real proximity sensors are indispensable components for non-contact object detection. When a real proximity sensor fails or stops working, it can lead to costly production downtime, safety hazards, and process inefficiencies. As a seasoned electrical engineer, I have encountered numerous instances of sensor malfunction. This guide provides a systematic, industry-standard approach to diagnosing and resolving issues when your real proximity sensor is not working.
The first step in any troubleshooting process is to verify the symptoms. A "not working" sensor can manifest in several ways: no output signal, an intermittent signal, a constant ON state regardless of target presence, or a reduced sensing range. Clearly defining the failure mode is crucial for efficient diagnosis.
1. Power Supply Verification
Always begin with the fundamentals. A real proximity sensor requires a stable, correctly polarized DC supply (typically 10-30V DC) or the specified AC voltage. Use a multimeter to measure the voltage directly at the sensor's terminals. Ensure it is within the sensor's rated range. Voltage spikes, sags, or electrical noise from nearby heavy machinery can cause erratic behavior. Check for proper grounding of both the sensor and the metal mounting surface. An ungrounded metallic housing in an inductive proximity sensor can sometimes create a parasitic capacitance effect, leading to false triggering.
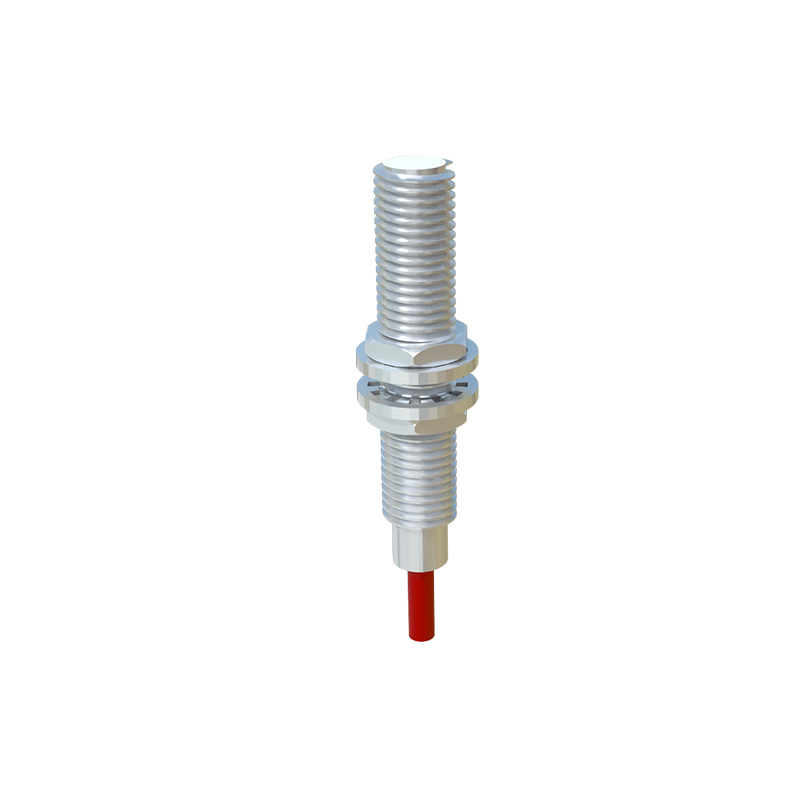
2. Electrical Connections and Wiring
Inspect the entire wiring path. Loose connections, corroded terminals, or damaged cables are frequent culprits. For 3-wire sensors, confirm the correct wiring: brown wire to positive (+V), blue wire to negative (0V), and the black (or white) wire as the output signal. A common mistake is reverse polarity, which can instantly damage solid-state sensors. For 2-wire AC sensors, ensure they are connected in series with the load. Check cable integrity for cuts, pinch points, or exposure to chemicals/oils that degrade insulation. Verify that the load (PLC input, relay coil) is within the sensor's maximum current rating. An overloaded output can fail.
3. Sensor Environment and Physical Factors
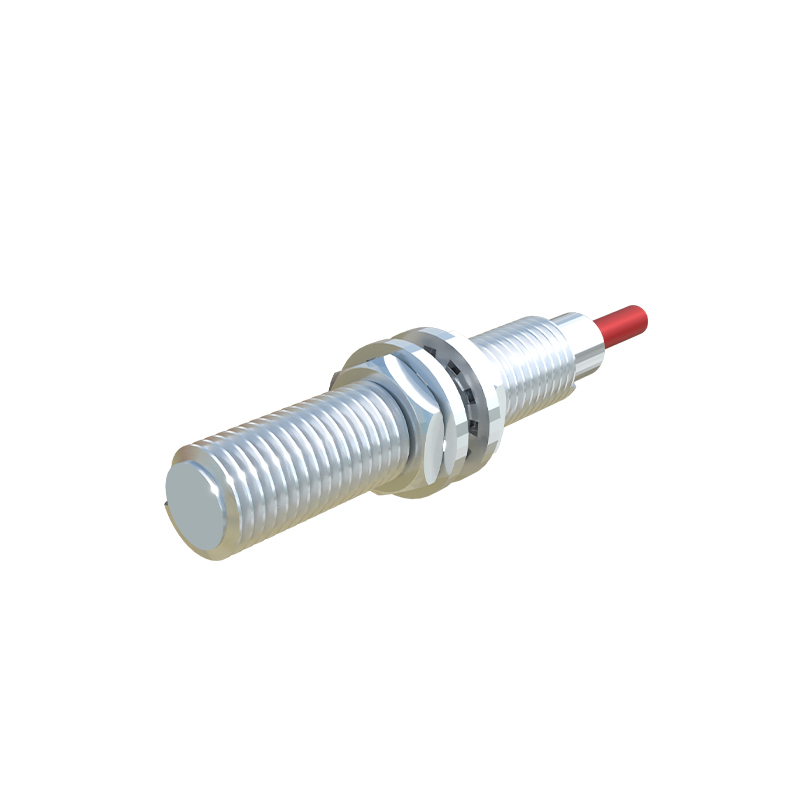
Real proximity sensors are designed for specific environments. Examine the installation site.
Sensing Object: Confirm the object is within the specified sensing distance (Sn). The object must be made of the correct material (ferrous metal for inductive, most materials for capacitive). The object size must meet the minimum required for reliable detection.
Mounting: Inductive sensors require a non-metallic surrounding area or specific metal-free zones as per datasheet specifications. Mounting a sensor flush in a metal bracket can severely reduce its range. Vibration can loosen the sensor body.

Interference: Other sensors operating at similar frequencies placed too close together can cause mutual interference. Maintain a minimum separation distance. Strong electromagnetic fields from motors, welders, or power lines can also disrupt operation.
Contamination: Accumulation of metal chips, dust, grease, or other debris on the active face of an inductive sensor can reduce performance. For capacitive sensors, moisture or chemical buildup can alter the dielectric constant, causing false triggers.
4. Sensor Configuration and Setup
Many modern real proximity sensors have configurable parameters. If applicable, check:
Output Mode: Is it set correctly (PNP sourcing vs. NPN sinking) for your control system? A mismatch will result in no signal.
Teaching/Learning Function: Some intelligent sensors require a "teach" procedure to set the sensing threshold. This may need to be re-done if conditions change.
Timer/Delay Functions: Built-in ON-delay or OFF-delay might be activated, giving the impression of a faulty response.
5. Load and Controller Diagnostics
Do not assume the sensor is at fault. Isolate the problem. Disconnect the sensor output wire and simulate a signal using a known good switch or a temporary jumper (with appropriate current limiting). If the PLC input or relay activates normally, the issue lies with the sensor or its upstream wiring. If not, the problem is with the load, the input card, or its wiring. Use an oscilloscope to observe the output waveform if you suspect a switching speed issue or noise.
6. Internal Sensor Failure
If all external factors are eliminated, the sensor itself may have failed. Common internal failures include:
Oscillator Circuit Failure: The core of an inductive sensor. Results in no oscillation, meaning no detection.
Output Transistor Failure: Can fail shorted (always ON) or open (always OFF).
Component Degradation: From prolonged exposure to excessive heat, voltage transients, or mechanical stress.
Preventive Measures and Best Practices
To minimize future failures:
Select sensors with an appropriate IP (Ingress Protection) rating for