Laser sensors are pivotal components in modern automation, manufacturing, and robotics, offering precise non-contact measurement. Proper distance adjustment is crucial for optimal performance, accuracy, and longevity. This guide provides a comprehensive, step-by-step approach to adjusting the sensing distance of a laser sensor, applicable to various models including diffuse, retro-reflective, and through-beam types.
Before initiating any adjustments, prioritize safety. Ensure the system is powered off and locked out to prevent accidental activation. Wear appropriate personal protective equipment, especially safety glasses designed for the specific laser wavelength, as even reflected beams can pose eye risks. Consult the sensor's datasheet and user manual for model-specific specifications, including maximum range, minimum sensing distance, and adjustment procedures.
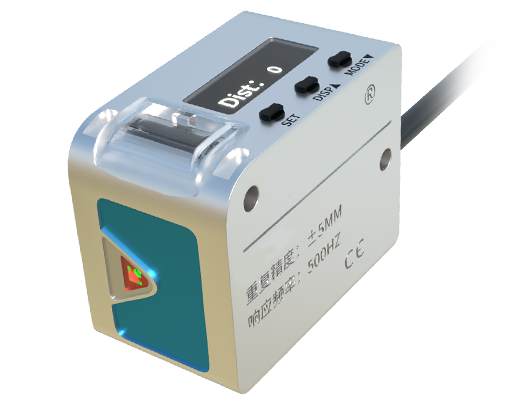
The first step is mounting and initial alignment. Securely mount the sensor on a stable platform using brackets that minimize vibration. For distance measurement applications, ensure the sensor is perpendicular to the target surface. Even a slight angular deviation can introduce significant cosine error, reducing accuracy. Use a spirit level or alignment tool if high precision is required. Power on the system and observe the sensor's indicator LEDs. Most sensors have a power LED and a separate output or signal LED that indicates when the target is within the detection range.
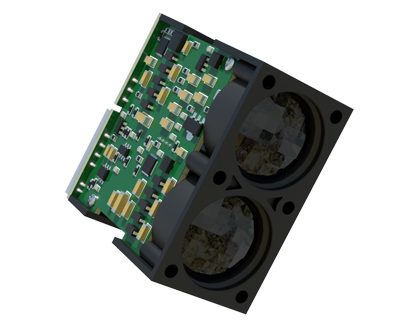
Understanding the adjustment controls is next. Laser sensors typically feature one or more of the following adjustment mechanisms:
1. Potentiometers: Small screw dials for fine-tuning sensitivity or threshold.

2. Teach-in Buttons: A user-friendly method where you position the target at the desired reference distance and press a button to store that setting.
3. Digital Interfaces: Communication via IO-Link, USB, or proprietary software allows for precise parameter setting and monitoring on a computer or HMI.
For potentiometer-based sensors, the adjustment process involves positioning a reference target at the exact distance you wish to set as the detection point. Slowly rotate the adjustment screw while monitoring the output signal (often indicated by an LED change or a multimeter reading on the output wire). Turn until the output state switches (e.g., from OFF to ON). Then, move the target slightly closer and farther to verify the switch point is stable and at the correct distance. This checks for hysteresis and ensures a reliable trigger.
Teach-in sensors simplify this process. Place your standard target at the desired sensing distance. Press and hold the teach button (often for 2-5 seconds) until the indicator LED flashes in a confirmation pattern. The sensor now memorizes the distance to that specific target's surface properties (reflectivity, color). Always use the actual target material for teaching, as different materials reflect laser light differently.
After the initial setting, perform validation and fine-tuning. Test with multiple samples of the target object under real operating conditions, accounting for potential variations in color, surface finish, or orientation. Check for false triggers caused by background objects or ambient light. Many sensors have a background suppression feature or adjustable response time to filter out interference; adjust these if necessary. For challenging environments with dust or steam, ensure the lens is clean and consider sensors with higher laser classes or dirt-defying designs.
Finally, document your settings. Note the position of potentiometers or record the taught values. This is vital for maintenance and quick recovery after a power cycle or sensor replacement. Regular verification checks should be part of your preventive maintenance schedule to ensure continued accuracy, as mechanical drift or lens contamination can occur over time.
By following these systematic steps—safety preparation, correct mounting, understanding your adjustment interface, careful setting, and thorough validation—you can reliably adjust your laser sensor for precise, consistent distance measurement or detection, maximizing the efficiency and reliability of your application.