In the realm of office and industrial printing equipment, the laser paper feed sensor is a critical component responsible for detecting paper presence and ensuring smooth media advancement through the paper path. A malfunctioning sensor can lead to frequent paper jams, misfeeds, or complete failure to feed, disrupting workflow and productivity. This guide provides a detailed, professional procedure for safely and effectively replacing a laser paper feed sensor, adhering to standard industry practices.
Before initiating any repair, ensure the printer or copier is powered off and disconnected from the electrical outlet. Allow the device to cool completely if it has been in recent operation, as internal components, especially within laser units, can retain high temperatures. Gather the necessary tools: a set of precision screwdrivers (Phillips and flathead), needle-nose pliers, an anti-static wrist strap (highly recommended for sensitive circuitry), and the manufacturer-approved replacement sensor. Consult the device's service manual for the specific part number and diagram of your model; this is crucial as sensor locations and access methods vary significantly between brands and series.
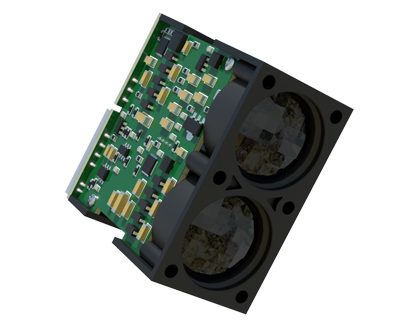
The first operational step is to gain access to the paper feed assembly. Typically, this involves removing the rear cover, side panels, and often the duplex unit (if equipped). Carefully detach any connecting cables or wire harnesses, noting their positions or taking a reference photo. Use the anti-static wrist strap connected to the printer's metal chassis to prevent electrostatic discharge damage to the printer's logic board or the new sensor. Locate the faulty paper feed sensor. It is usually situated along the paper path near the pickup or separation rollers. The sensor itself is often a small, plastic-housed component with an actuator arm or a slot through which the paper passes, interrupting an infrared light beam.
Once located, document how the sensor is mounted and connected. It may be held by small plastic clips, screws, or adhesive. Gently release any clips using a spudger or flathead screwdriver. If screwed in place, remove the fasteners and keep them secure. Disconnect the sensor's electrical connector from the main harness or control board. Avoid pulling on the wires; instead, grip the connector body firmly to unplug it. Some connectors have locking tabs that must be depressed first. Extract the old sensor from its housing.
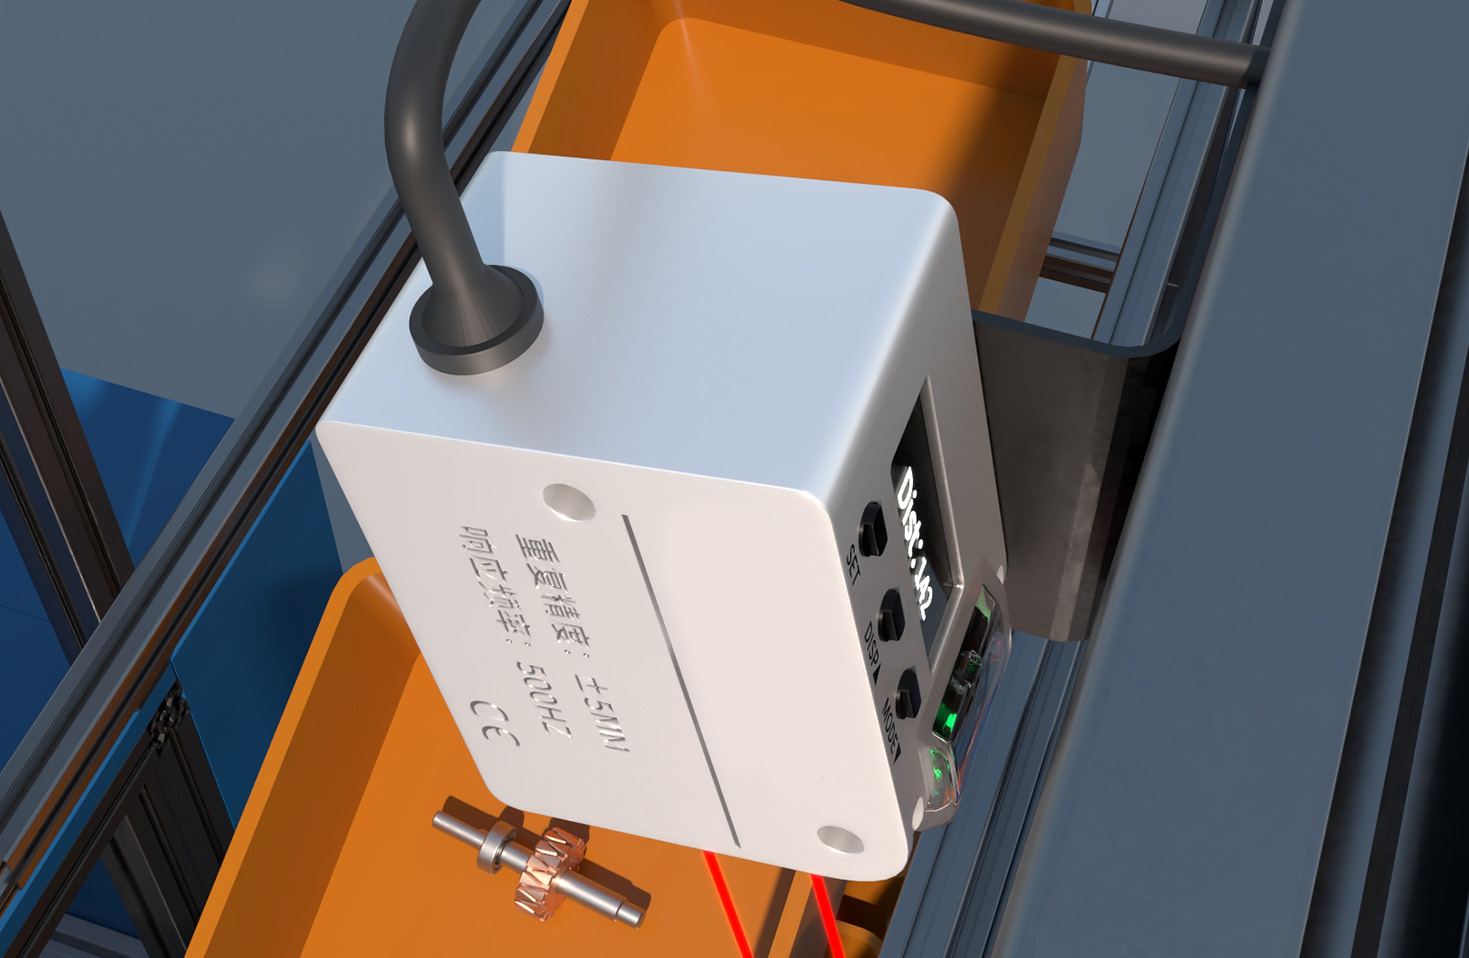
Take the new, identical replacement sensor. Before installation, it is good practice to visually inspect the sensor's optical window (if applicable) for any protective film and the actuator arm for free movement. Connect the electrical connector to the new sensor first, ensuring it clicks into place securely. Then, position the sensor into its mounting location, aligning it precisely as the old one sat. Reattach any clips or screws, ensuring it is firmly seated but not over-tightened, which could crack the plastic housing. The sensor must be positioned correctly so the paper can reliably trigger the actuator or interrupt the beam.
Methodically reverse the disassembly steps to reassemble the printer. Reconnect all cables and wire harnesses to their original ports. Reinstall panels, covers, and any removed modules like the duplex unit. Ensure all screws are tightened and no cables are pinched. Once fully reassembled, reconnect the power cord.
Power on the device. The printer will typically go through a initialization cycle. Listen for any unusual noises. Perform a sensor test if your device's service mode offers this function (consult the manual for the entry sequence). Load paper into the standard tray and print a test page or configuration report. Observe the paper feed process. It should be smooth and consistent. Test multiple pages to ensure the sensor reliably detects each sheet. If paper jams recur, double-check the sensor alignment and connection. A successful replacement restores reliable paper feeding, eliminating the previous feed errors.
Regular maintenance, such as keeping paper paths clean and using recommended media, can extend the life of paper feed sensors and related components. However, when failure occurs, following this systematic replacement procedure ensures a professional, lasting repair.