Proximity sensors are indispensable components in modern automation, manufacturing, and consumer electronics. They detect the presence or absence of objects without physical contact, relying on electromagnetic fields, light, or sound. However, even the most advanced sensor can deliver inaccurate readings if not properly calibrated. Calibration is the process of adjusting the sensor's output to match a known standard or desired performance within its specific application environment. This ensures reliability, repeatability, and safety in operations ranging from robotic assembly lines to the screen-off function in your smartphone.
The need for calibration arises from several factors. Over time, sensors can experience drift due to component aging, temperature fluctuations, or accumulated contamination on the sensing face. Furthermore, every installation is unique; differences in target material, color, surface finish, or the surrounding electrical noise can significantly affect performance. A sensor calibrated at the factory for a standard metallic target may not perform correctly when installed to detect a dark plastic object on a vibrating conveyor belt. Therefore, on-site calibration is often a critical step for integration.
The calibration process varies by sensor technology. The most common types are inductive, capacitive, and photoelectric sensors.
Inductive Sensors detect metallic objects. Calibration typically involves adjusting the sensing distance or sensitivity to account for the specific type of metal (e.g., steel vs. aluminum, which have different damping effects). Using the manufacturer's specified target (usually a square of mild steel of defined thickness), you would position it at the required nominal sensing distance. Then, using a small screwdriver on the potentiometer or via a teach-in button, you set the switching point. The goal is to ensure the sensor reliably detects the target at the desired range and ignores any background metal or tolerances in part positioning.
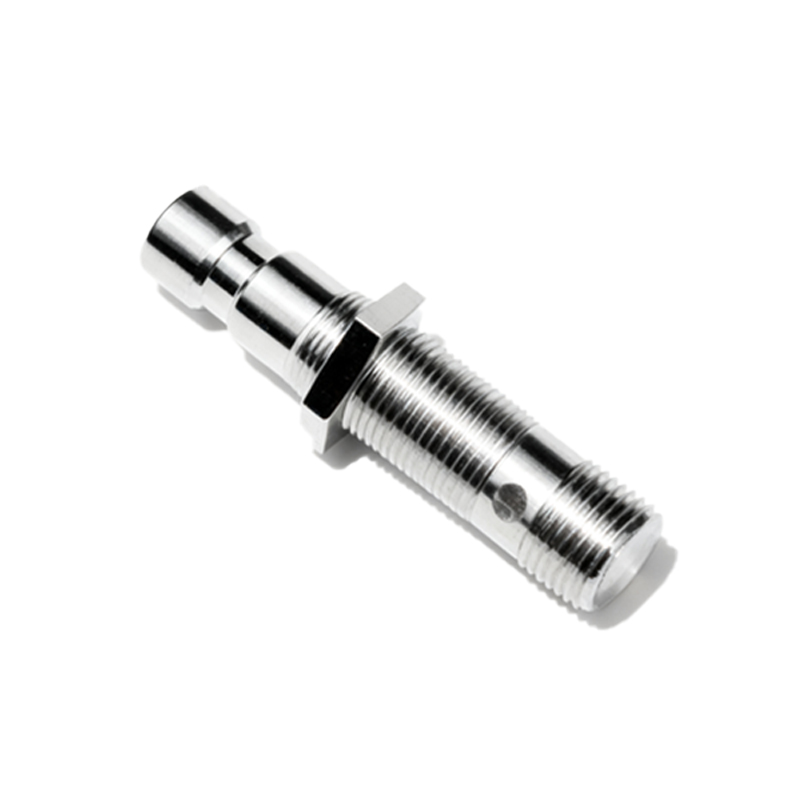
Capacitive Sensors can detect both metallic and non-metallic materials like liquids, plastics, or wood. They are highly sensitive to environmental changes. Calibration often focuses on nulling out or compensating for the background or "parasitic" capacitance. This might involve adjusting the sensor when the target is absent to achieve a "no object" state, then introducing the target to set the "object present" state. For instance, when calibrating a capacitive sensor to detect the fluid level inside a plastic tank, you must first adjust it to ignore the capacitance of the empty tank wall itself.
Photoelectric Sensors use light beams. Calibration here is frequently about setting the sensitivity threshold to distinguish between a received signal (object absent) and an interrupted or diminished signal (object present). For diffuse reflective sensors, this is crucial because the reflectivity of different targets can vary wildly. A white box reflects much more light than a dark gray one. The sensitivity potentiometer is adjusted so the sensor triggers consistently for the intended target under normal operating lighting conditions, without being fooled by ambient light or reflective backgrounds.
The general steps for a manual calibration are as follows:
1. Consult the Manual: Always start with the manufacturer's datasheet and installation guide. It provides the correct procedure, specified target, and adjustment points.
2. Prepare the Environment: Install the sensor in its final operational location and under normal conditions (power on, machinery running if applicable). Ensure the target object is representative of the actual application.
3. Access Adjustment Mechanism: Locate the sensitivity potentiometer, teach-in button, or configuration interface.
4. Set the Reference State: For many sensors, you first establish a "no target" condition. This might mean having the target outside the sensing field.
5. Introduce the Target: Place the standard target at the exact distance and orientation it will be detected during operation.
6. Adjust the Output: While the target is present, adjust the sensitivity until the sensor's output switch just activates (LED indicator typically changes). Fine-tune it to find a stable midpoint, avoiding the threshold's edge where noise could cause false triggers.
7. Verify and Test: Repeatedly introduce and remove the target to verify consistent switching. Test with tolerance limits—slightly closer and farther, or with slightly different target materials. Also, test for potential false triggers from non-target objects in the environment.
For complex systems, calibration might involve software tools and digital interfaces that allow for precise parameter setting, hysteresis adjustment, and output timing configuration. Advanced sensors with IO-Link capability can even store calibration data and operating parameters, facilitating easy replacement and configuration.
Regular re-calibration should be part of a preventive maintenance schedule. Documenting calibration dates, settings, and test results is essential for quality control and troubleshooting. A well-calibrated proximity sensor minimizes downtime, prevents defective products, and ensures the smooth, safe functioning of automated systems. It transforms a simple detection device into a reliable and precise component of your operational intelligence.