Laser sensors are critical components in modern industrial automation, offering high precision for measurement, detection, and alignment tasks. However, like any electronic device, they can malfunction due to various factors. This guide provides a systematic approach to diagnosing and repairing laser sensors, tailored for electrical engineers and technicians in the field.
First, ensure safety by disconnecting power and following lockout-tagout procedures. Laser sensors, especially Class 3B or 4 types, can emit harmful radiation. Use appropriate protective eyewear and avoid direct exposure to the beam during inspection.
Begin troubleshooting with a visual inspection. Check for obvious physical damage, such as cracks in the housing, misaligned lenses, or loose connectors. Dust, oil, or debris on the lens can scatter the laser beam, leading to inaccurate readings. Clean the lens gently with a lint-free cloth and isopropyl alcohol, ensuring no residue remains.
Next, verify electrical connections. Use a multimeter to test power supply voltages against the sensor's specifications. Common issues include incorrect voltage (e.g., 24V DC vs. 12V DC), poor grounding, or damaged cables. Inspect wiring for fraying or corrosion, especially in harsh environments. If the sensor has an output signal (e.g., analog 4-20mA or digital PNP/NPN), measure it under operating conditions. A missing or erratic signal often points to internal circuit problems.
For optical alignment issues, use alignment tools or manufacturer-provided guides. Misalignment can cause false triggers or reduced range. Adjust the sensor's position gradually while monitoring its response. Some sensors feature built-in indicators (e.g., LED lights) for alignment feedback. If the beam path is obstructed by environmental factors like fog or reflective surfaces, consider installing barriers or using sensors with background suppression technology.
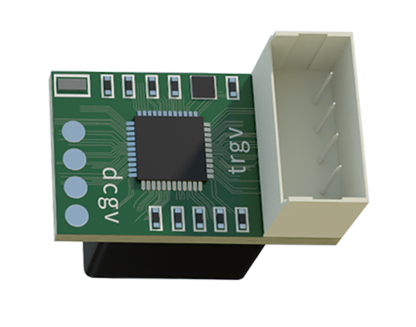
Internal component failures may require deeper analysis. Common culprits include faulty laser diodes, deteriorated photodetectors, or damaged PCBs. If the sensor has diagnostic features (e.g., error codes via IO-Link), refer to the manual for interpretation. For modular sensors, replace suspect parts like emitter or receiver units. However, integrated sensors often need full replacement if core components fail, as recalibration demands specialized equipment.
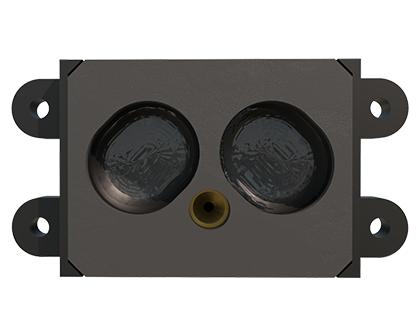
Calibration is crucial post-repair. Use certified targets at known distances to verify accuracy. Many sensors have potentiometers or software interfaces for adjusting sensitivity, response time, or threshold levels. Document calibration settings to ensure consistency.
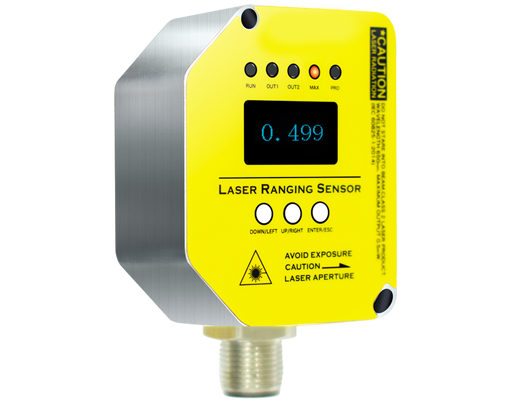
Preventive maintenance extends sensor lifespan. Regularly clean lenses, check enclosures for IP rating integrity, and monitor operating temperatures. Avoid exposing sensors to excessive vibration or shock, which can loosen internal components.
In summary, repairing laser sensors involves methodical steps: safety checks, visual and electrical inspections, alignment verification, component testing, and recalibration. While some issues are field-repairable, complex internal faults may warrant professional service or replacement. Always consult the manufacturer's documentation for model-specific guidance.