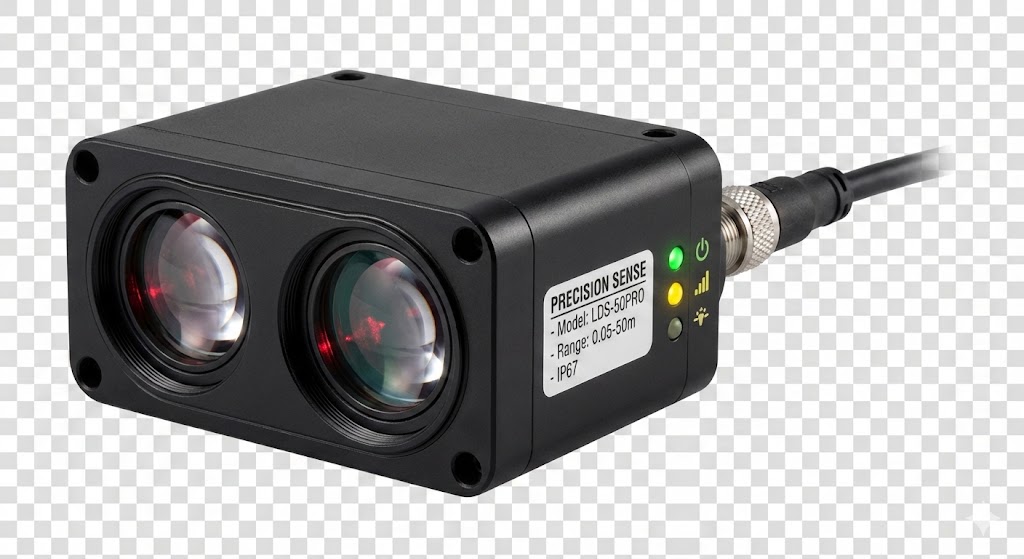
In industrial and commercial environments, laser dust sensors are critical components for monitoring air quality, ensuring safety compliance, and protecting equipment. These sensors operate by projecting a laser beam through a sampling chamber; particles passing through scatter the light, which is then detected and quantified. Over time, dust, oil mist, and other contaminants accumulate on the optical surfaces—primarily the laser emitter window and the photodetector lens. This buildup scatters or absorbs the laser light before it reaches the detection zone, leading to signal attenuation, calibration drift, false readings, and ultimately, sensor failure. Regular and proper cleaning is not merely maintenance; it is essential for sustaining measurement accuracy, operational reliability, and the sensor's service life. This guide details a systematic, safe procedure for cleaning laser dust sensors, adhering to industry best practices.
Before initiating any cleaning procedure, the foremost step is safety and preparation. Consult the sensor's official technical manual or manufacturer's maintenance guidelines. Specifications for cleaning agents, permissible disassembly levels, and warnings against voiding warranties are found here. Execute a controlled shutdown: de-energize the entire system or isolate the sensor according to lockout-tagout (LOTO) protocols to prevent electrical shock or accidental system activation. Allow the sensor to cool to ambient temperature if it operates in a heated environment. Gather all necessary materials in a clean, static-free workspace. Essential supplies include: compressed air or inert gas (e.g., nitrogen) in a can with a nozzle, high-purity isopropyl alcohol (IPA, 99% grade or higher), optical-grade lens cleaning wipes or lint-free swabs (such as those made from microfiber or cellulose), and magnifying tools like a loupe or microscope for inspection. Avoid using industrial solvents, acetone, or window cleaners, as they can leave residues or damage optical coatings and plastic components.
The core cleaning process follows a methodical sequence: dry removal followed by wet cleaning. Begin by gently blowing loose particulate matter from the sensor's exterior housing and any accessible vents using the compressed air or nitrogen. Hold the can upright to prevent propellant discharge and use short bursts. Do not insert the nozzle directly into internal ports. If the sensor design permits safe, non-warranty-voiding access to the internal optical chamber—often by removing a cover or sampling inlet—carefully proceed. Once internal optical surfaces are visible, use the compressed gas in brief bursts to dislodge loose dust from the laser window and detector lens. Never touch these surfaces with fingers or abrasive tools at this stage.
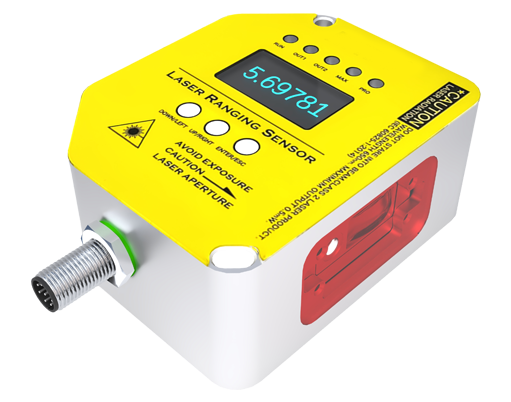
For adhered contaminants, proceed to solvent cleaning. Moisten a fresh lint-free swab or a corner of an optical wipe with a few drops of high-purity IPA. It should be damp, not dripping. Gently wipe the optical surface in a single, straight pass from one edge to the other. Do not scrub in circles. Discard the swab/wipe after one pass. Use a new, dry swab or a dry section of the wipe to immediately follow the same single-pass motion to remove any remaining IPA and dissolved residue. For stubborn deposits, repeat this damp-then-dry process with fresh materials until the surface is pristine. Allow a few minutes for any residual IPA to fully evaporate before reassembly or power-up. Throughout, avoid applying pressure that could misalign delicate components or scratch surfaces.
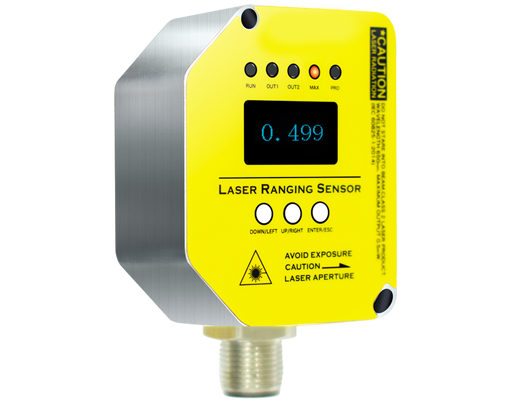
Post-cleaning validation is crucial. Before reinstalling the sensor into the operational system, perform a visual inspection under magnification to confirm no streaks, fibers, or contaminants remain. If possible, conduct a functional test by temporarily powering the sensor in a clean, controlled environment (like a lab setting) and comparing its zero-point reading or response to a known reference, if available. Significant deviation may indicate improper cleaning, damage, or the need for professional recalibration. Reassemble the sensor meticulously, ensuring all seals and gaskets are correctly seated to maintain the unit's ingress protection (IP) rating. Document the cleaning activity in the maintenance log, noting the date, method, and any observations.
Establishing a preventive maintenance schedule based on the operational environment is key. In heavily polluted settings (e.g., woodworking, powder handling), cleaning may be required monthly. In cleaner offices or laboratories, semi-annual cleaning might suffice. Monitor the sensor's output trend; a gradual baseline drift often signals contamination. For critical applications, consider installing a pre-filter on the sampling inlet to extend intervals between cleanings. However, remember that filters themselves require regular replacement. Ultimately, disciplined cleaning preserves the sensor's precision, prevents costly downtime from faulty readings or replacements, and ensures the continuous, reliable data necessary for health, safety, and process control. Treat the laser dust sensor as the precision optical instrument it is, and its longevity will reflect that care.