Laser displacement sensors are critical instruments in modern industrial automation, quality control, and precision measurement applications. Their non-contact nature allows for high-speed, accurate measurements without affecting the target surface. Proper operation is essential to ensure reliable data and maximize sensor lifespan. This guide outlines fundamental operational procedures and best practices for engineers and technicians.
Before powering the sensor, conduct a thorough inspection. Verify the model specifications match the application requirements, including measuring range, resolution, laser class (typically Class 2), and output interfaces (analog, digital, or serial). Ensure the mounting bracket is secure and stable, as vibration can introduce significant measurement error. Align the sensor perpendicularly to the target surface within the specified stand-off distance. Avoid mounting near strong ambient light sources, heat vents, or areas with excessive dust or oil mist, as these can interfere with the laser beam.
Connect the sensor to a stable power supply according to the manufacturer's wiring diagram. Most industrial sensors operate on 12-24V DC. Incorrect voltage can cause permanent damage. After powering on, observe the indicator lights. A steady power LED typically indicates normal status, while a blinking light may signal an error or out-of-range condition. Refer to the sensor's manual for specific status code interpretations.
Configuration is the next critical step. Many sensors feature teach-in buttons or programmable settings via software. Key parameters to set include:
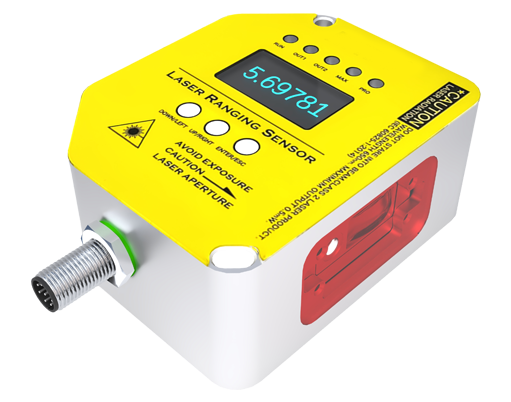
1. Reference Distance: Establish the zero point or baseline measurement position.
2. Measurement Mode: Choose between one-point measurement for simple distance, or two-point measurement for thickness or differential calculations.
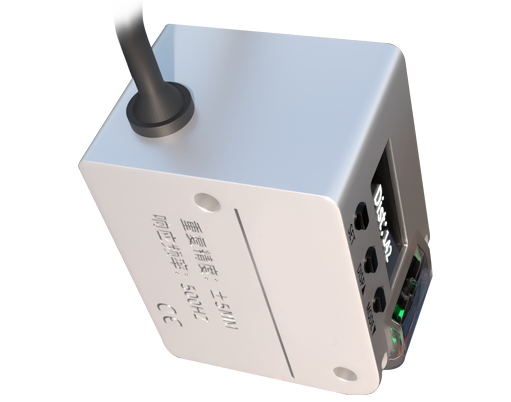
3. Output Scaling: Configure the analog output (e.g., 4-20mA or 0-10V) to correspond to the desired measurement span.
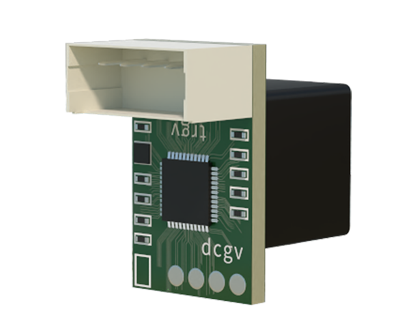
4. Response Time/Sampling Rate: Adjust based on target speed. Faster-moving objects require a higher sampling rate to avoid aliasing.
5. Tolerance/Alarm Bands: Set upper and lower limits for pass/fail judgments in inspection tasks.
Always perform calibration using a certified calibration target or gauge block. Place the target at a known distance within the sensor's range and adjust the output until the reading matches the known value. For highest accuracy, calibrate at the specific distance where the most critical measurements will occur, as non-linearity can affect edge-of-range readings.
During operation, continuously monitor environmental factors. Temperature fluctuations can cause thermal drift, affecting accuracy. If the sensor lacks internal temperature compensation, allow a warm-up period (often 30 minutes) after power-on for stabilization. For transparent, glossy, or dark surfaces, measurement challenges arise. Glossy surfaces may reflect the beam away from the receiver, causing dropout. Using a diffuse reflection model sensor or applying a matte coating to the target can mitigate this. For transparent objects like glass, a coaxial optical design or specialized sensor may be necessary.
Routine maintenance is minimal but vital. Periodically clean the lens with a soft, lint-free cloth and approved optical cleaner. Never use abrasive materials or solvents that could damage coatings. Check cable connections for integrity, as intermittent connections are a common source of erratic readings. Keep a log of calibration dates and any performance deviations for traceability.
Troubleshooting common issues involves a systematic approach. If the sensor provides no output, verify power, wiring, and indicator lights. An unstable reading often points to electrical noise interference; ensure proper shielding and grounding, and separate sensor cables from high-voltage AC lines. Inconsistent measurements may result from an unsuitable surface, incorrect sensor type for the material, or environmental contaminants on the lens or target.
Advanced operation involves integrating the sensor into a larger control system via PLC or PC. Utilize the digital I/O for triggering measurements or outputting alarm states. When daisy-chaining multiple sensors, manage communication protocols like RS-485 to avoid address conflicts. For high-speed applications, ensure the controller's scan time is faster than the sensor's update rate to prevent data bottleneck.
Ultimately, mastering laser displacement sensor operation combines understanding the manual with practical experience. Start with simple setups to build confidence. Remember that the highest precision is achieved not just by the sensor's specs, but by meticulous installation, calibration, and environmental control. These devices are powerful tools that, when operated correctly, provide invaluable data for enhancing product quality and optimizing manufacturing processes.