Laser displacement sensors are critical components in modern industrial automation, providing non-contact, high-precision measurement for applications ranging from quality control to robotic guidance. A common and significant malfunction encountered by maintenance engineers and system integrators is the complete absence of laser output. When the sensor's indicator suggests normal power but no visible laser spot is emitted, it halts production lines and compromises measurement integrity. This article delves into the root causes, systematic troubleshooting methodologies, and preventive maintenance strategies for this prevalent issue.
The absence of a laser beam, often indicated by error codes or simply a missing spot on the target, can stem from multiple sources within the sensor's ecosystem. Primarily, the issue is categorized into internal sensor failure and external system incompatibility.
Internal Sensor Failure:
1. Laser Diode Degradation or Failure: The core of the sensor is its laser diode. Like all semiconductor devices, it has a finite lifespan. Continuous operation, thermal stress from high ambient temperatures, or electrical transients can lead to gradual degradation or sudden catastrophic failure. An internal monitoring circuit may detect this and disable output to prevent further damage or unsafe operation.
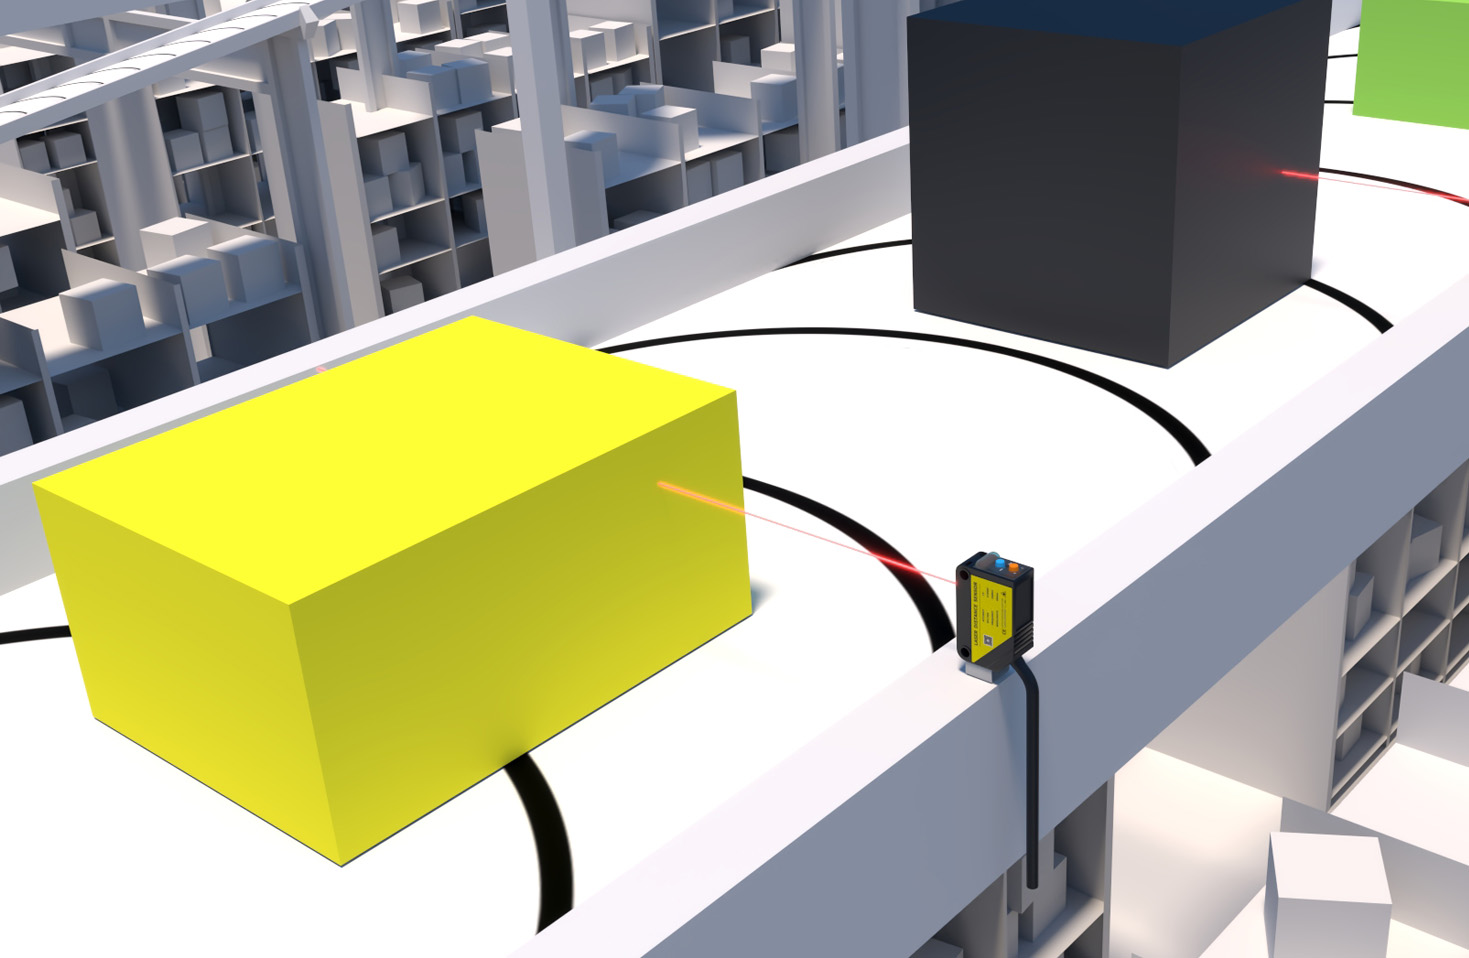
2. Driver Circuit Malfunction: The laser diode requires a precise and stable driver circuit for current regulation. A failure in this circuitry—such as a damaged capacitor, transistor, or voltage regulator—will result in no power being delivered to the diode, even if the main sensor electronics are powered.
3. Internal Optical Path Obstruction: Contaminants like dust, oil mist, or condensation can infiltrate the sensor housing, particularly in non-hermetically sealed units. These contaminants can settle on the laser diode's output window or internal lenses, completely blocking or severely attenuating the beam.
4. Firmware or Control Logic Error: In sophisticated sensors, a firmware glitch or corruption can cause the control logic to incorrectly disable the laser output as a safety precaution, even if all hardware components are functional.
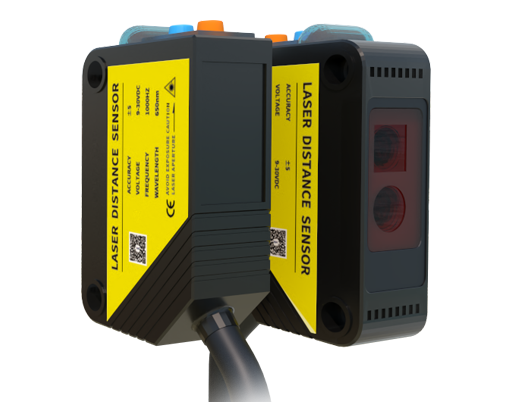
External System Issues:
1. Incorrect Wiring or Power Supply: This is a frequent culprit, especially after installation or reconfiguration. Verifying that the power supply voltage matches the sensor's specifications (e.g., 12-24 VDC) and polarity is correct is the first step. A voltage too low will not activate the laser, while a voltage too high may have caused permanent damage.
2. Incorrect Configuration via Software: Many sensors allow the laser to be turned on/off via software commands (e.g., through an IO-Link, Ethernet/IP, or serial interface). An accidental or incorrect configuration setting may have the laser in a permanently "OFF" state.
3. Enable/Control Signal Misconfiguration: Sensors often have a dedicated control line (e.g., an "Enable" input) that must be in the correct state (high or low) for the laser to operate. An incorrect signal from the PLC or controller will inhibit output.
4. Severe Environmental Factors: Operating the sensor beyond its rated specifications for temperature, humidity, or vibration can induce internal failures. While not an immediate external block, the environment is the stressor that leads to the internal fault.
A structured troubleshooting approach is essential to diagnose the "no laser" problem efficiently and safely. Always adhere to laser safety guidelines (e.g., IEC 60825-1), assuming the laser could activate unexpectedly.
Step 1: Basic Checks. Confirm the power supply at the sensor's terminals with a multimeter. Inspect the cable and connectors for damage, fraying, or loose pins. Review the sensor's configuration in the host software to ensure the laser output is enabled.
Step 2: Sensor Isolation. Disconnect the sensor from the machine control system if possible. Power it directly from a known-good, correctly rated laboratory power supply. This eliminates external control signal issues. Consult the manual for any default "power-on" state.
Step 3: Functional Substitution. If available, swap the suspect sensor with an identical, known-working unit from a non-critical line or from stock. If the new sensor works, the original is faulty. If the problem persists, the issue lies in the cabling, power supply, or mounting environment.
Step 4: Advanced Diagnostics. For sensors with diagnostic capabilities (like IO-Link), connect to its software interface. Check for stored error logs, internal temperature readings, and laser drive current parameters. Some models provide a "laser hours" counter, indicating if the diode is near its end of life.
Step 5: Visual Inspection (Post-Power Down). After ensuring the sensor is completely disconnected from power, carefully inspect the output window for any film, dust, or physical damage like cracks or scratches that could obscure the beam.
Preventing this failure mode is more cost-effective than reactive repairs. Implement a robust preventive maintenance schedule:
* Environmental Control: Ensure sensors are installed within their specified temperature, humidity, and cleanliness ratings. Use protective air purges or external protective housings in dirty or wet environments.
* Electrical Protection: Use surge protectors and stable, regulated power supplies to guard against voltage spikes and noise on the power line.
* Regular Inspection: Periodically check the sensor's output window for cleanliness and the integrity of its cable and connector.
* Operational Management: Avoid continuous 100% duty cycle operation if the application allows. Utilizing programmable on/off cycles or external triggering can significantly extend laser diode life.
* Firmware Management: Keep sensor firmware updated to the latest stable version provided by the manufacturer to address known bugs.
In conclusion, a laser displacement sensor with no output is a serious but diagnosable problem. By understanding the common internal and external causes, following a logical, safety-conscious troubleshooting sequence, and implementing proactive environmental and electrical protections, engineers can minimize downtime and ensure the long-term, reliable operation of these essential precision measurement tools. When internal failure is confirmed, sensor replacement or return to the manufacturer for service is typically the most efficient resolution.