Photoelectric proximity sensors are indispensable components in modern industrial automation, offering non-contact detection of objects with high precision and reliability. Proper adjustment of these sensors is crucial to ensure accurate operation, minimize false triggers, and extend their service life. This article provides a comprehensive guide on adjusting photoelectric proximity sensors, covering key principles, step-by-step procedures, and common troubleshooting tips.
First, understand the basic types of photoelectric sensors: through-beam, retro-reflective, and diffuse reflective. Through-beam sensors consist of separate emitter and receiver units, ideal for long-range detection. Retro-reflective sensors use a reflector to bounce light back to the receiver, suitable for medium distances. Diffuse reflective sensors rely on light reflected directly from the target object, best for short-range applications. Each type requires specific adjustment techniques to optimize performance.
Begin the adjustment process by ensuring proper installation. Mount the sensor securely on a stable surface, aligning it with the target object’s path. Avoid mounting near sources of vibration, extreme temperatures, or direct sunlight, as these can interfere with sensor operation. For through-beam and retro-reflective sensors, ensure the emitter and receiver (or reflector) are precisely aligned. Use alignment indicators, such as LED lights or audible signals, provided by most sensors. Adjust the angle and position until the alignment is perfect, indicated by a steady signal.
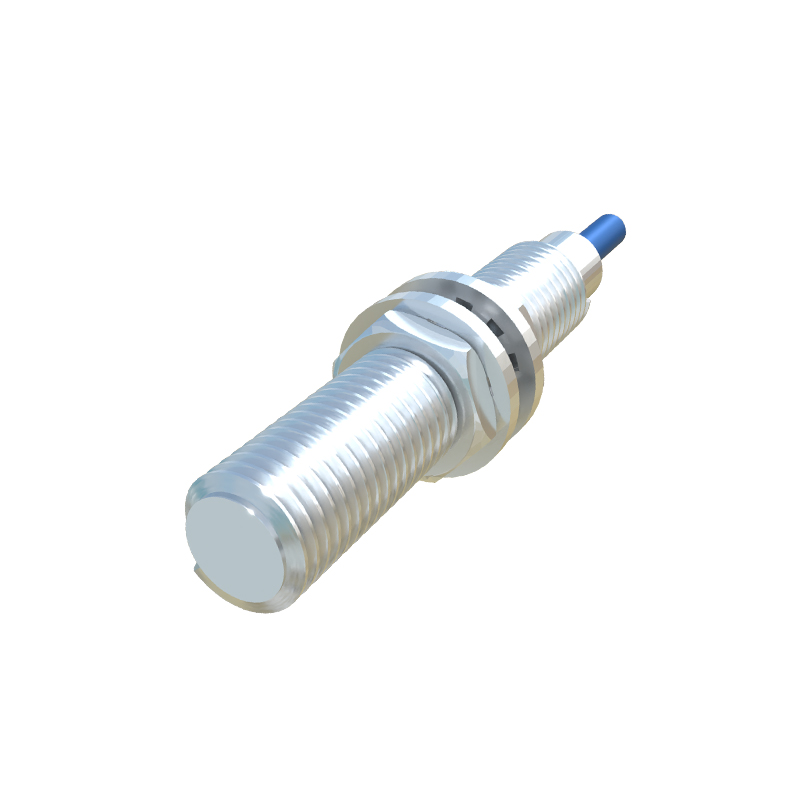
Next, set the sensing distance and sensitivity. Most photoelectric sensors feature potentiometers or digital interfaces for adjustment. For diffuse reflective sensors, the sensing distance depends on the target’s size, color, and surface texture. Light-colored, reflective objects are detected at longer distances than dark, absorbent ones. Adjust the sensitivity gradually: increase it until the sensor reliably detects the target, then reduce it slightly to avoid interference from background objects or ambient light. Use a test object identical to the actual target for calibration.
Environmental factors play a significant role in sensor performance. In dusty or humid environments, sensors may require protective housings or air purging systems to prevent contamination. Adjust the response time to account for fast-moving objects; a shorter response time ensures timely detection but may increase sensitivity to noise. For applications with varying light conditions, such as outdoor settings, choose sensors with modulated light sources (e.g., pulsed LED) to resist interference from sunlight or artificial lighting.
Regular maintenance and verification are essential. Periodically check the sensor’s alignment and cleanliness, wiping lenses with a soft cloth if dirty. Monitor the output signal using a multimeter or PLC to ensure consistency. If the sensor fails to detect objects, verify power supply stability, wiring connections, and environmental conditions. Common issues include misalignment, lens obstruction, or incorrect sensitivity settings. Refer to the manufacturer’s manual for specific error codes or diagnostic features.
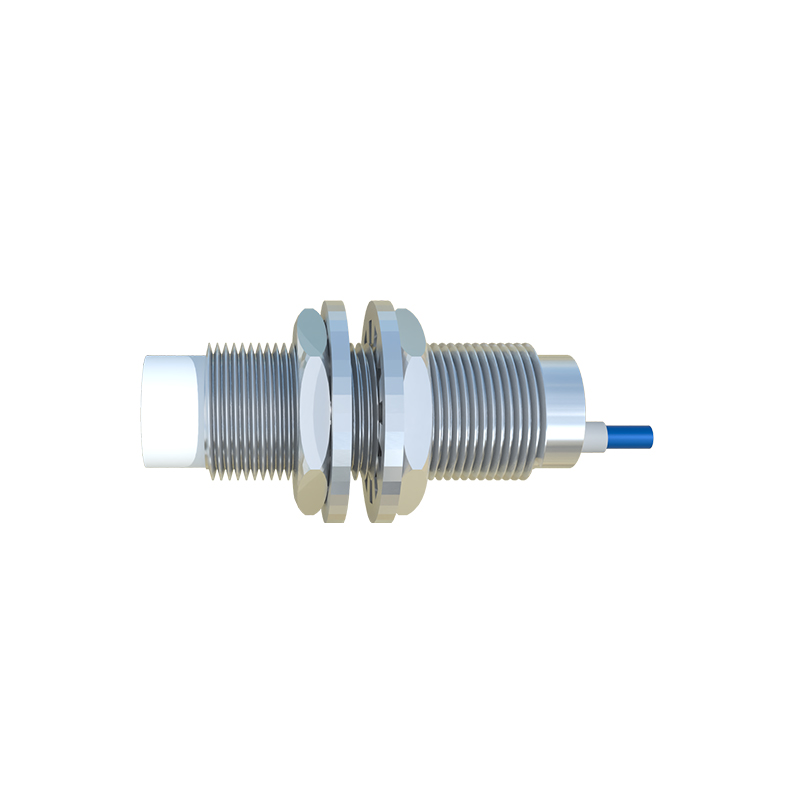
In summary, adjusting photoelectric proximity sensors involves careful installation, precise alignment, sensitivity calibration, and environmental adaptation. By following these guidelines, engineers can enhance system efficiency, reduce downtime, and achieve reliable automation outcomes. Always prioritize safety by disconnecting power during adjustments and testing sensors in controlled conditions before full deployment.