Setting up a laser height sensor correctly is crucial for ensuring precision in various industrial applications, from automated assembly lines to quality control inspections. This guide provides a step-by-step approach to installation, calibration, and optimization, tailored for engineers and technicians in the electrical and automation fields.
First, understand the basic working principle. A laser height sensor, often a type of triangulation or time-of-flight sensor, emits a laser beam towards a target surface. The reflected light is captured by a receiver, and the sensor calculates the distance or height based on the angle or time delay. Before installation, review the manufacturer's datasheet for key specifications such as measurement range, resolution, repeatability, response time, and environmental ratings (e.g., IP protection, temperature tolerance).
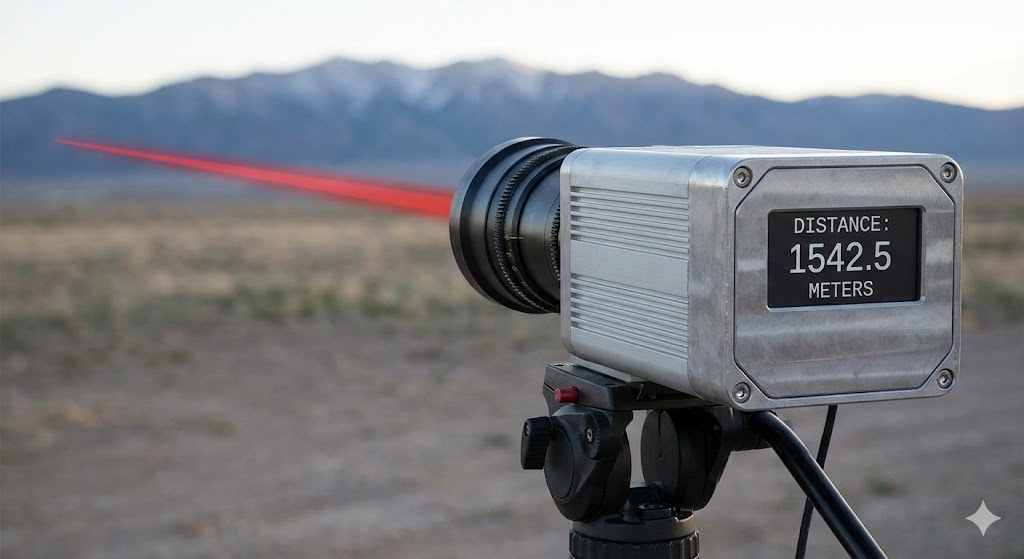
Begin with mechanical installation. Mount the sensor securely on a stable bracket or fixture, ensuring it is aligned perpendicular to the target surface to avoid cosine errors. Use vibration-damping materials if the environment is prone to shocks. Maintain the recommended stand-off distance—the gap between the sensor and the target at the midpoint of its measurement range. Ensure the target surface is within the sensor's spot size and that ambient light or reflective surfaces do not interfere. For highly reflective or dark surfaces, adjust the sensor's sensitivity or use a diffuse reflection model if available.
Next, proceed with electrical connections. Most industrial laser height sensors operate on 12-24 V DC and provide output via analog (4-20 mA, 0-10 V) or digital interfaces (RS-485, Ethernet/IP, PROFINET). Connect the power supply according to the wiring diagram, ensuring correct polarity and grounding to prevent electrical noise. For analog outputs, connect to a PLC or data acquisition system, matching the input range. For digital communication, configure the network settings as per the control system requirements. Always power off during connections to avoid damage.
Calibration is the most critical step. After powering on, allow the sensor to warm up for the time specified in the manual. Use a calibration target—a flat, stable object with a known height. Place it within the measurement range and trigger the sensor's calibration mode via its teach button or software interface. Some sensors offer multi-point calibration for compensating nonlinearities. Record the output values at minimum and maximum heights to set scaling parameters in your control system. Verify the calibration by measuring a reference object and checking for deviations; typical repeatability should be within microns for high-precision models.
Optimize settings through software configuration. Many sensors come with proprietary software for fine-tuning parameters like response speed, filtering, and output averaging. Adjust the response time to match your application's speed—faster for dynamic measurements, slower for stable environments. Enable filtering to reduce noise from surface irregularities. For moving targets, consider peak-hold or valley-hold functions to capture extreme values. Test the sensor under real operating conditions, monitoring output stability and making incremental adjustments.
Finally, implement regular maintenance. Periodically clean the lens with a soft, lint-free cloth to prevent dust accumulation that can scatter the laser beam. Check mounting stability and recalibrate if the sensor is moved or subjected to temperature swings. Document all settings and calibration records for future reference. Troubleshoot common issues like erratic readings by verifying power supply stability, environmental factors, or target surface changes.
In summary, a methodical setup process—combining proper installation, precise calibration, and tailored optimization—ensures reliable performance of laser height sensors in demanding industrial environments. By adhering to these guidelines, engineers can achieve accurate, repeatable measurements that enhance automation efficiency and product quality.