In industrial automation and control systems, proximity sensors are indispensable components for non-contact detection of metallic or, in some cases, non-metallic objects. A common point of inquiry and occasional concern among maintenance technicians and engineers is the illumination of a yellow (often amber) indicator light on these sensors. Unlike a green light, which typically signifies normal operation and power, or a red light, which often denotes an error, fault, or short-circuit, the yellow light carries a more nuanced meaning that is crucial for optimal system performance and troubleshooting.
The primary function of the yellow LED on a proximity sensor is to signal the switching state. When the sensor detects a target object within its specified sensing range, the yellow light will illuminate. This provides immediate visual confirmation that the sensor is actively "seeing" the object and that its output circuit (be it PNP, NPN, NO, or NC) has changed state accordingly. This is an invaluable diagnostic tool during machine setup, commissioning, and routine maintenance. For instance, when aligning a sensor to a target, the technician can observe the exact point at which the yellow light turns on, allowing for precise positioning without needing to monitor a PLC input or a multimeter constantly.
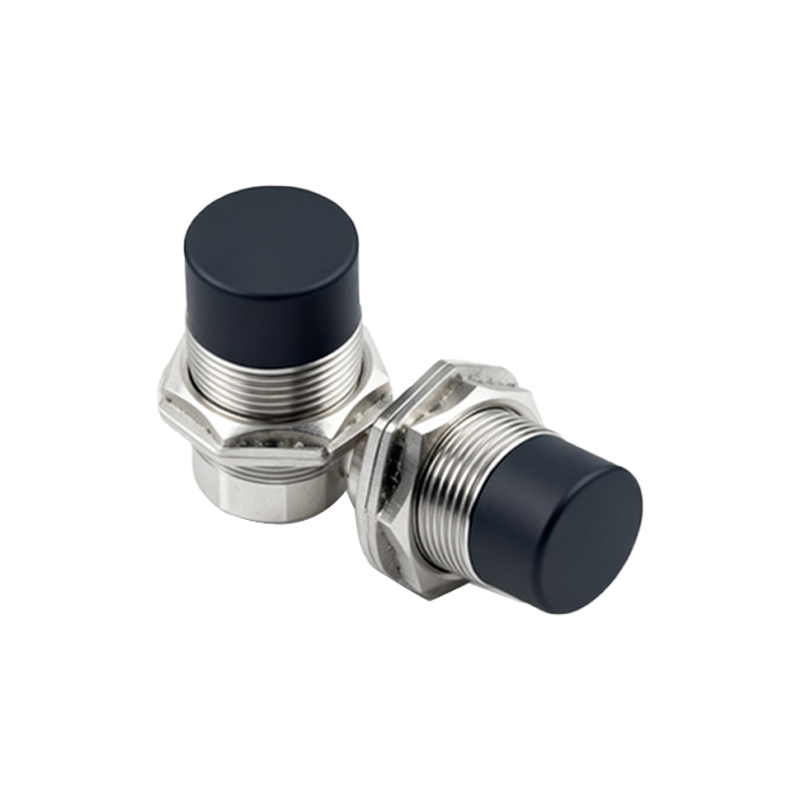
However, a persistently illuminated yellow light when no target is present, or a light that fails to illuminate when a target is within range, indicates a problem. Several factors can cause such behavior, and systematic investigation is required. First, check for target characteristics. Ensure the target material, size, and shape meet the sensor's specifications. A sensor designed for ferrous metals may not reliably detect aluminum or stainless steel, or may require a reduced sensing distance. The target must also be large enough to interact effectively with the sensor's electromagnetic or capacitive field.
Second, evaluate the installation and environment. Incorrect mounting, such as embedding a shielded (flush-mountable) sensor non-flush or mounting an unshielded sensor too close to metal surroundings, can severely affect performance. Environmental contaminants like heavy dust, oil, or coolant buildup on the sensing face can attenuate the signal. Electrical noise from nearby motors, frequency drives, or welding equipment can also cause erratic switching and indicator behavior. Proper grounding, the use of shielded cables, and maintaining adequate clearance from other metal objects are essential mitigation steps.
Third, verify the electrical connections and load. An incorrect wiring configuration (e.g., mixing up PNP and NNP sourcing/sinking) or a loose connection can lead to unreliable operation. Additionally, check if the connected load (relay, PLC input, etc.) is within the sensor's rated switching capacity. An overload or short circuit on the output, while often triggering a separate red fault light, can sometimes manifest as irregular yellow LED activity.
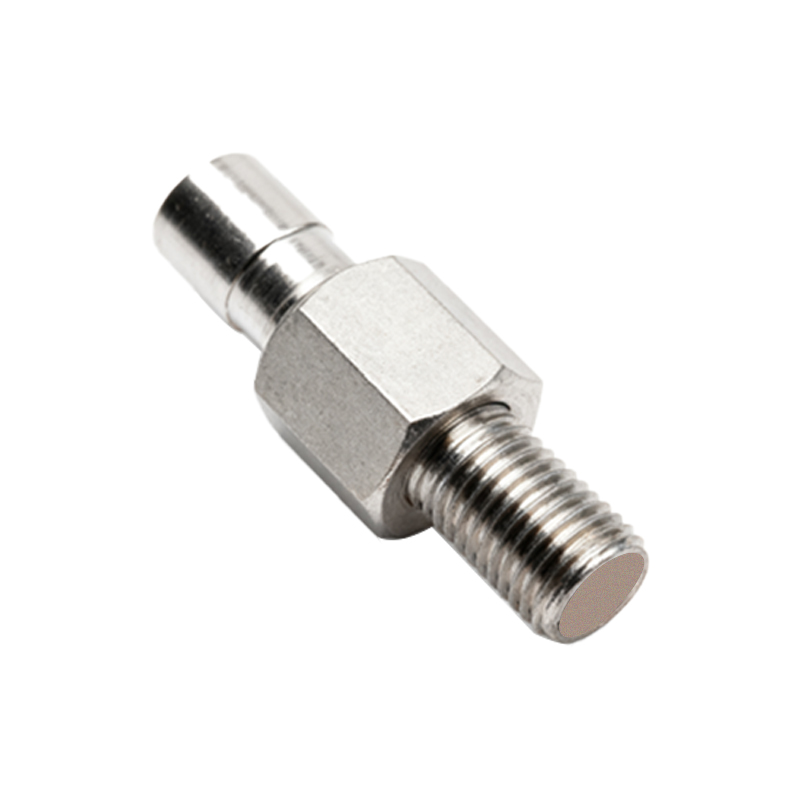
Modern intelligent sensors with IO-Link or other diagnostic capabilities may use a blinking yellow pattern to convey specific status messages, such as teach-in mode activation, parameterization warnings, or predictive maintenance alerts (e.g., signal strength degradation). Always consult the specific sensor's datasheet or manual, as indicator light conventions can vary slightly between manufacturers.
In summary, the yellow light on a proximity sensor is a direct window into its core function: object detection. Its normal operation—illuminating upon target presence—confirms correct sensing. Any deviation from this expected behavior serves as the first and most accessible clue in a diagnostic sequence, guiding the user to investigate target alignment, environmental conditions, and electrical integrity. Understanding this simple yet powerful indicator is fundamental to ensuring reliability and minimizing downtime in automated systems.