In the realm of smartphone repair, the proximity sensor is a critical yet often overlooked component. This small infrared (IR) sensor, typically located near the earpiece or front camera module, plays a vital role in managing screen behavior during calls and conserving battery life. When malfunctioning—manifesting as a screen that fails to turn off during calls or erratic touch responses—replacement becomes necessary. This guide provides a detailed, industry-standard procedure for replacing a smartphone proximity sensor, emphasizing precision and adherence to safety protocols.
Before initiating any repair, ensure you have the appropriate tools: a set of precision screwdrivers (including Phillips and Pentalobe), plastic spudgers, tweezers, a suction cup, a heat gun or iOpener, and an anti-static wrist strap. Always power down the device and remove any SIM cards or memory cards. The workspace should be clean, well-lit, and free of static. It is highly recommended to consult the specific device’s technical manual or iFixit guide for model-specific nuances, as internal layouts vary significantly between manufacturers like Apple, Samsung, and Google.
The first step involves safely opening the smartphone chassis. For most modern devices with sealed designs, apply controlled heat around the edges using a heat gun set to approximately 70–80°C (158–176°F) to soften the adhesive. Alternatively, use a dedicated iOpener for a safer, more even heat distribution. Once heated, attach a suction cup near the bottom edge and gently pull upward to create a small gap. Carefully insert a plastic spudger into the gap and slowly work your way around the perimeter, separating the display assembly from the mid-frame. Exercise extreme caution to avoid damaging fragile ribbon cables or the display itself.
With the device opened, the next phase is accessing the proximity sensor. This usually requires removing the display assembly or a protective bracket. First, disconnect the battery connector using a spudger or tweezers to prevent short circuits. Locate and unscrew any brackets securing the sensor or related components. Proximity sensors are often integrated into a front camera flex cable assembly or housed in a small, standalone module. Gently disconnect the associated ribbon cable(s) by flipping up the ZIF (Zero Insertion Force) connector latch. Use tweezers to carefully lift the faulty sensor from its position. Avoid applying excessive force to adjacent components like the earpiece speaker or ambient light sensor.
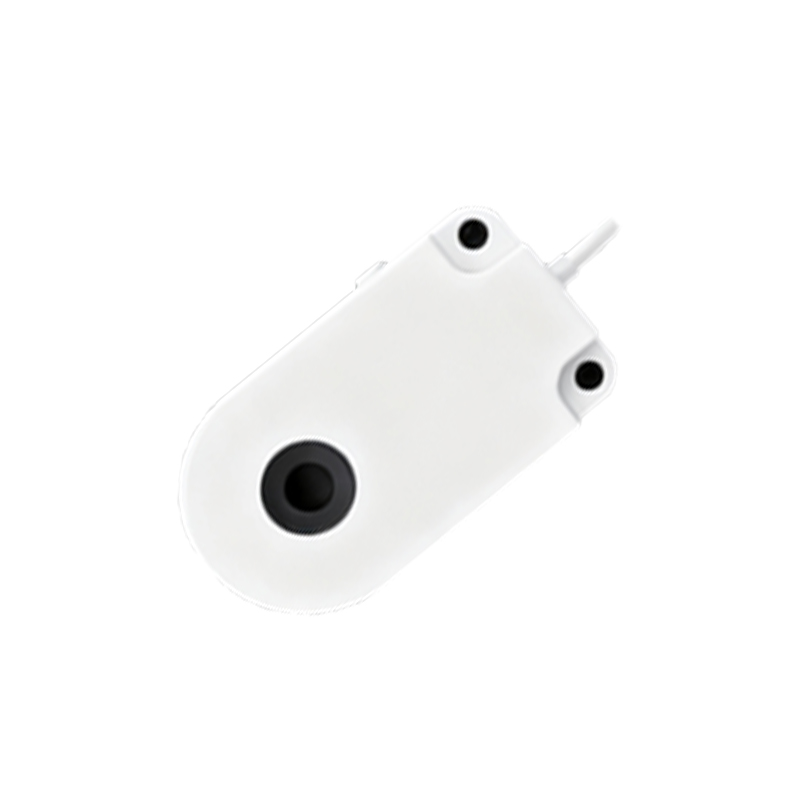
Installation of the new proximity sensor demands meticulous attention. Begin by aligning the replacement part precisely, ensuring it sits flush in its designated slot. Reconnect the ribbon cable, securing the ZIF latch firmly. Reattach any brackets and screws, following the exact screw map (length and type) to avoid damaging internal threads. Reconnect the battery connector. Before reassembling the device, it is prudent to perform a preliminary functionality test. Temporarily secure the display assembly and power on the device. Make a test call or use a diagnostic app (like \#0\on many Samsung models) to verify the sensor operates correctly—the screen should deactivate when an object is brought near the sensor during a call.
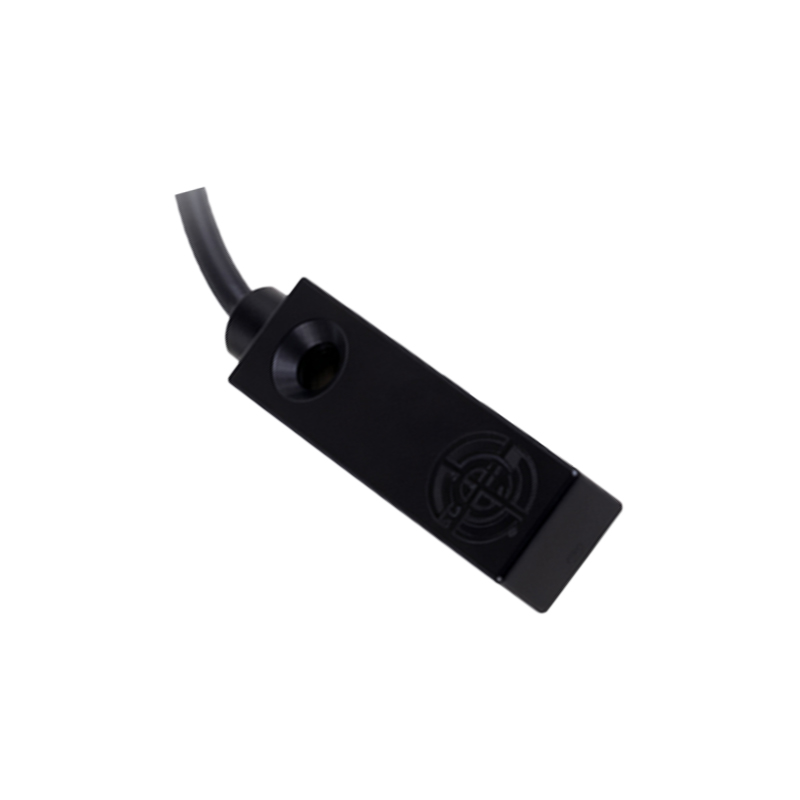
If the test passes, proceed with reassembly. Clean any residual adhesive from the device frame and display using high-purity isopropyl alcohol (90% or higher) and a lint-free cloth. Apply a new, pre-cut adhesive gasket around the frame to ensure a proper seal. Carefully align the display assembly and press it evenly into place, applying firm pressure along the edges. For added security, place the device in a clamping fixture for about 30 minutes to allow the adhesive to set. Finally, conduct a comprehensive post-repair test: check all front-facing components (camera, speaker), touchscreen responsiveness, and perform multiple call tests to confirm consistent proximity sensor behavior.
Common pitfalls during this process include tearing ribbon cables, using incorrect screw types, or failing to properly seat connectors, which can lead to intermittent faults. Always source high-quality, OEM-compatible replacement parts from reputable suppliers to ensure reliability. Additionally, be aware that software issues can sometimes mimic hardware failure; updating the OS or performing a factory reset (after data backup) is advisable before undertaking physical repair. In complex cases where the sensor is fused to other components, consider replacing the entire front assembly module for a more efficient repair.
Mastering proximity sensor replacement enhances a technician’s capability to address a common smartphone ailment efficiently. This repair, while delicate, underscores the importance of methodical disassembly, electrostatic discharge (ESD) protection, and rigorous testing—cornerstones of professional mobile device servicing.